Pins And Patience - How To Inset Circles The Dorset Patchworks Way
Posted on
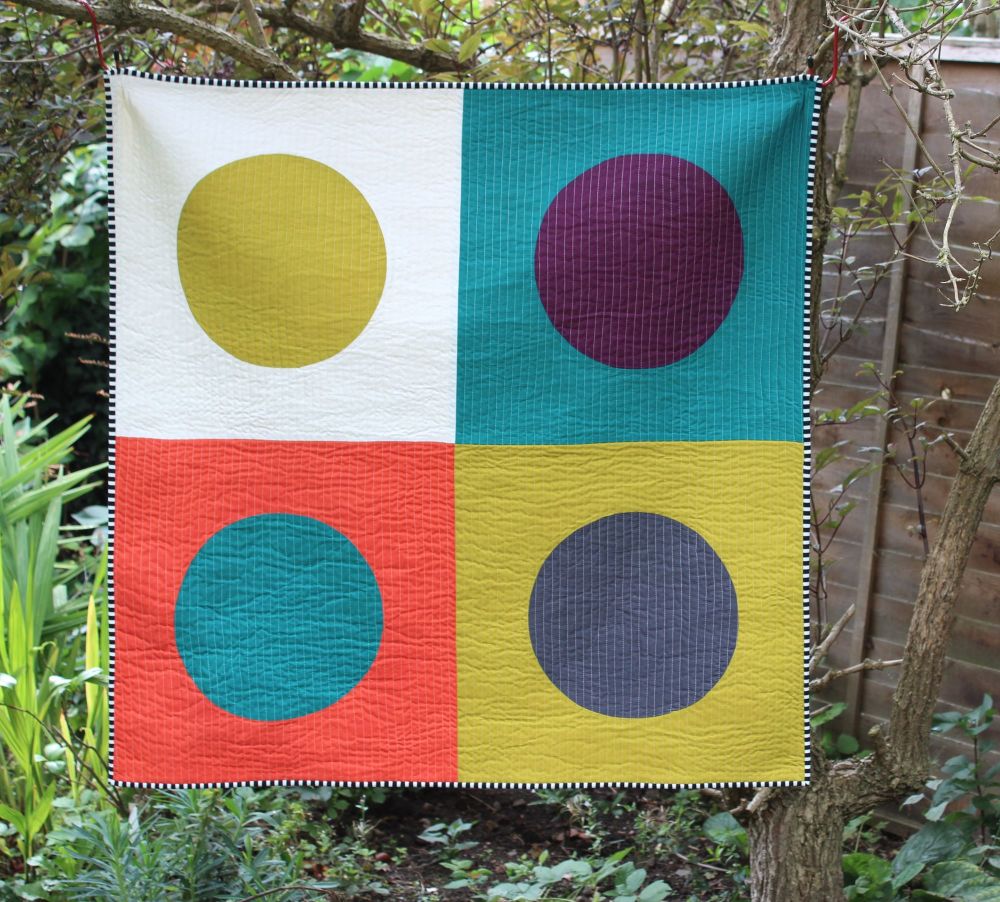
There are all sorts of ways to sew circles and I have tried a few: appliqué, reverse appliqué, using a Drunkard's Path template and joining four sections together to create a circle as well as snipping the seams to relax the fabric and finally insetting.
I wouldn’t go so far as to say this method is easy, neither would I describe the technique as hard. It’s fiddly, plain and simple. However, with practice it certainly gets easier. I’ve only been playing with circles this year so I am no expert yet within a short period I have gained in confidence and really enjoy the technique.
My three tips for this technique are:
Pins
Teasing
Patience
This technique is best suited when using circles over the size of 6” or 15 cms and the beauty of my preferred method is that there’s no appliqué, nor is it necessary to clip the fabric or use a glue stick.
A couple of bits of advice before you begin: first, handle the fabric gently. I like to use spray starch as once the fabric is cut its very easy for it to become distorted and to stretch. Secondly, take your time. This isn’t something that should be hurried otherwise you may need to do some unpicking later on.
I’ve included a lot of photographs in the hope that you can see each stage of the process.
For the purposes of this tutorial, I'm setting out how to make just one block.
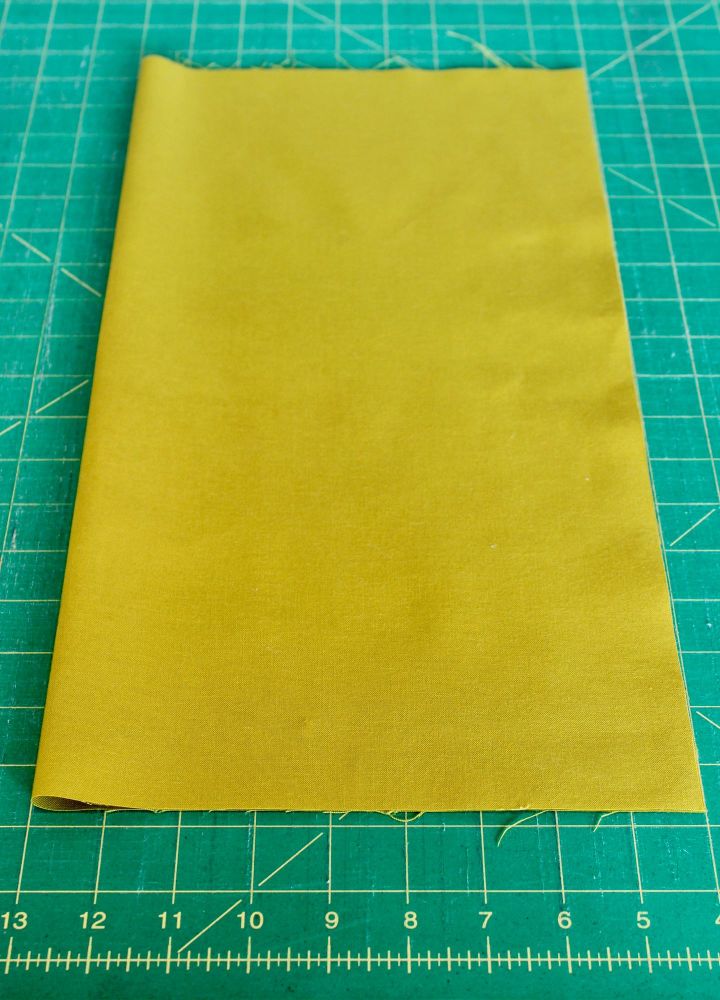
I started off with two pieces of fabric each measuring 18” x 18”, or 46 cms x 46 cms. The fabric can be any size and depends on the size of circle you’d like, as well as the overall size of your project. The size of my fabric is on the generous side as I like to leave myself with some wiggle room when it comes to squaring up.
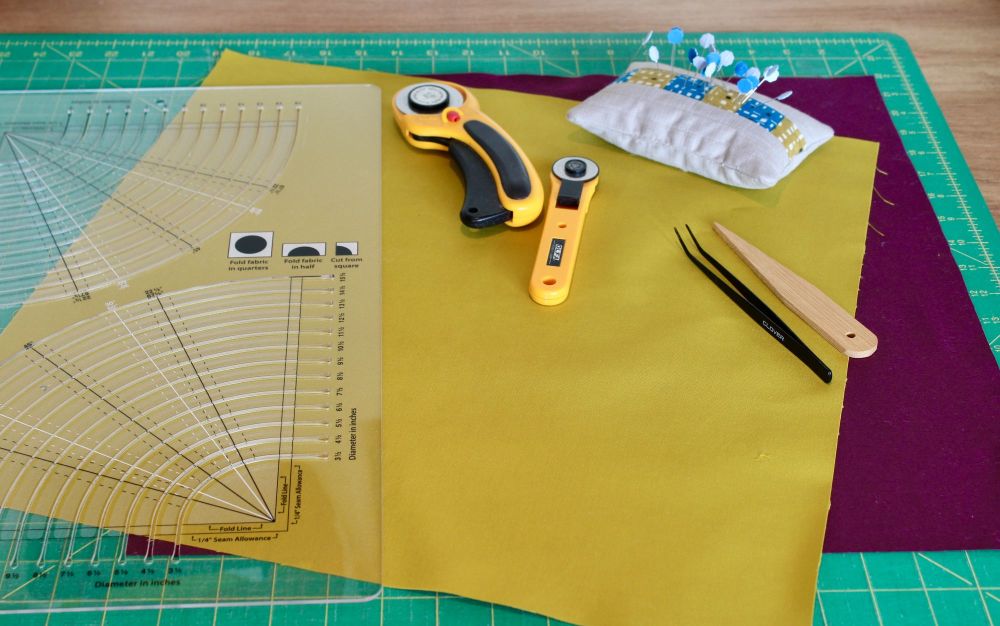
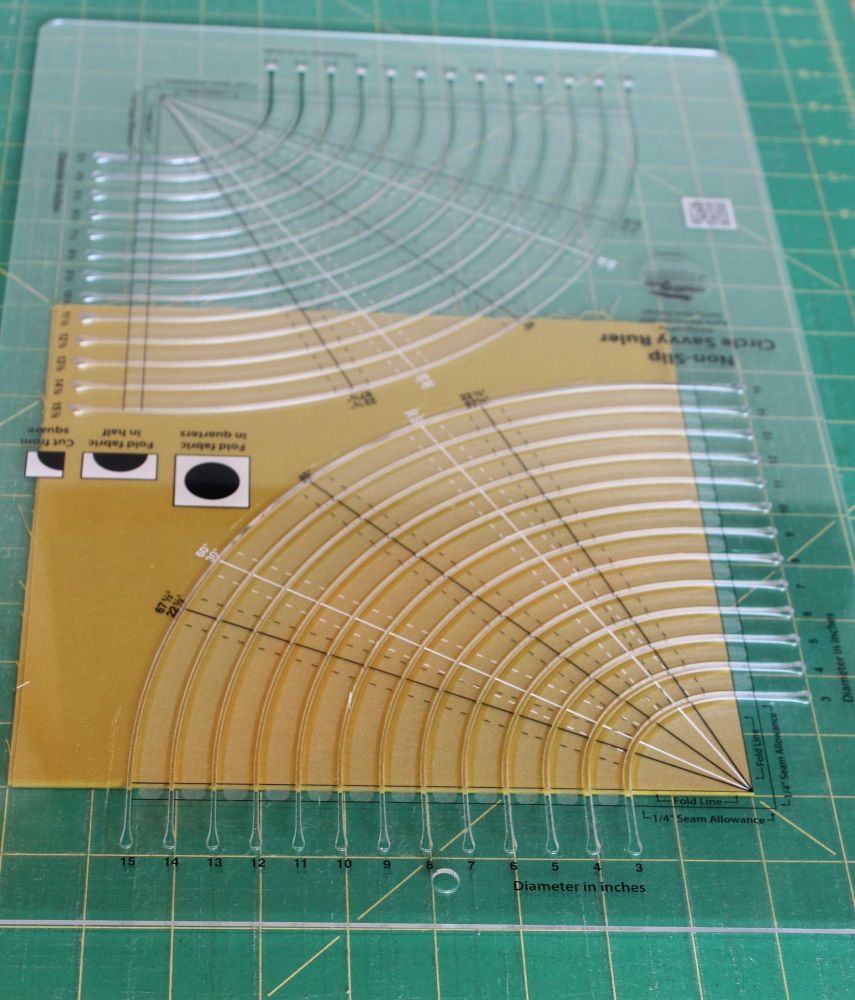
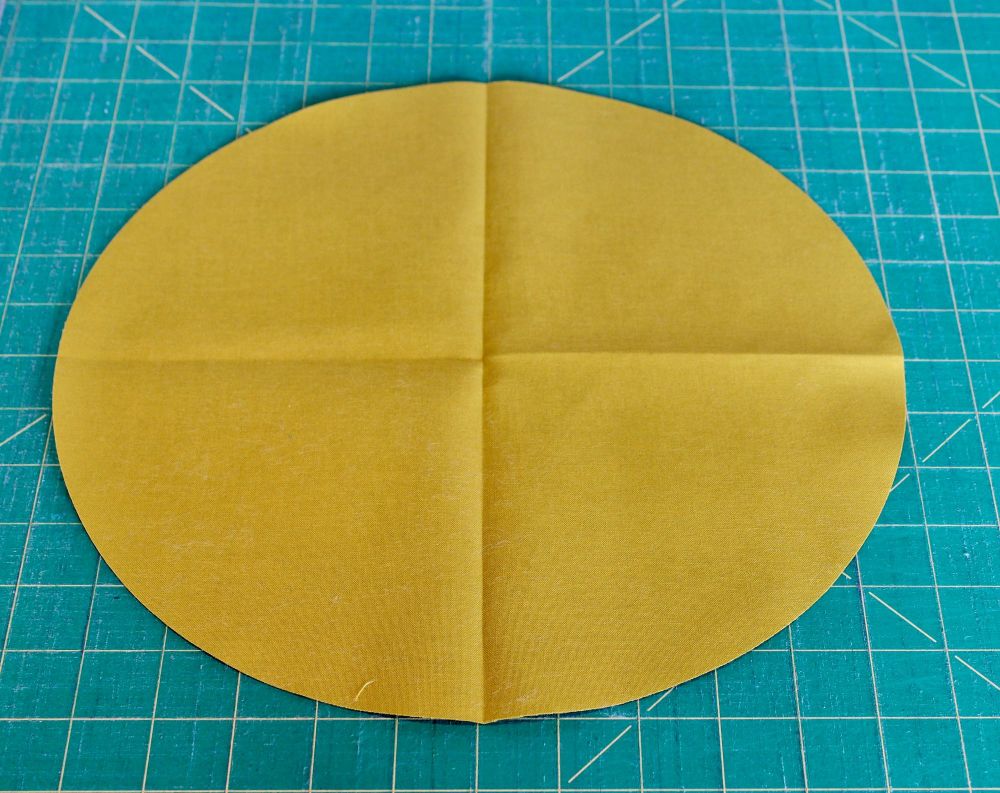
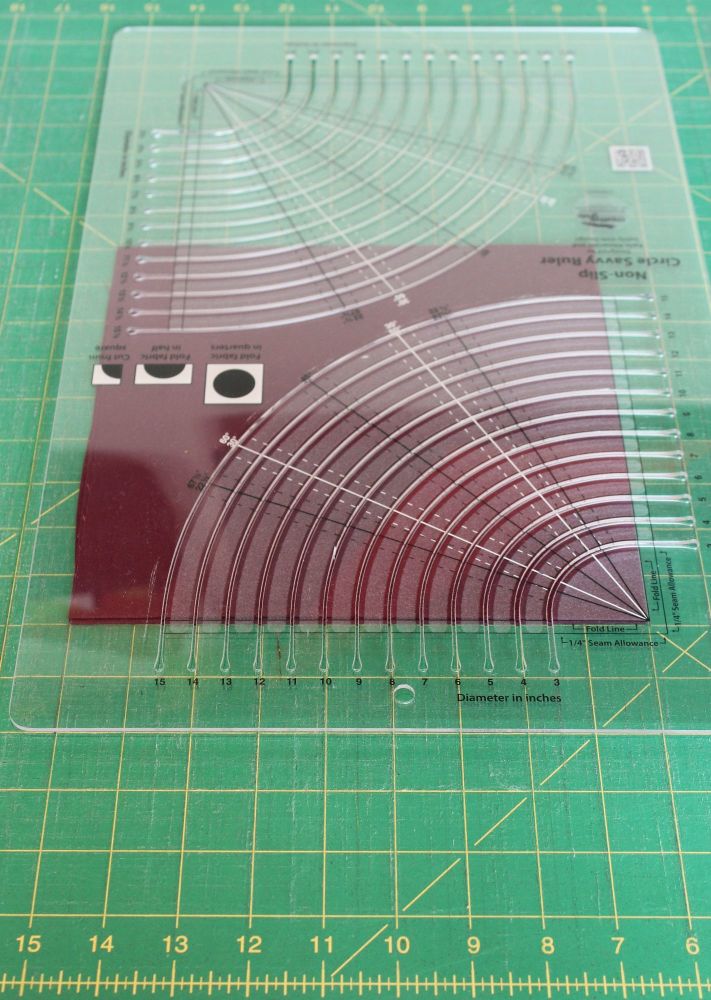
I chose to have a 12” or 30.5 cms circle and to do this I used my Circle Savvy Ruler. This ruler isn’t essential but as I like trying out templates and rulers I used it on this occasion. If you’re using the Circle Savvy Ruler fold the fabric in half and in half again (as shown in the photos) and then line up the folded edges against the ‘fold line’ markings on the ruler. I used a 28 mm rotary cutter and selected the 12” slot on the ruler and cut round the curve. When opened up there should be a 12” or 30.5 cms circle. The remainder of the cut piece (a 12” or 30.5 cms hole) can be used for other projects.
If you don’t have a ruler you can create your own 12” or 30.5 cms template using freezer paper (or something similar), press the freezer paper template onto your fabric with an iron and carefully cut your fabric.
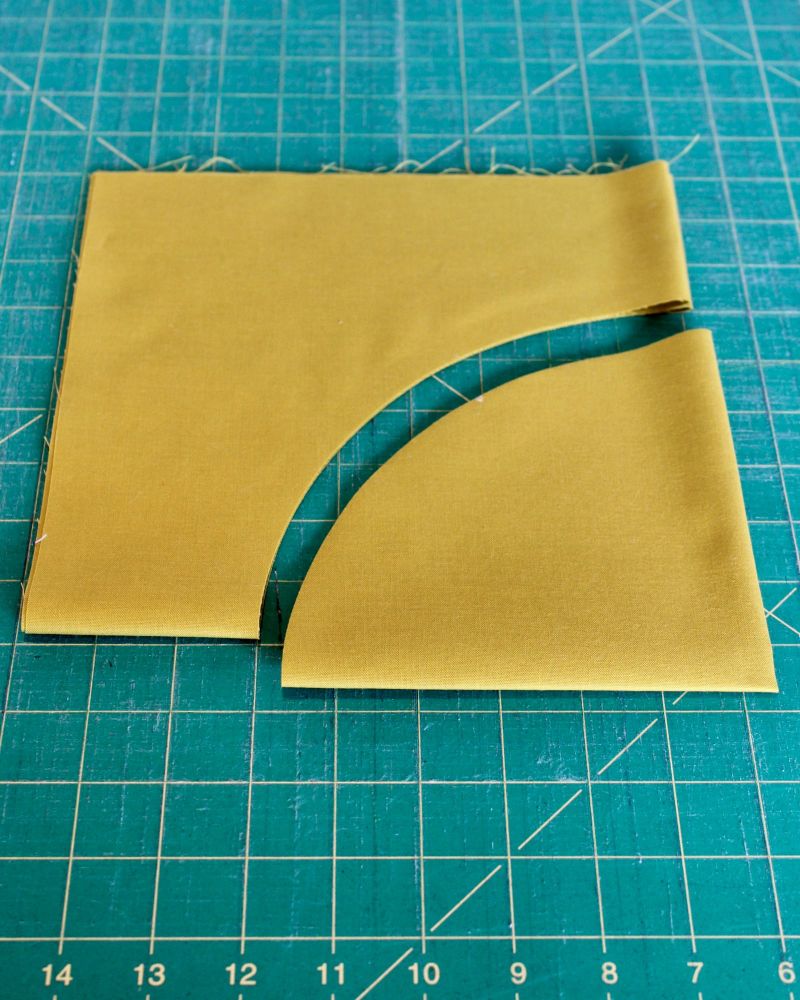
You now have your inner circle and need to cut the second piece of fabric and you will need the piece with the hole this time. This piece needs to be one inch smaller than the circle. So repeat the process described above but this time either select a slot which is an inch smaller than the circle you’ve just cut, so in my case the cut was at the 11” slot on the Circle Savvy Ruler, or if you're making you own template this needs to be an inch smaller than the previous template.
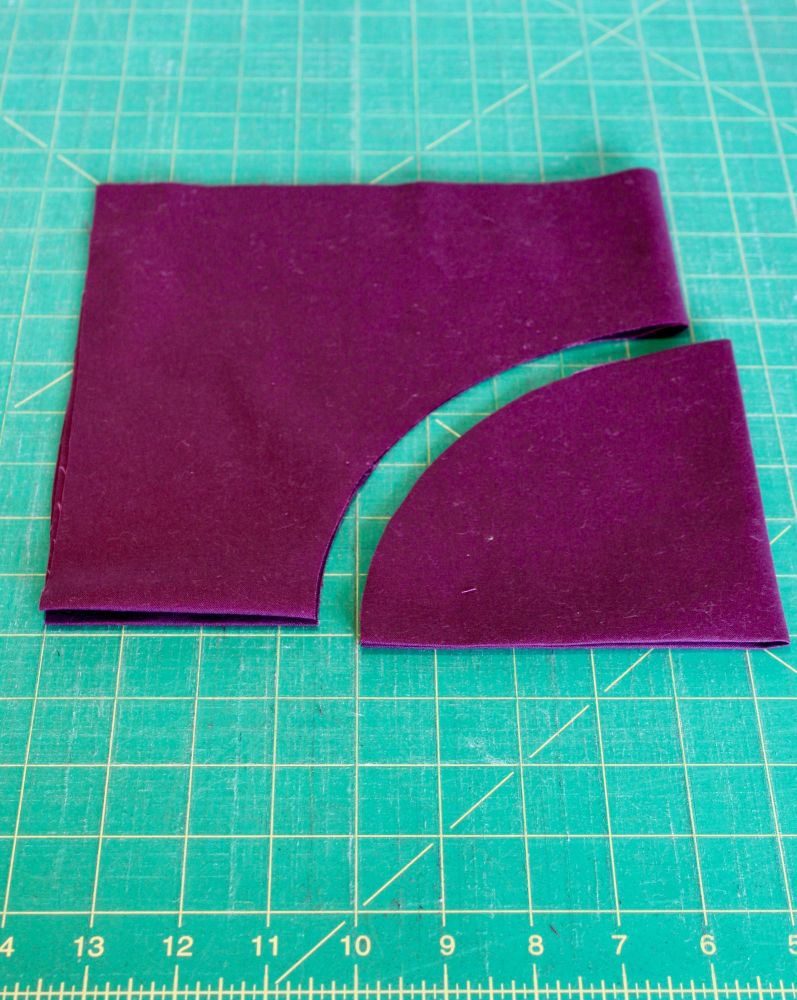
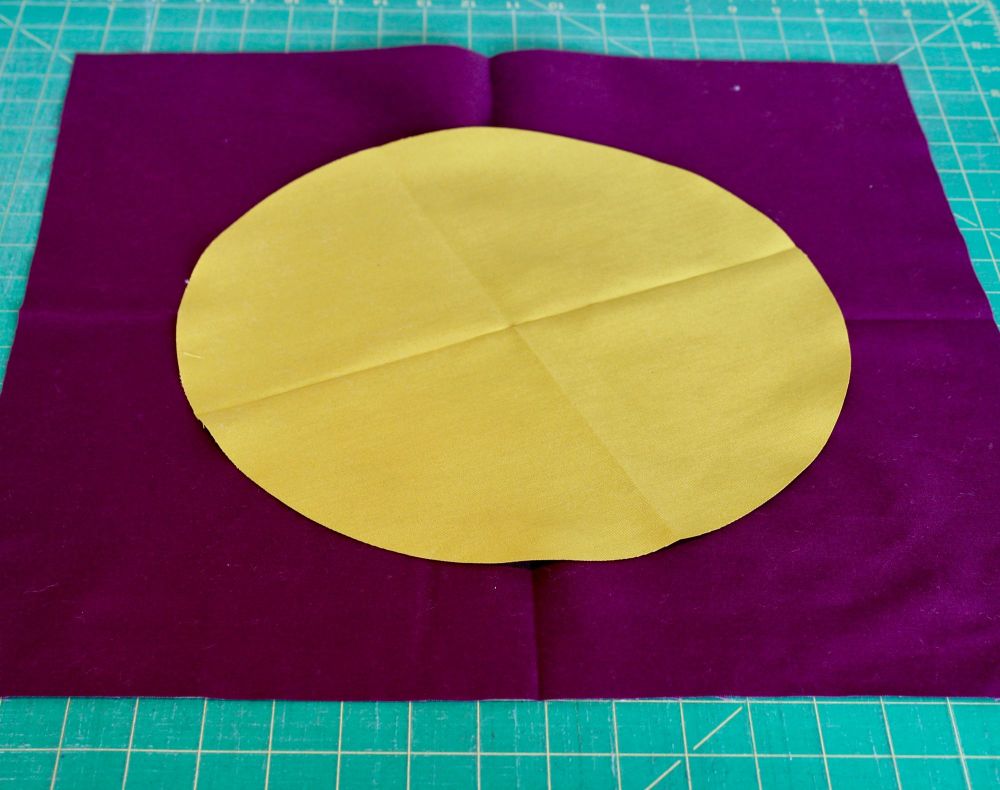
So now you have the background fabric with an 11” or 28 cms hole and the inner circle measuring 12” or 30.5 cms.
Take the circle and fold it in half and pinch each end so that there are crease marks.
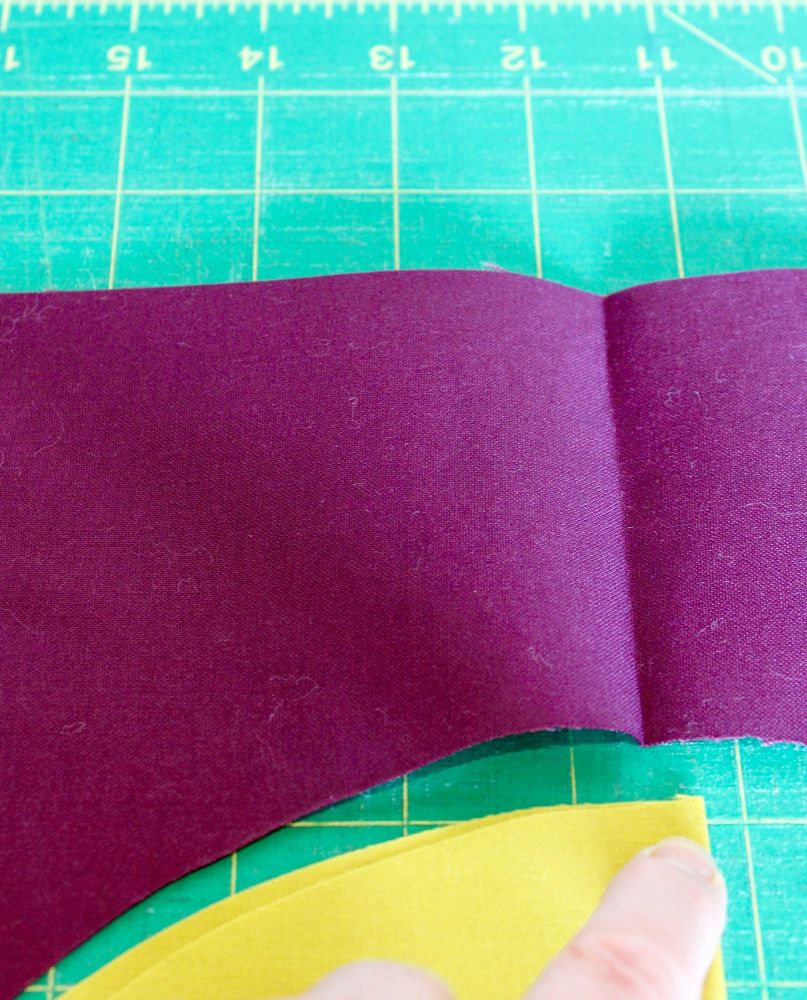
Fold the fabric in half again and pinch and crease. When you open the circle you should have four evenly spaced crease marks (top, bottom, left and right). Repeat the process with the outer fabric (the fabric with the hole), making sure that the crease marks are on the inside curved section. Both pieces of fabric should now have corresponding crease marks. These crease marks are where you’ll be pinning so take your time.
This next part is slightly tricky. Just be methodical and you’ll get the hang of it in no time. I’d suggest referring to the photos until you’re familiar with the process.
On a flat surface, with the right side of the background facing up, place the circle on top with the right side also facing up. Line up the creases marks. This is where you’ll need to put the first pin but before you do that flip the circle over so that the right sides of the fabric are facing each other. Make sure the crease marks on both pieces of fabric match up and insert your pin. I use the flower head pins, as they are long and very sharp and ideal for this type of project. The flower head pins are available on the shop.
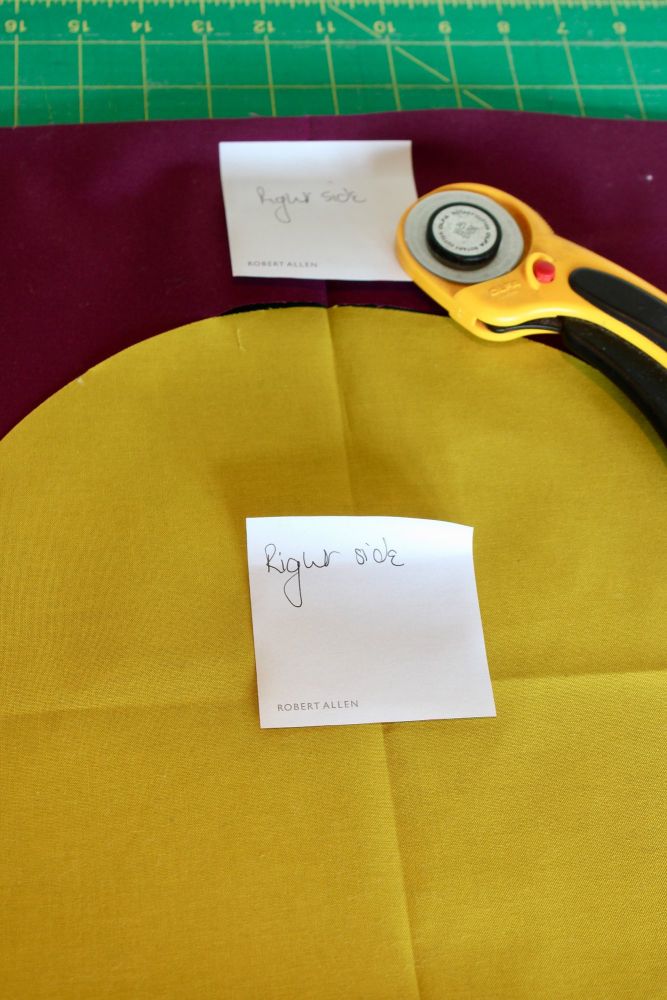
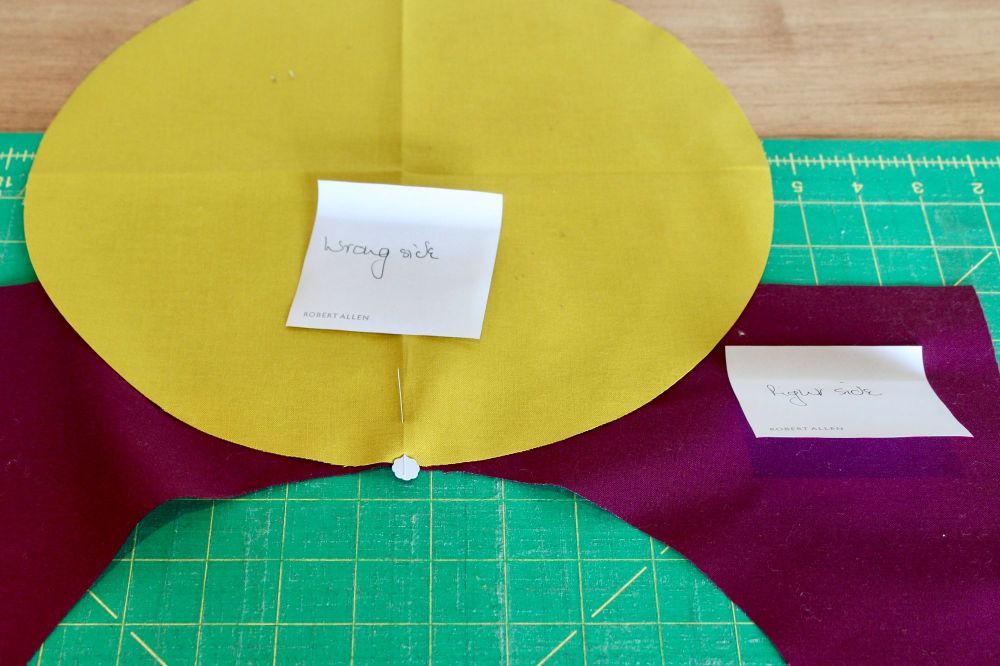
Your first pin is now in place. Next you need to flip the circle back over and match the crease marks at the bottom. This time, with the right side of the circle facing up, turn the fabric with the hole so that the right side of that is on top of the circle (in other words right sides facing each other). Match up the creases and pin. I’d refer you to the photo below to see where I placed the pins.
Repeat this process for the right and left hand creases. You should now have four pins – top, bottom, right and left. It will probably look a bit odd and floppy at this stage.
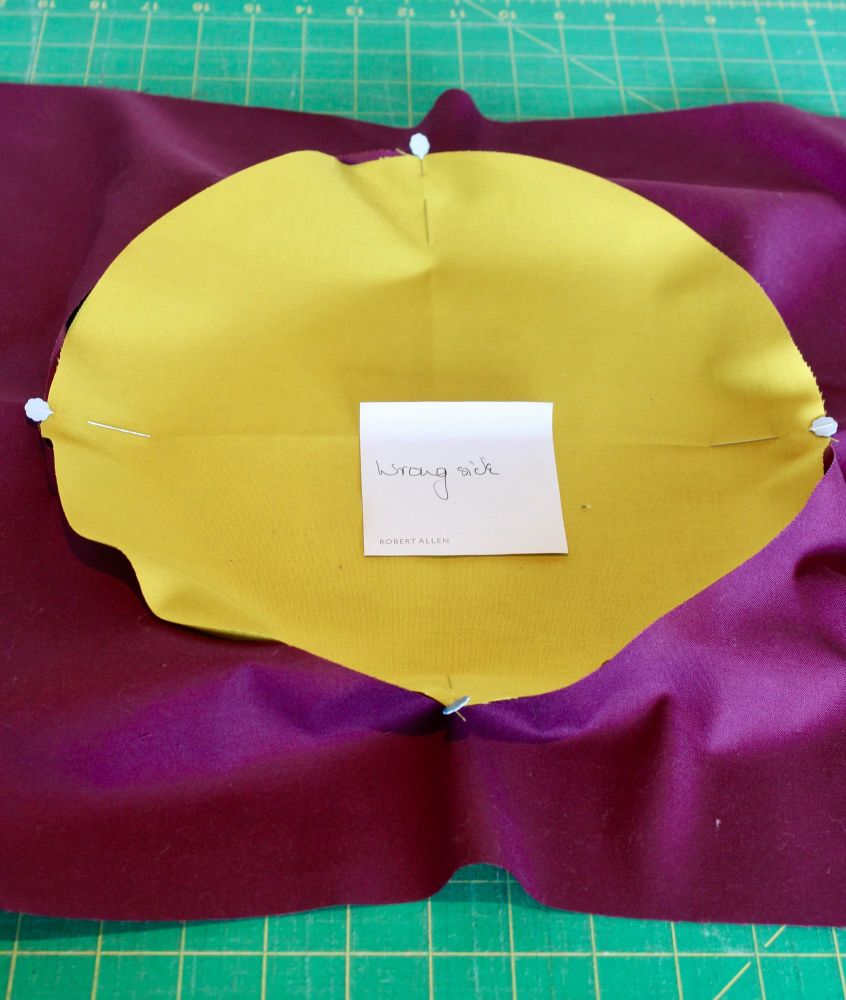
You will need to add more pins and these need to be evenly spaced, so do this section by section.
Open one section being careful not to displace any of the pins. The aim is to spread each side of the fabric and pinch each end so that you create two new creases. To do this, match up the two pin heads without stretching the fabric, and pinch each end. Once you have a crease mark on both pieces of fabrics line up the opposite creases you’ve just made and insert another pin.
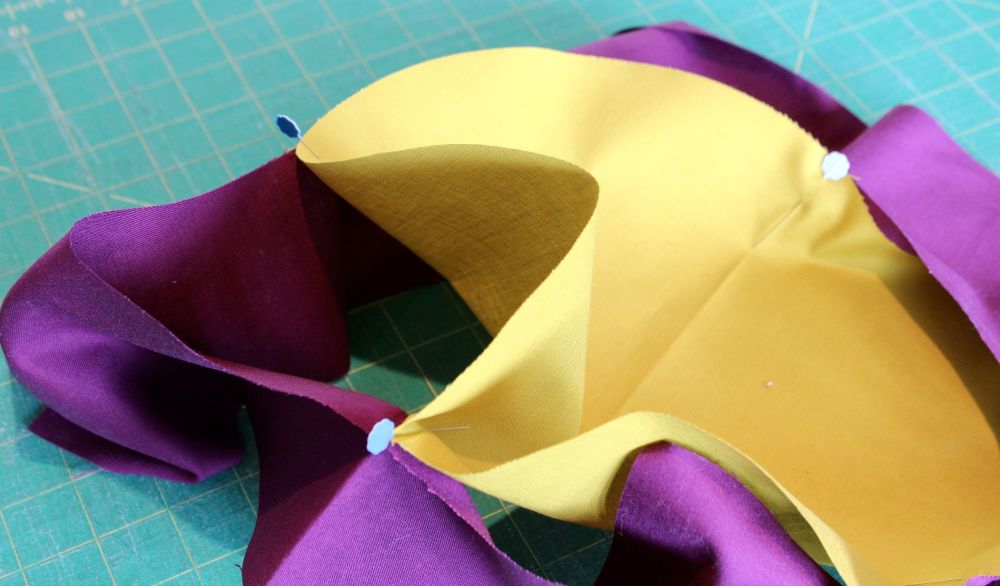
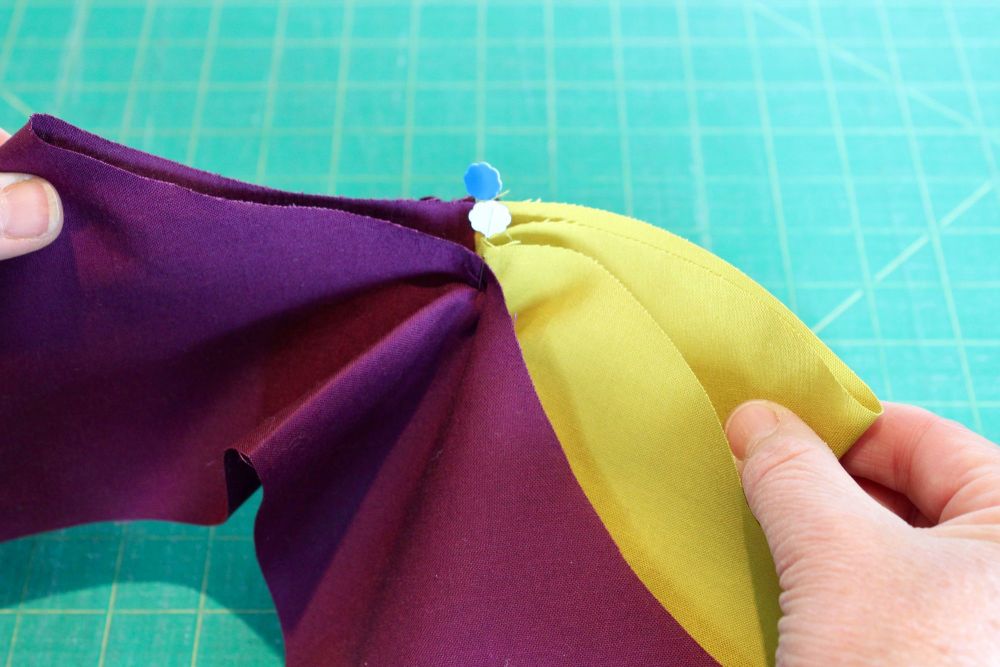
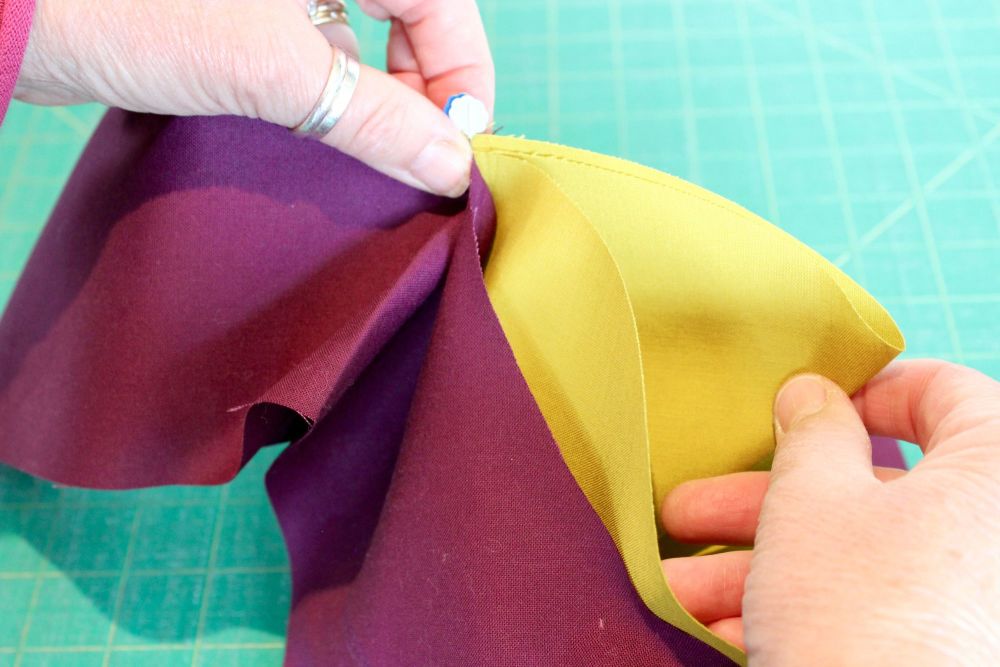
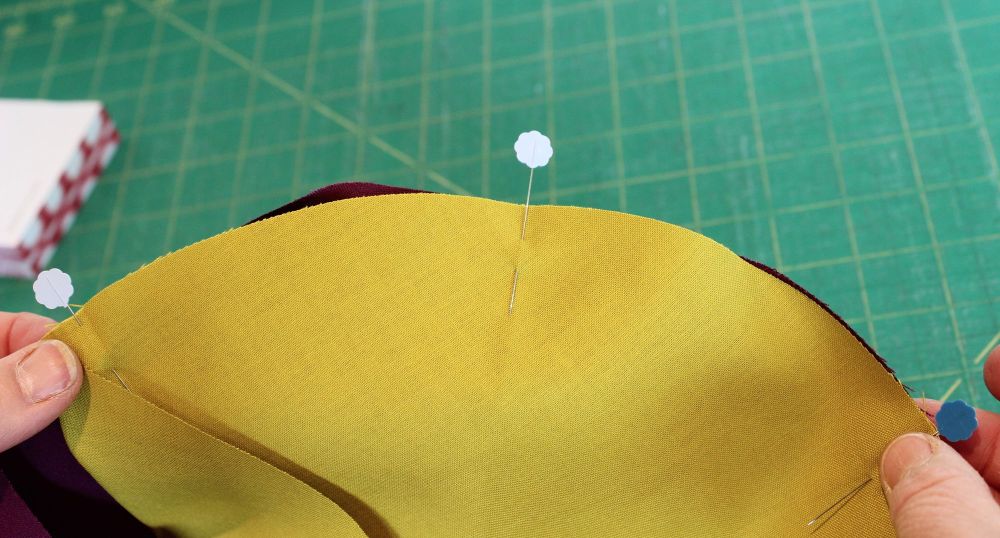
Repeat this until you have a total of 8 pins evenly spread. You will then need to repeat the process creating sub-sections so that you end up with 16 pins evenly spread.
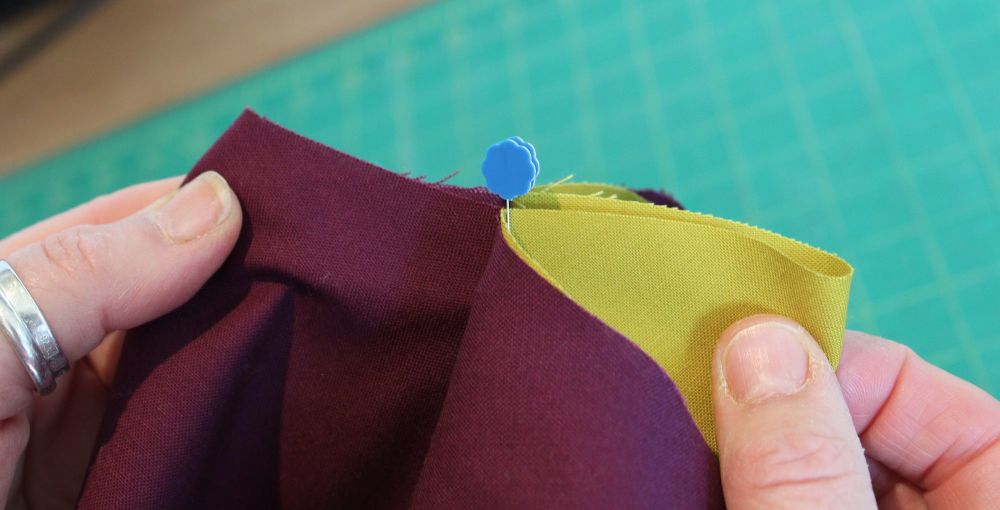
Now you’ve completed the pinning this is where the teasing comes into play. Using a quarter inch seam allowance and short stitch length (1.8 on my Janome) make sure that both layers of fabric are lined up against the edge of the presser foot. The fabric may start wanting to wander off with one layer behaving and the other going walkabout and you may need to tease the fabric into place. I had some stuffing tweezers and a wooden thingamajig handy in case I needed them. If you don’t have either you can use a pin.
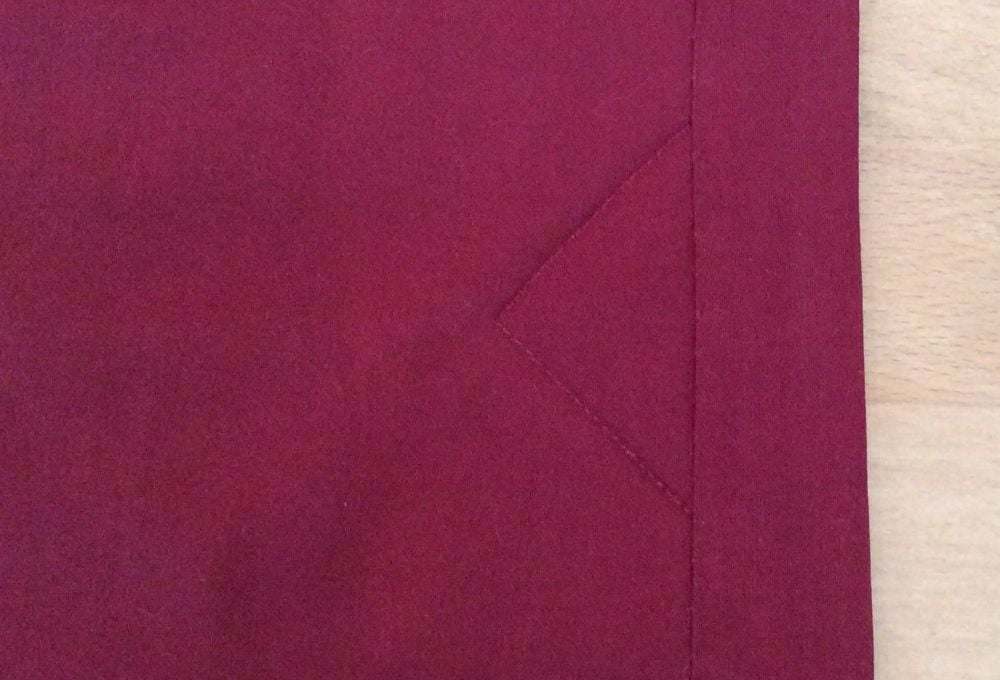
The image above shows how the fabric veers to the left. As much as possible you want the fabric pointing straight down - like in the image below.
Sew slowly and tease and ease the layers so that they remain on top of one another and don’t shift. If possible when you’re sewing have the two-inch section of fabric immediately in front of the needle straight and not curving is either direction. This will make sense when you try doing this. You want to be sewing straight rather than on a bend.
Stop periodically (probably every few inches) to readjust the fabric. The needle should always be in the down position when making any adjustments. The odd wrinkle may appear but so long as you don’t sew over a wrinkle, it should be possible to press out any wrinkle with an iron later on. It pays to take your time so that you don’t need to unpick and re-sew a section.
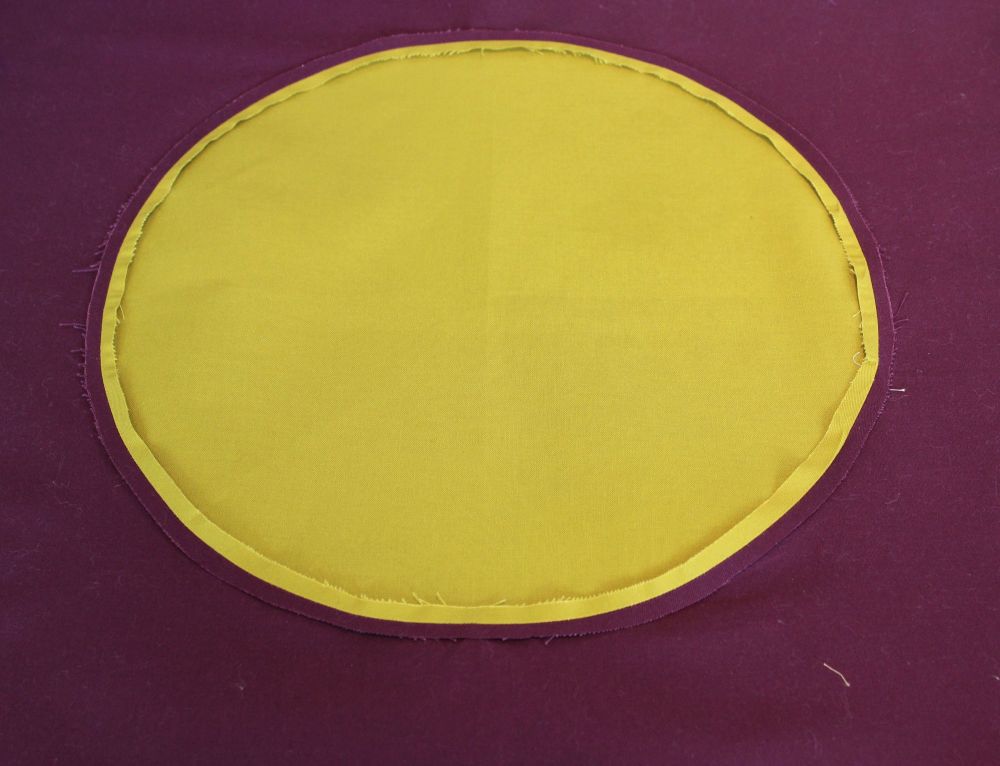
Once you have completed the circle do a couple of backstitches. Check that the seam allowance is consistent all the way around.
As I mentioned before the fabric can become distorted if over-handled so if you take your time and don’t stretch the fabric it should be possible to create an almost perfect circle.
For this method it’s preferable to press the seams open. You want a clean flat pieced circle with minimal bulk.
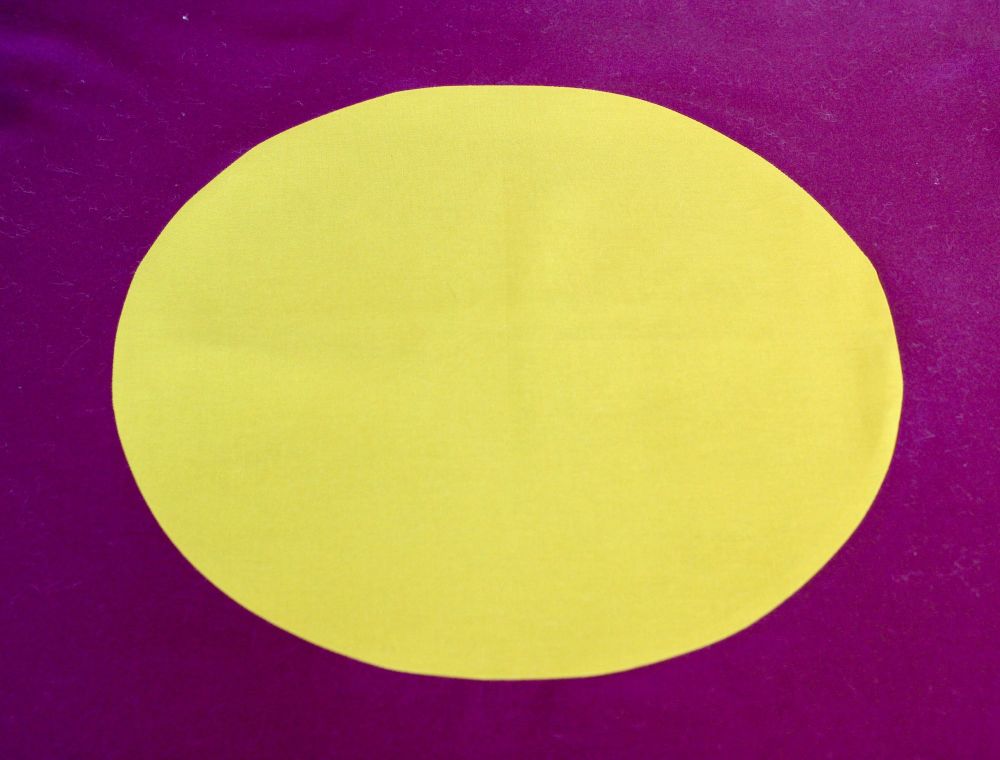
Carefully press the seams open, applying a little steam. Once you've done that press the remainder of the block and hey presto one completed pieced block.

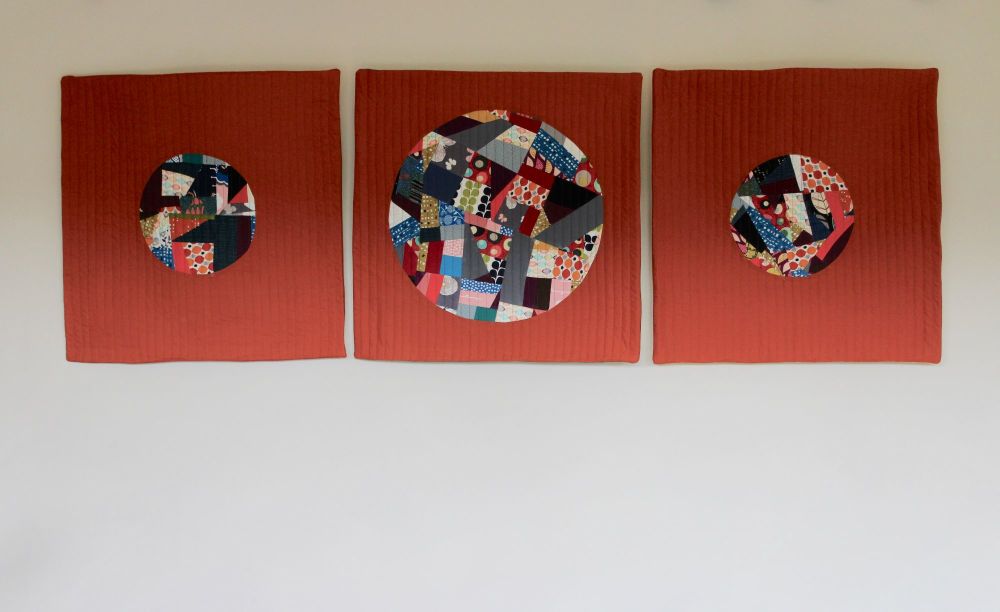
I have included a photograph of some scrappy wall hangings I recently made using the method described in this tutorial. It’s worth mentioning that when insetting the scrappy circles I noticed the fabric was less forgiving as it wasn’t on the bias.
I hope you’ve found this tutorial useful. You can leave a comment by clicking the link below. Why not have a try using some scrap fabric.

