Sewing a straight line sounds simple enough doesn’t it, yet in reality it can be harder to achieve that one might imagine. It’s a bit like trying to draw a series of straight lines without the aid of a ruler, or trying to walk a straight line.
The best tip I have is to know your machine and its accessories. Spend 20 minutes or half an hour really getting to know your machine or reacquaint yourself with some of the basics of your machine if it has been languishing in a cupboard.
I confess that I didn’t spend the time getting to know my old machine, which used to belong to my late mother-in-law. When I bought my current machine part of the ‘package’ was a whole day’s tuition at the sewing machine shop on ‘Getting to Know Your Machine’. That day in the shop was invaluable although just one day wasn’t anywhere near long enough to cover all the functions as my machine is pretty whizzy-do and so since that ‘Getting to Know’ session and much to my delight I have stumbled across lots of other functions.
Quilters almost always use a ¼” seam although on occasions a scant ¼” seam is used. A scant ¼” is a smidgen smaller than a ¼” and I will come back to scant ¼” seams on another occasion.
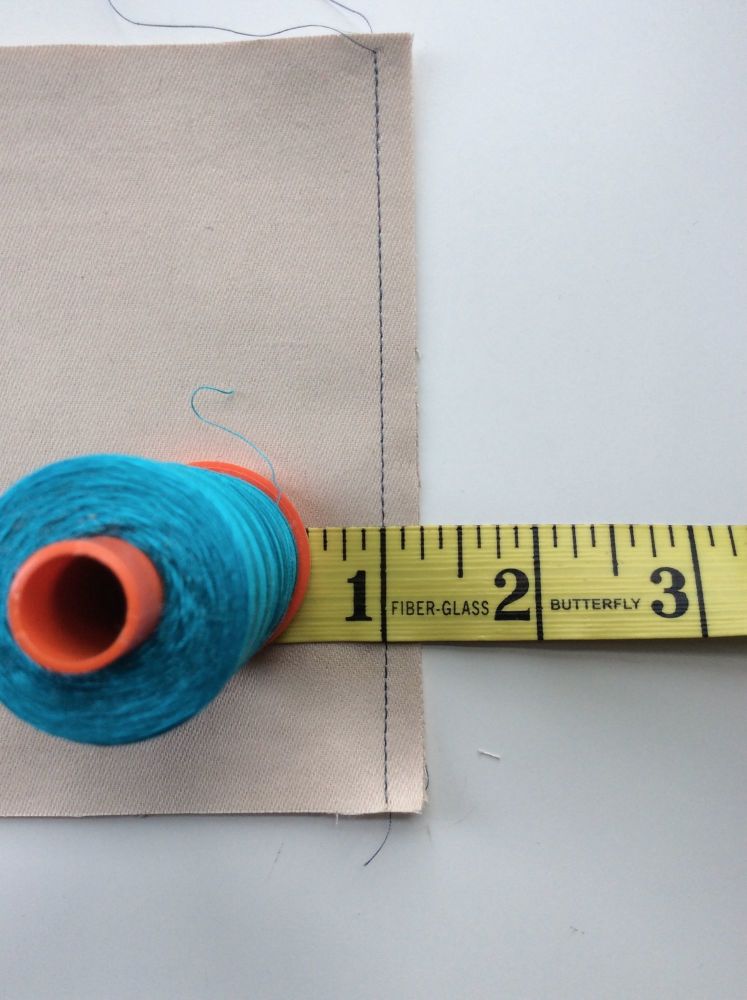
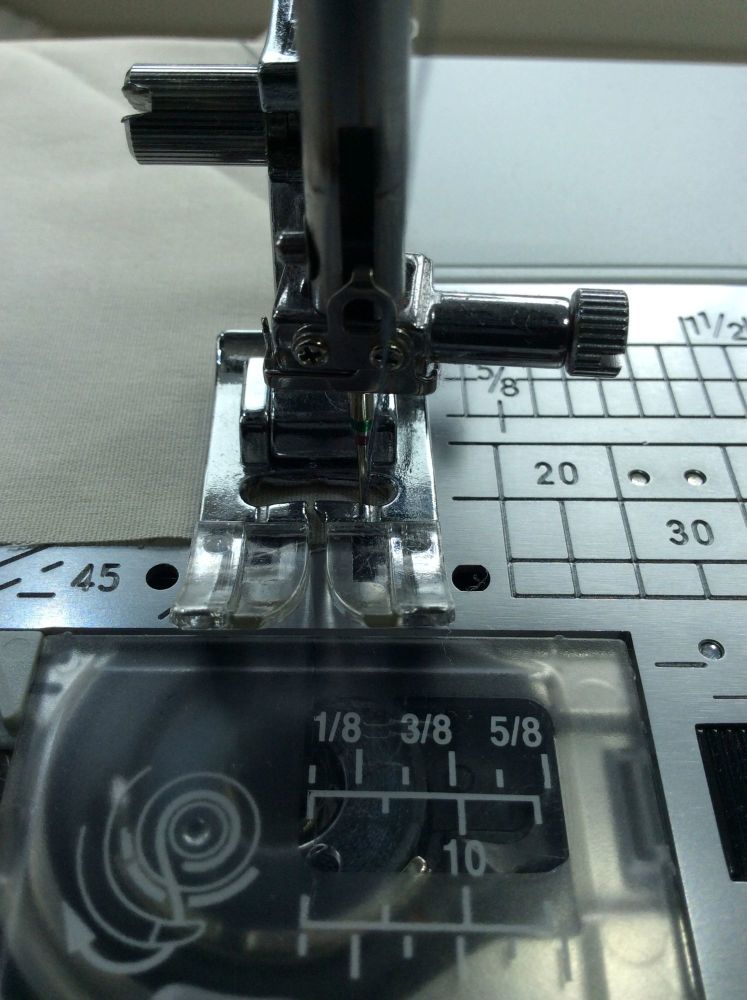
If you haven’t done so already take a good look at the needle plate or foot plate on your machine and familiarise yourself with the markings as these will help you in the long run. If your machine doesn’t come with ¼” markings, you will need to find out what width your seams are by sewing one and measuring the distance from the stitch line to the edge of the fabric and then adjust the stitch width on your machine so that the needle is in the right position. Consistency is what you are aiming for and if you can sew your patches in straight lines this accuracy with help when sewing blocks together.
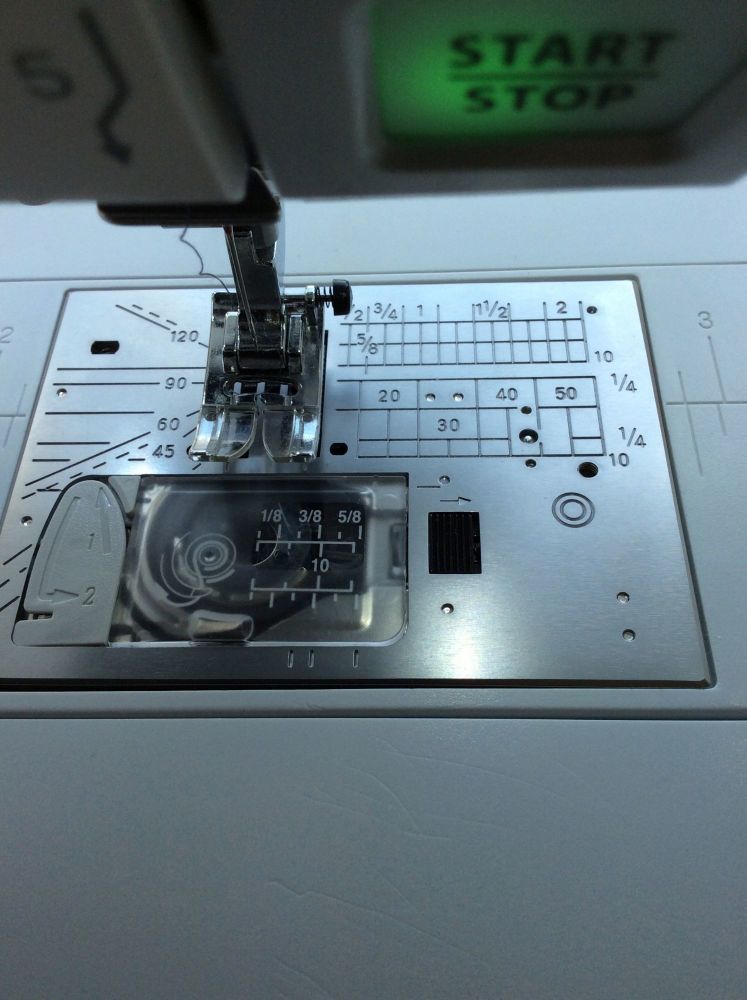
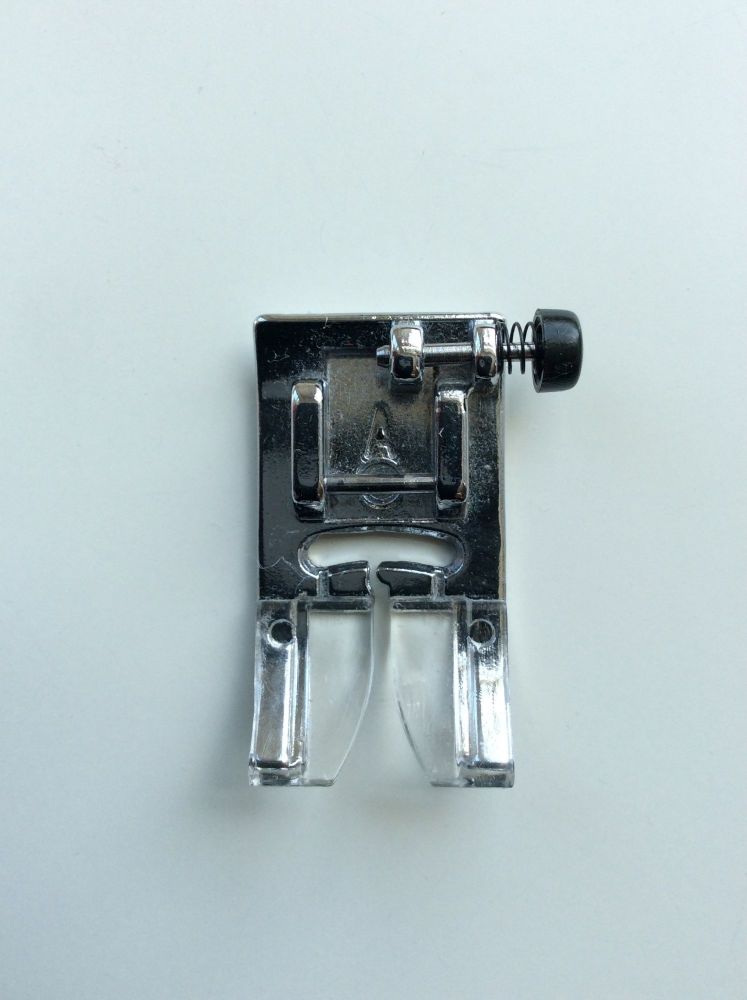
Next have a closer look at the standard presser foot for sewing a straight line. The one in the image below is for a Janome Atelier 5. Whatever presser foot you have for your machine take a close look to see what markings there are and get your tape measure out if necessary. There may be markings or grooves at the front, back and at the edges of the foot.
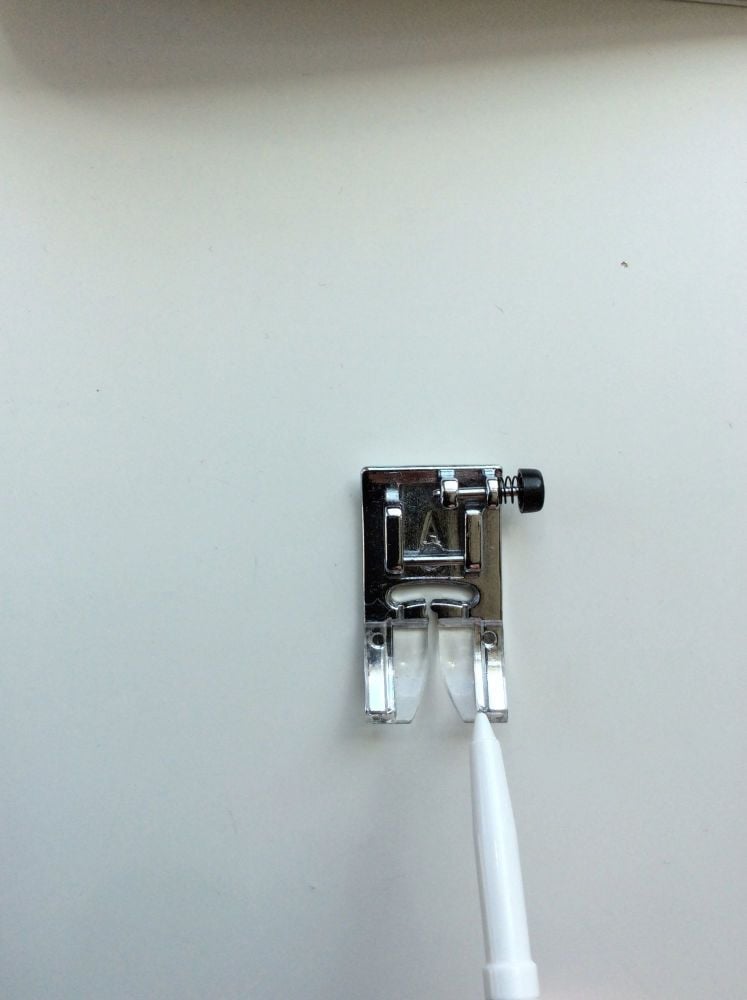
In the next photograph I’ve used pointer to show a groove in the presser foot. This groove is the guide that can be used so when it comes to sewing the fabric the raw edges of the fabric need to be lined up with the groove.
A couple of tips before you start sewing: make sure your fabric has straight edges and that the fabric has been pressed rather than ironed. Treat your fabric gently as if you iron the fabric rigorously it may become distorted. Try not to be heavy handed with that lovely fabric. To demonstrate just how easy it is to distort fabric hold of a small piece (a scrap piece that you don’t mind practising on). Try stretching the fabric horizontally and then vertically and then diagonally and you will notice that when stretched one way there is some give and the other way virtually none and when stretched on the diagonal (the bias) it will stretch. If the fabric is overworked or excessively stretched it will become distorted and achieving those yearned for straight lines will become even more elusive.
You may want to spray starch your pieces before you start sewing. Spray starching gives you lovely crisp fabric so is worth thinking about.
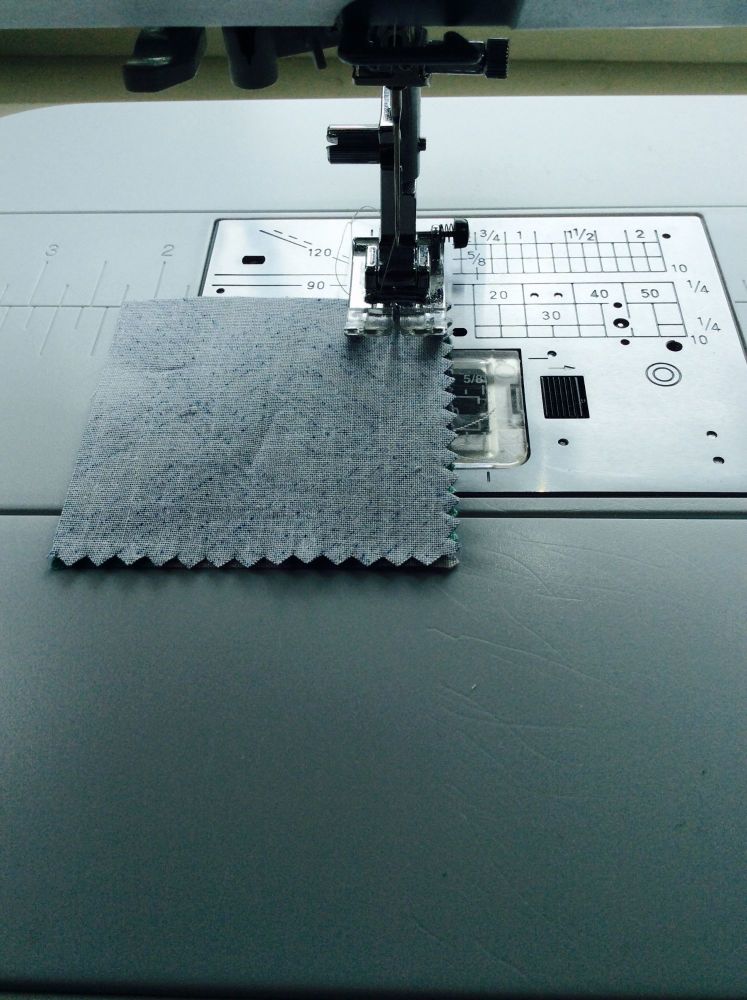
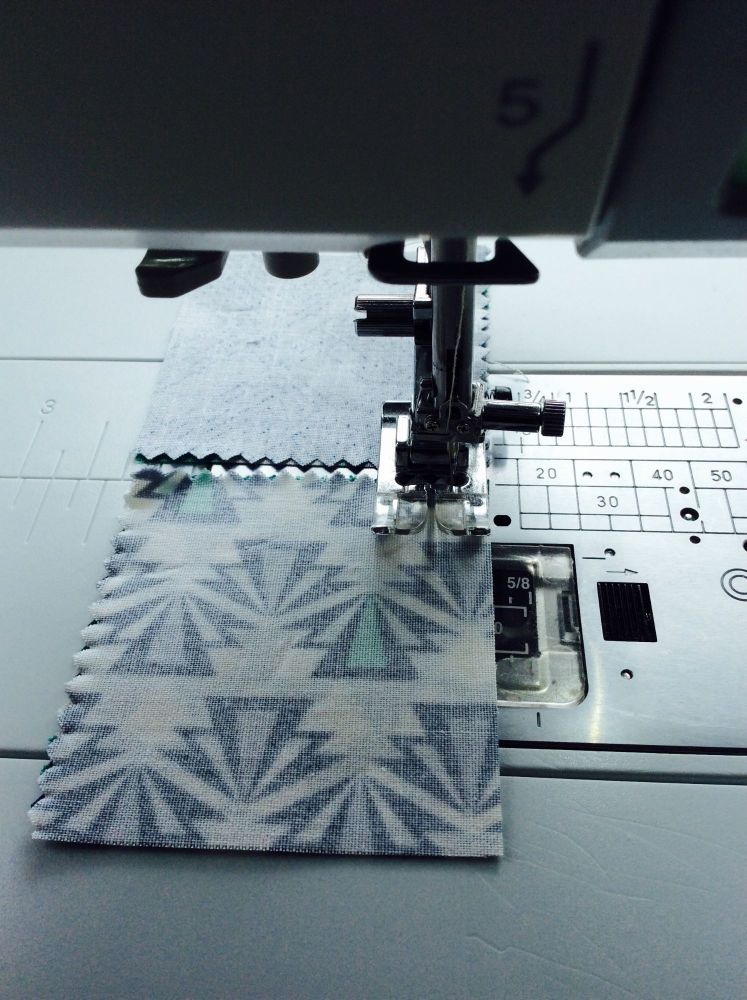
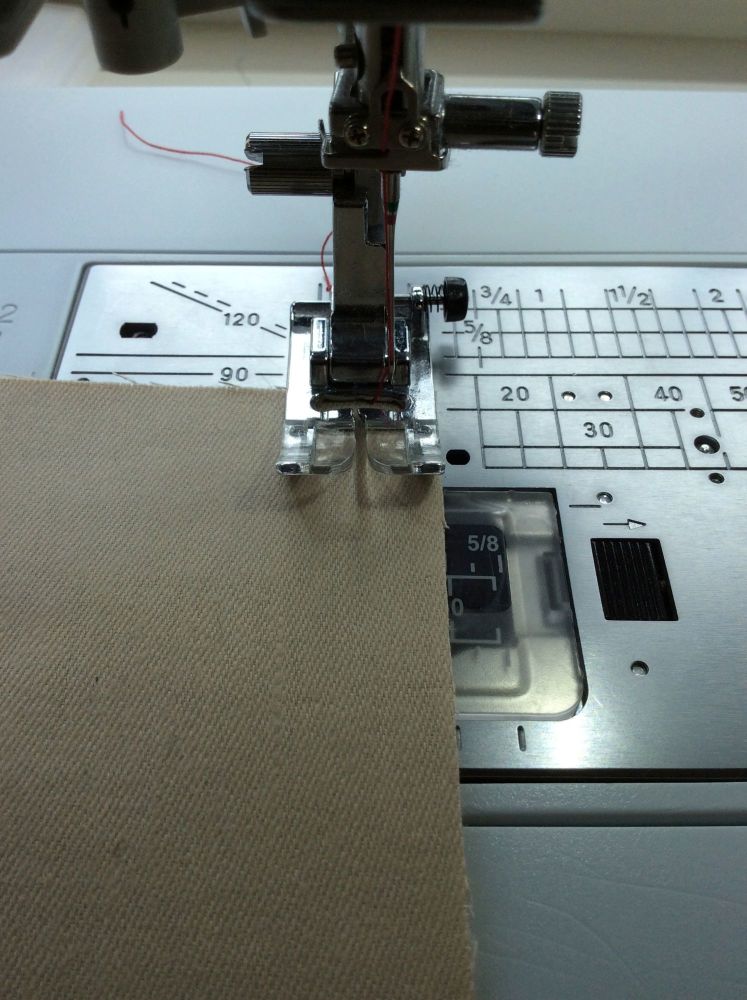
Now it’s time to sew a straight line. Place your pressed pieces of fabric on your machine so that the raw edges of the side you want to sew are lined right up against the ¼”marking on the presser foot and that the raw edges are also lined up with the ¼” marking on the needle plate, if of course you have those markings. See the photos below.
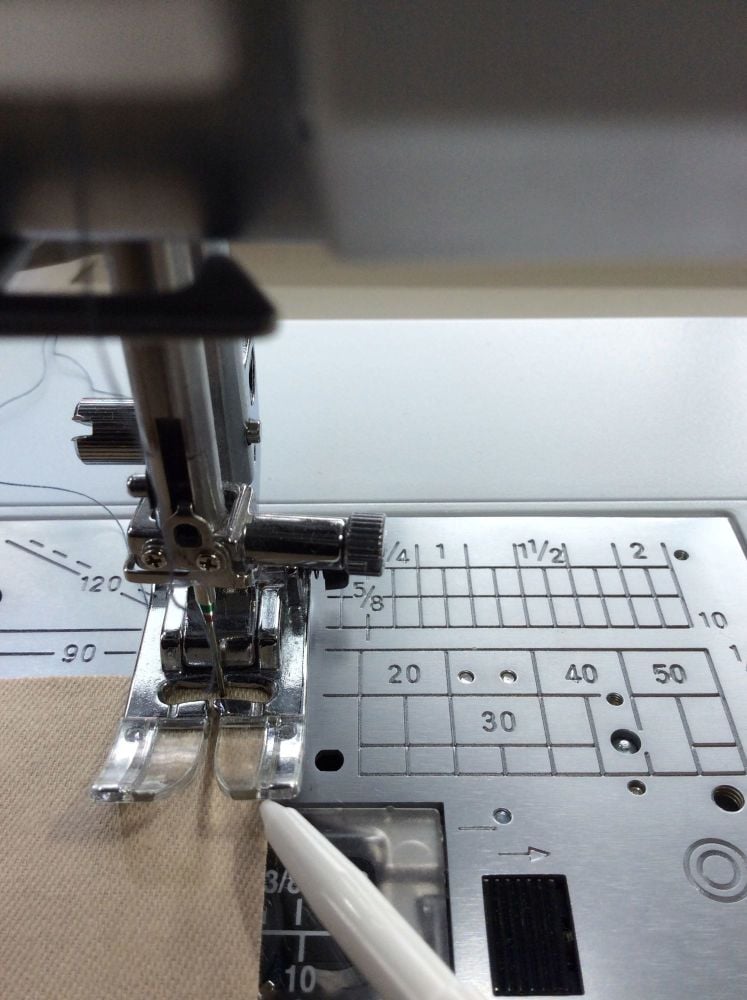
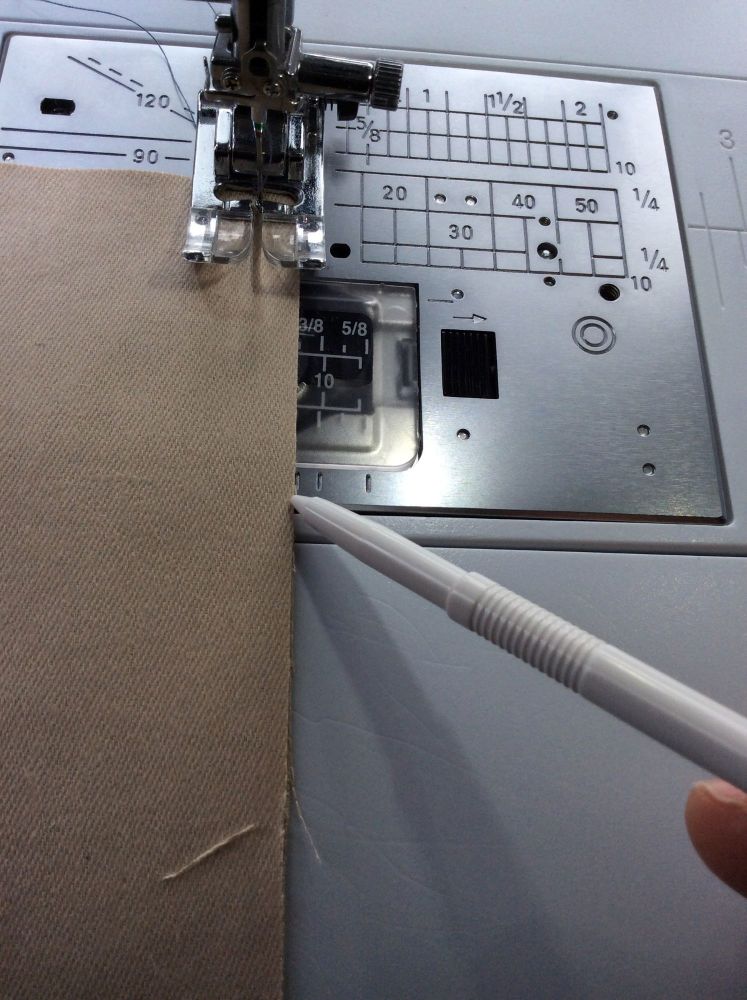
If you don’t have these markings on your presser foot or on the needle plate, create your own guide by placing a piece of tape (blue or masking tape) on to your machine. You will have to carefully measure where the tape needs to be placed by inserting the needle into the fabric and carefully measuring a ¼”. Each time you sew a seam you can then use the edge of the tape as your guide. If you're not clear how to do this just send me a message and I will try and explain in more detail.
When piecing patches together there’s no need to do any back stitching although you can if you want to but it becomes a bore if you need to do any unpicking!
So my top tips are:-
- Make sure that your fabric has straight edges before you start sewing.
- Start with the needle in the downward position and gently hold the threads slightly to the left to prevent bunching. Once you have sewn a couple of stitches to can release the loose threads.
- Use your hands to gently guide the fabric as you sew. Don’t pull the fabric as it may stretch and become distorted and this will make it harder to achieve straight lines.
- Guide the fabric right to the very end. It’s very easy to let go and sometimes the fabric can start veering off course and if that happens you’ll lose that lovely straight line, so it’s worth slowing down as you approach the end.
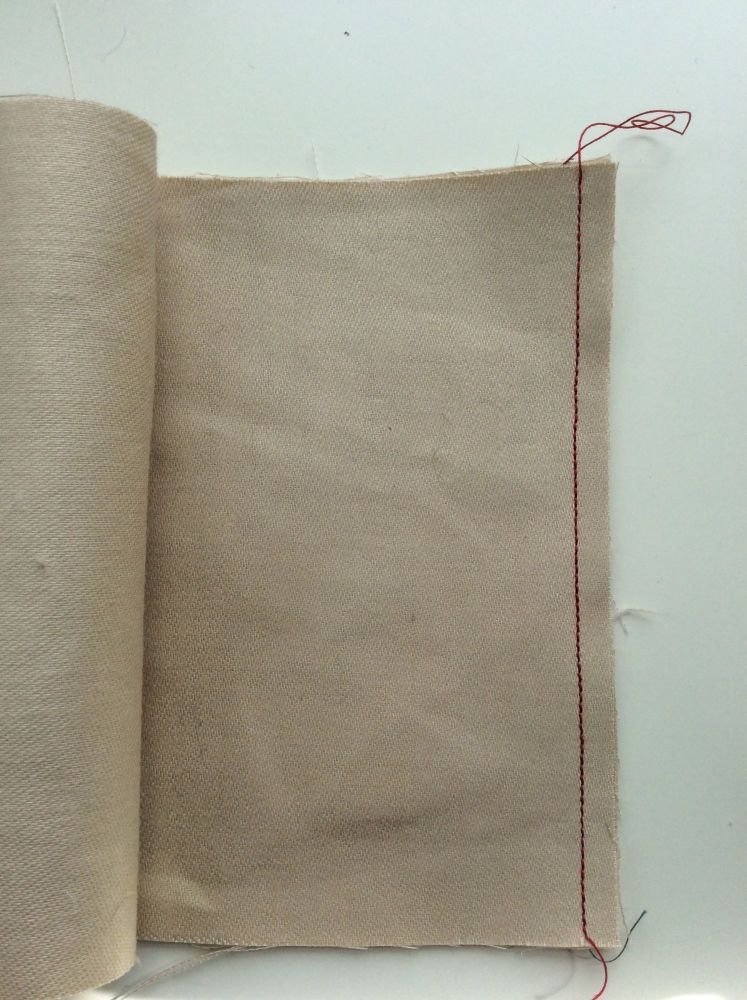
This is the seam I sewed using the standard straight stitch presser foot and the guides on the foot and the needle plate to help.
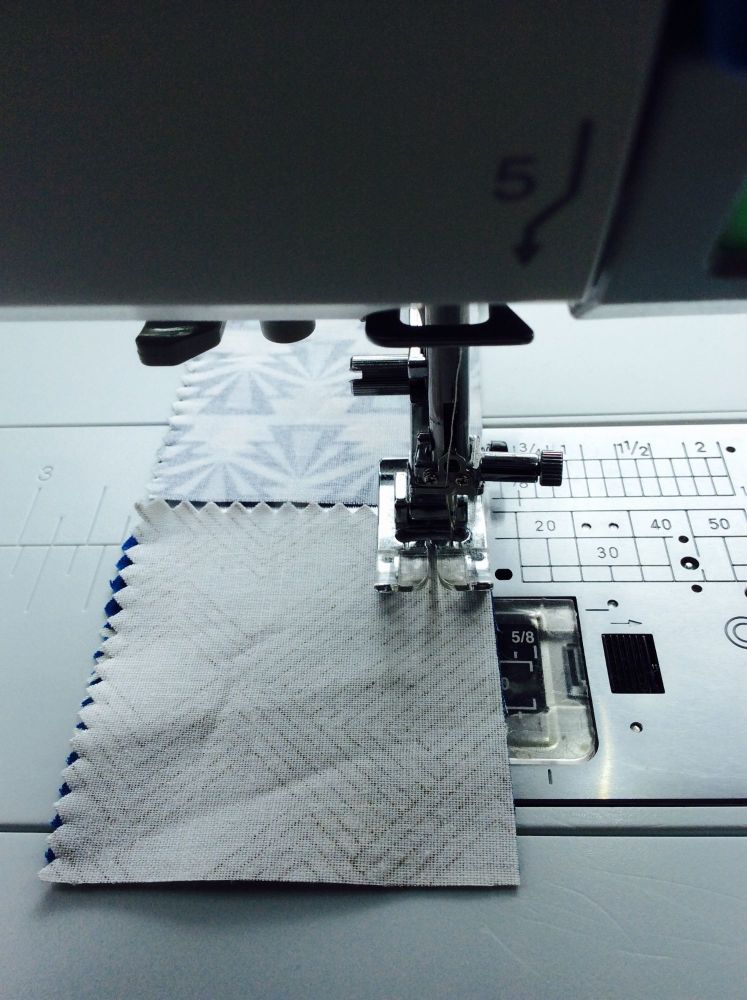
My machine is computerised which happens to have a quarter inch setting and this is the setting I use most often. However all the setting does is move the needle so that instead of being in a central position it is slightly to the right. I still need to make sure that I have the fabric in the correct position so when I use the ¼” machine setting I use the edge of the presser foot as my guide rather than the groove as shown above. See below and you’ll notice that I’ve placed the edge of the fabric in a different position.
Another tip for you: on occasions instead of sewing off the end or stopping at the very end you may need to stop ¼” from the end. This will come in handy when you want to do a mitred corner for example. Again there are markings on the foot and on the needle plate that you can use as your guide. If you are going to rely on the presser foot there is a small groove at near the front end as indicated below:
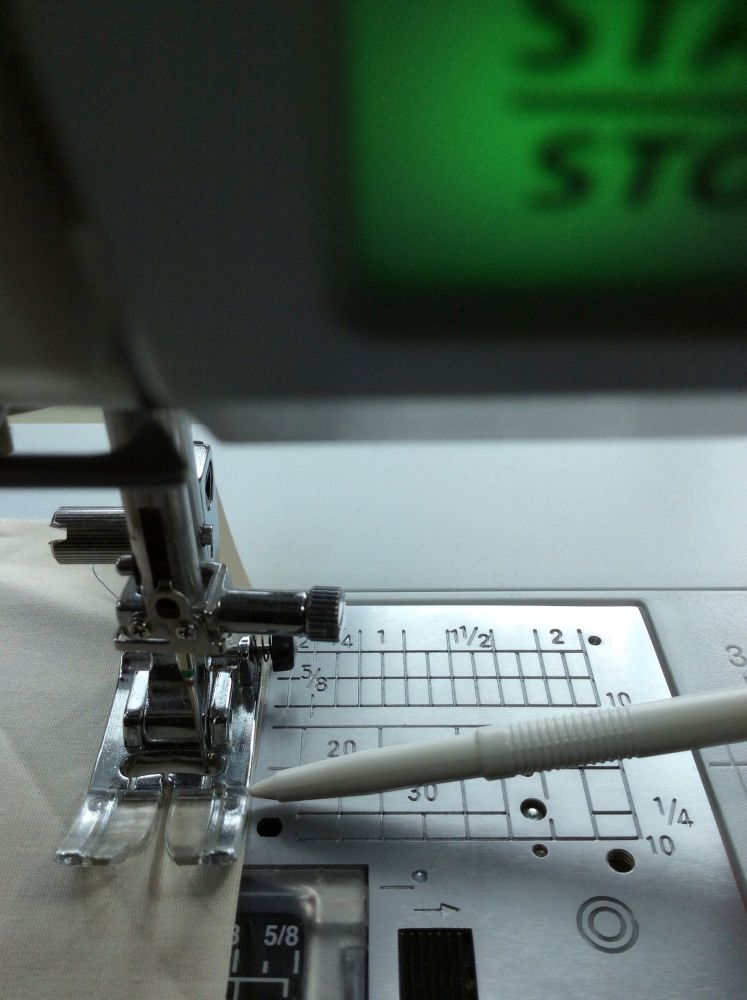
Sew right up to that mark and stop. At this point I would do a couple of backstitches. It may look very close to the end but as long as you don’t sew beyond that small groove it should be all right.
You may want to try this out on a piece of scrap fabric so that you are confident. Alternatively you can mark the fabric where you want to end or use a pin to mark the spot.
At the end of the day you need a guide, whether it is the edge of the presser foot or the groove on the foot or a piece of tape so long as that guide is straight you should be able to achieve straight lines too, so have a play around and see if using the guide on the presser foot and needle plate help.
