How To Add a 'Magic' Binding
Posted on
First of all a confession: I don't know the technical term for this technique. It certainly isn't new but it is new to me. For now I will refer to it as a 'magic' binding but it could be called a hidden binding or an interface binding.
This method of adding a binding to finish off a quilt is very effective if you don't want to 'frame' your quilt. The absence of a visible binding creates a modern look that is appealing and it's a method I have now used on a number of projects. The beauty of the technique is that it is remarkably easy and can be applied on quilts of all sizes.
Here is an example of a small quilt I made where I added a 'magic' binding. The fabric you can see at the edges is the sashing not the binding. The binding is not visible on the front at all, it is all on the back of the quilt.
And here is an image showing a section of the front and back.
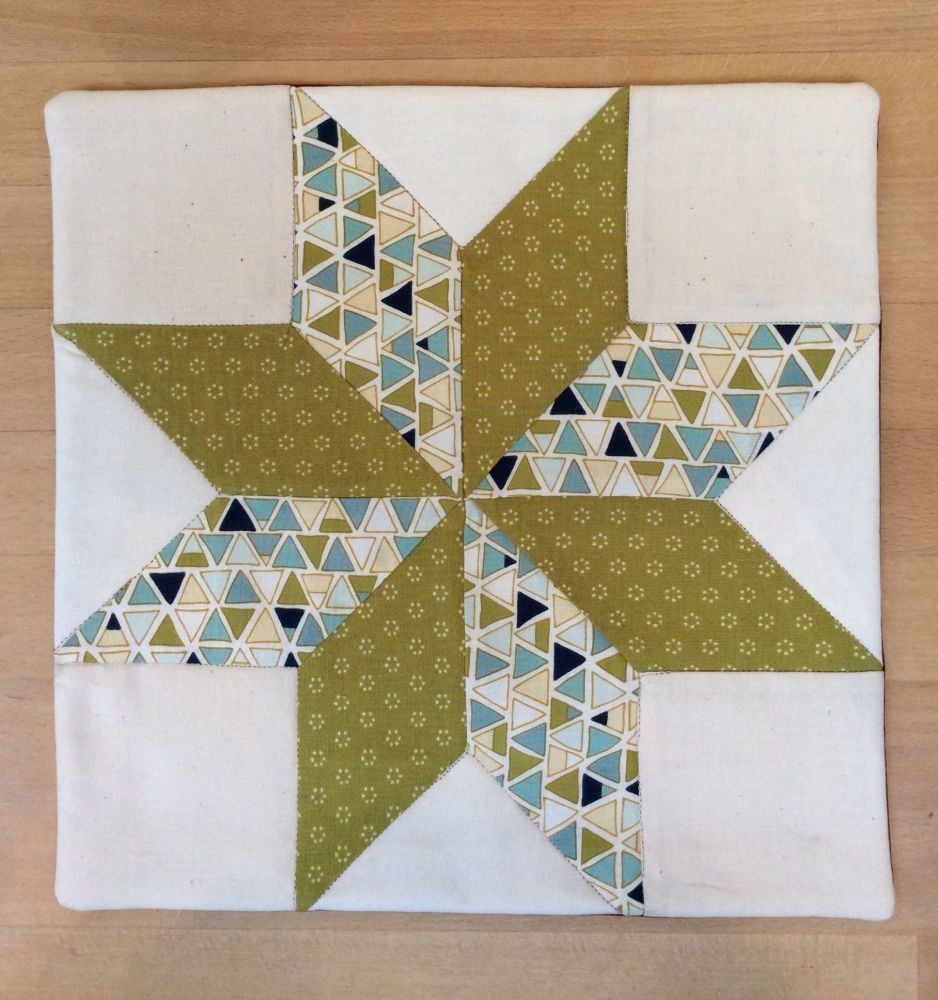
So where is the 'magic'? To demonstrate the technique I made a small eight point quilt sandwich and added a 'magic' binding.
Instead of adding the binding in one continuous length the binding is in four pieces.
I like to use binding that is 2½" wide. That's just personal choice, so if you like to have a narrower or wider binding just cut the width you prefer. Bear in mind all the binding will be on the back of the quilt and this is an excellent way to use up scraps and the binding won't be seen!
Measure the sides of the quilt, cut two pieces of the binding to size, starch and then press. I am a great fan of spray starch as it makes fabric so much easier to handle.
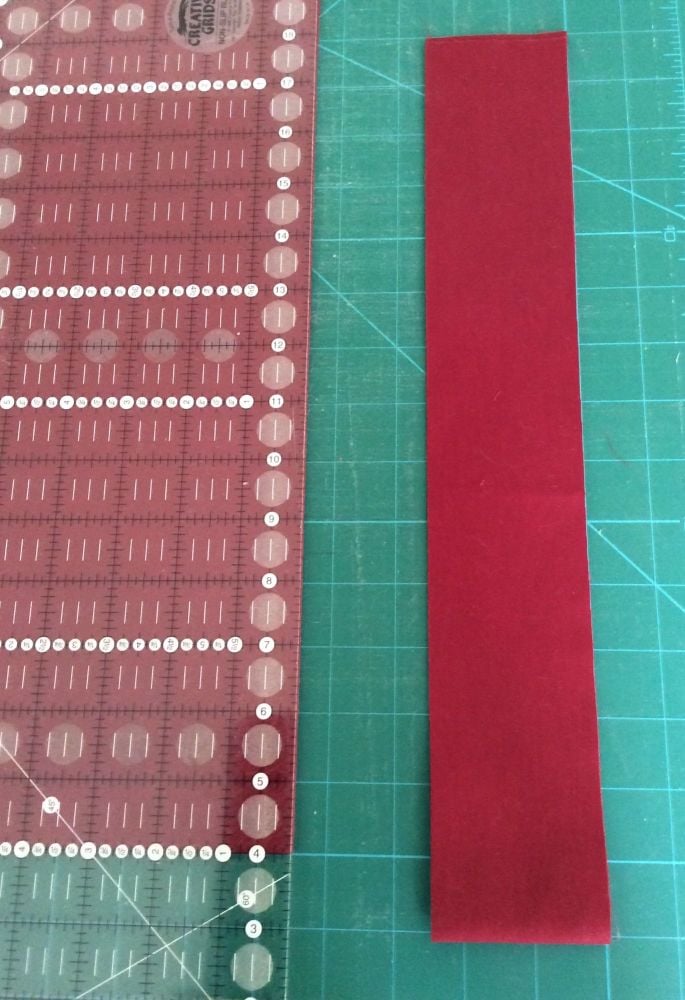
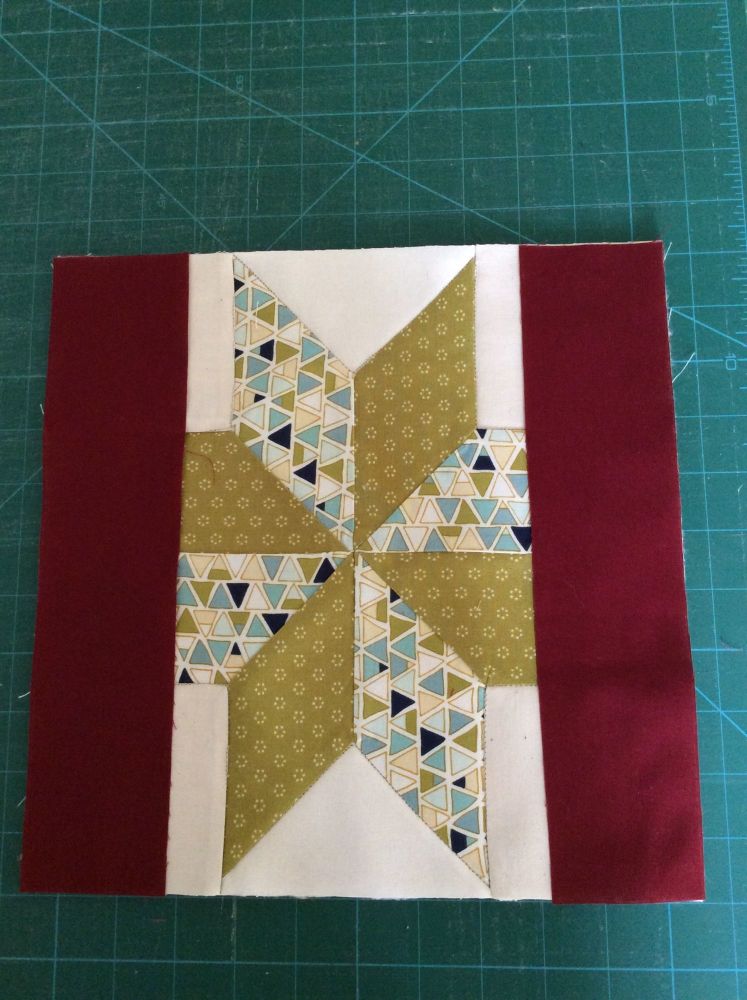
Fold the binding in half and place on the edge of the quilt top with the raw edges of the quilt top and binding facing in the same direction.
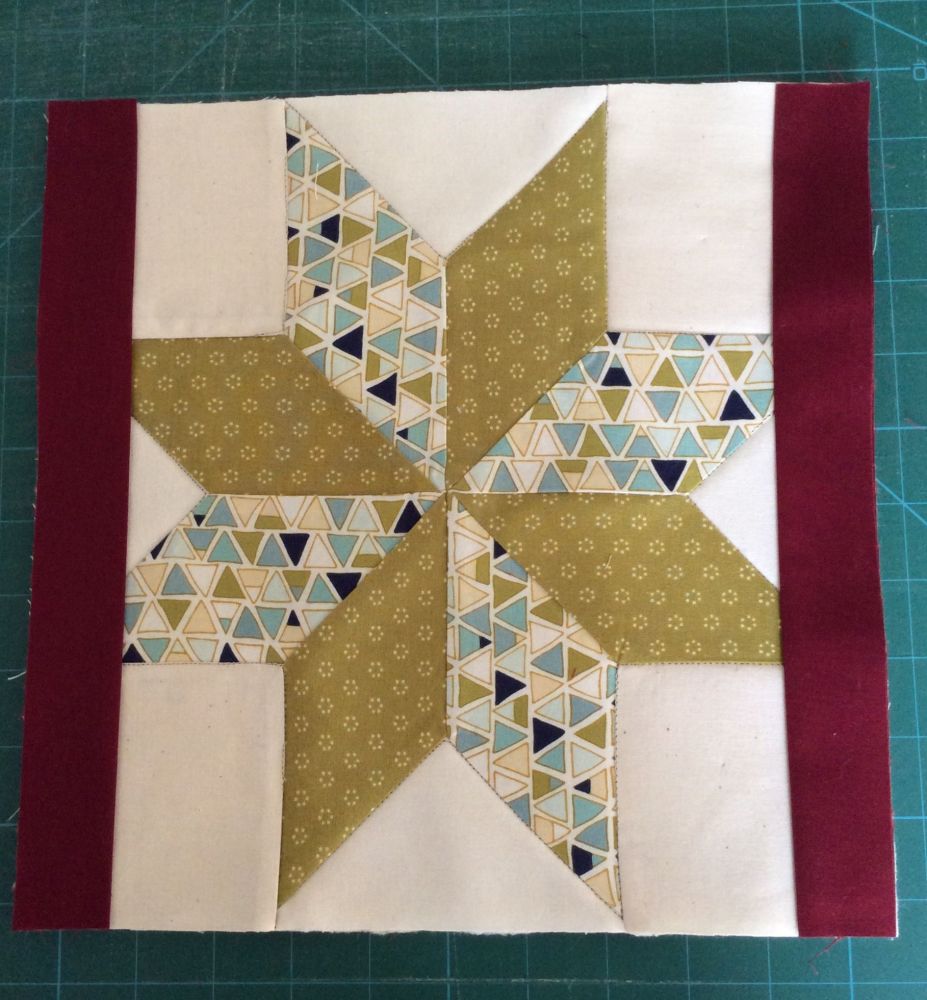
Using a ¼" seam allowance sew the binding on each side.
Next cut two more pieces of binding but this time make them slightly smaller. The best way to get the correct size is to measure the distance between the two seams on each side of the quilt and take a smidgen off that. The photograph below hopefully shows what I mean.
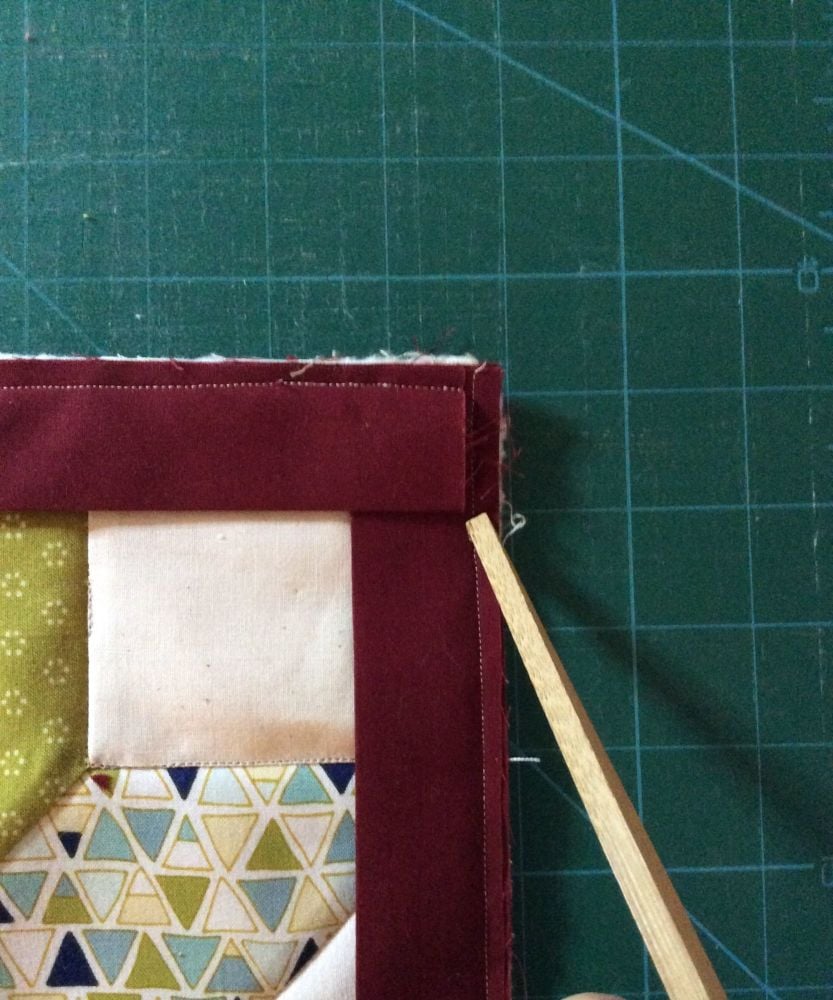
Spray starch and press the binding in half. Place the folded binding (with the raw edges facing outwards) on top of the quilt top and on top of the binding that you have sewn in place on the sides. If necessary pin the binding to make sure that it does not go past the stitching on the left or right of the side binding strips. The top and bottom binding pieces needs to lie in between the side seams.
Once the top and bottom binding has been applied carefully snip the corners to remove the bulk, making sure that you don't cut into any of the stitches.
And now for the 'magic'. Ordinarily if you are adding a binding where the binding is sewn onto the front you would fold the binding so that part the binding remains visible on the front and the rest is on the back and you either finish it by machine or hand. For this technique you have to fold the entire binding on the seam all the way round so that none of the binding is visible on the front. The corners may need a bit of manipulation to get a neater finish and then use Wonder Clips or pins to hold the binding in place.
The last stage is to hand sew the binding in place.
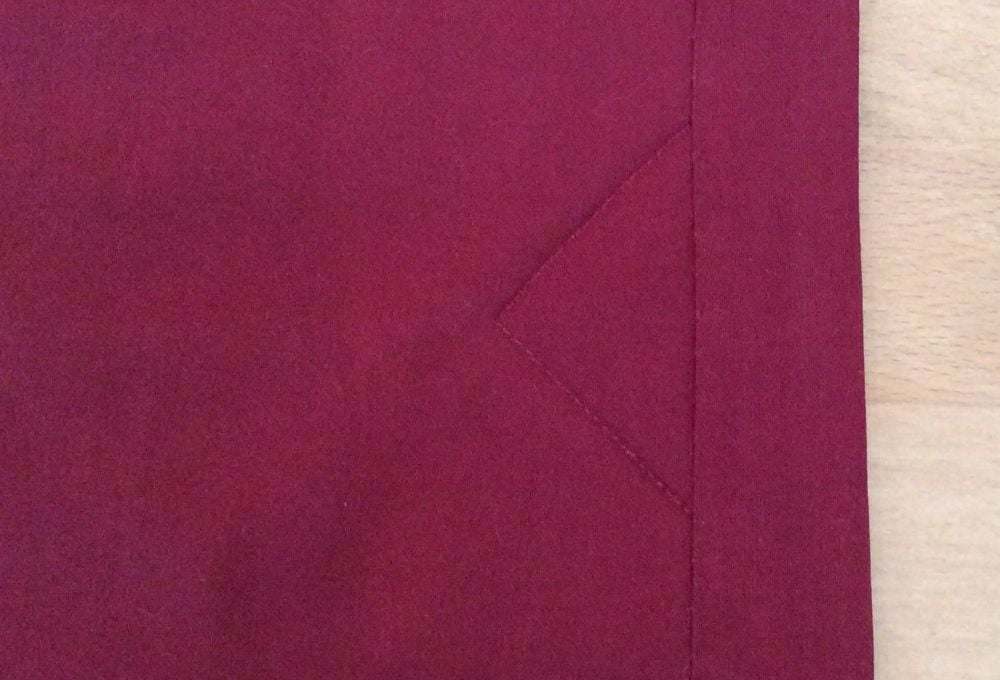
And voilà! 'Magic' binding.
I hope you've found this blog useful and that you will try the technique yourself.

Add a comment: