Dot and Dash Creation
Posted on
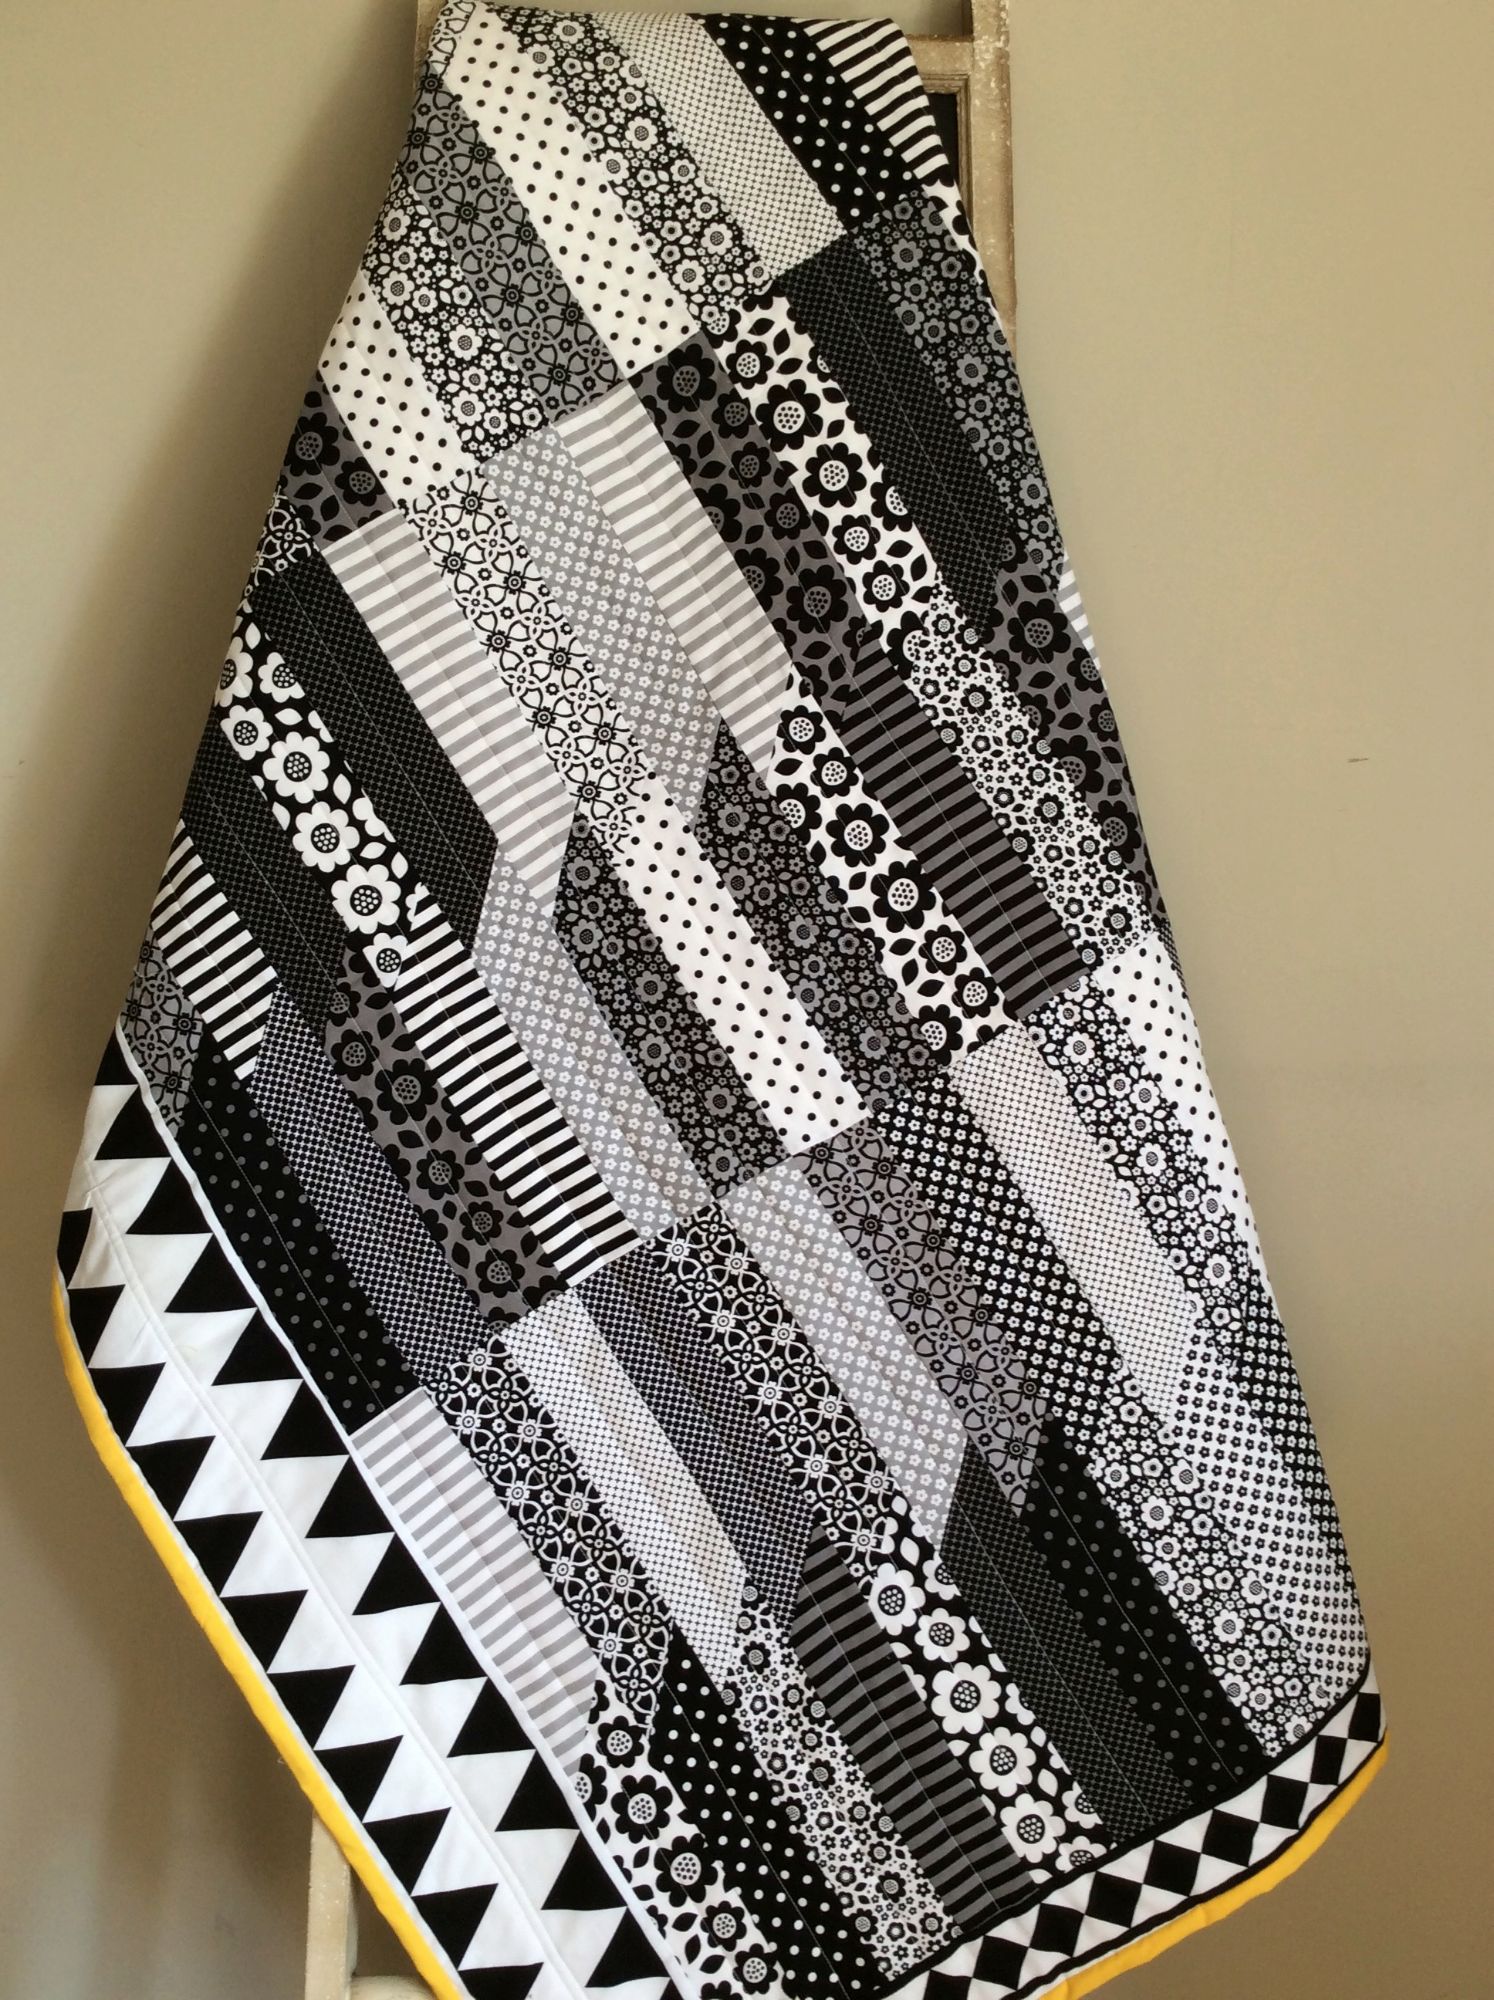
As a fan of pre-cut fabric I like to see what I can make with just a bundle or two. Sometimes, but not always, I have a rough idea of the look I'm after.
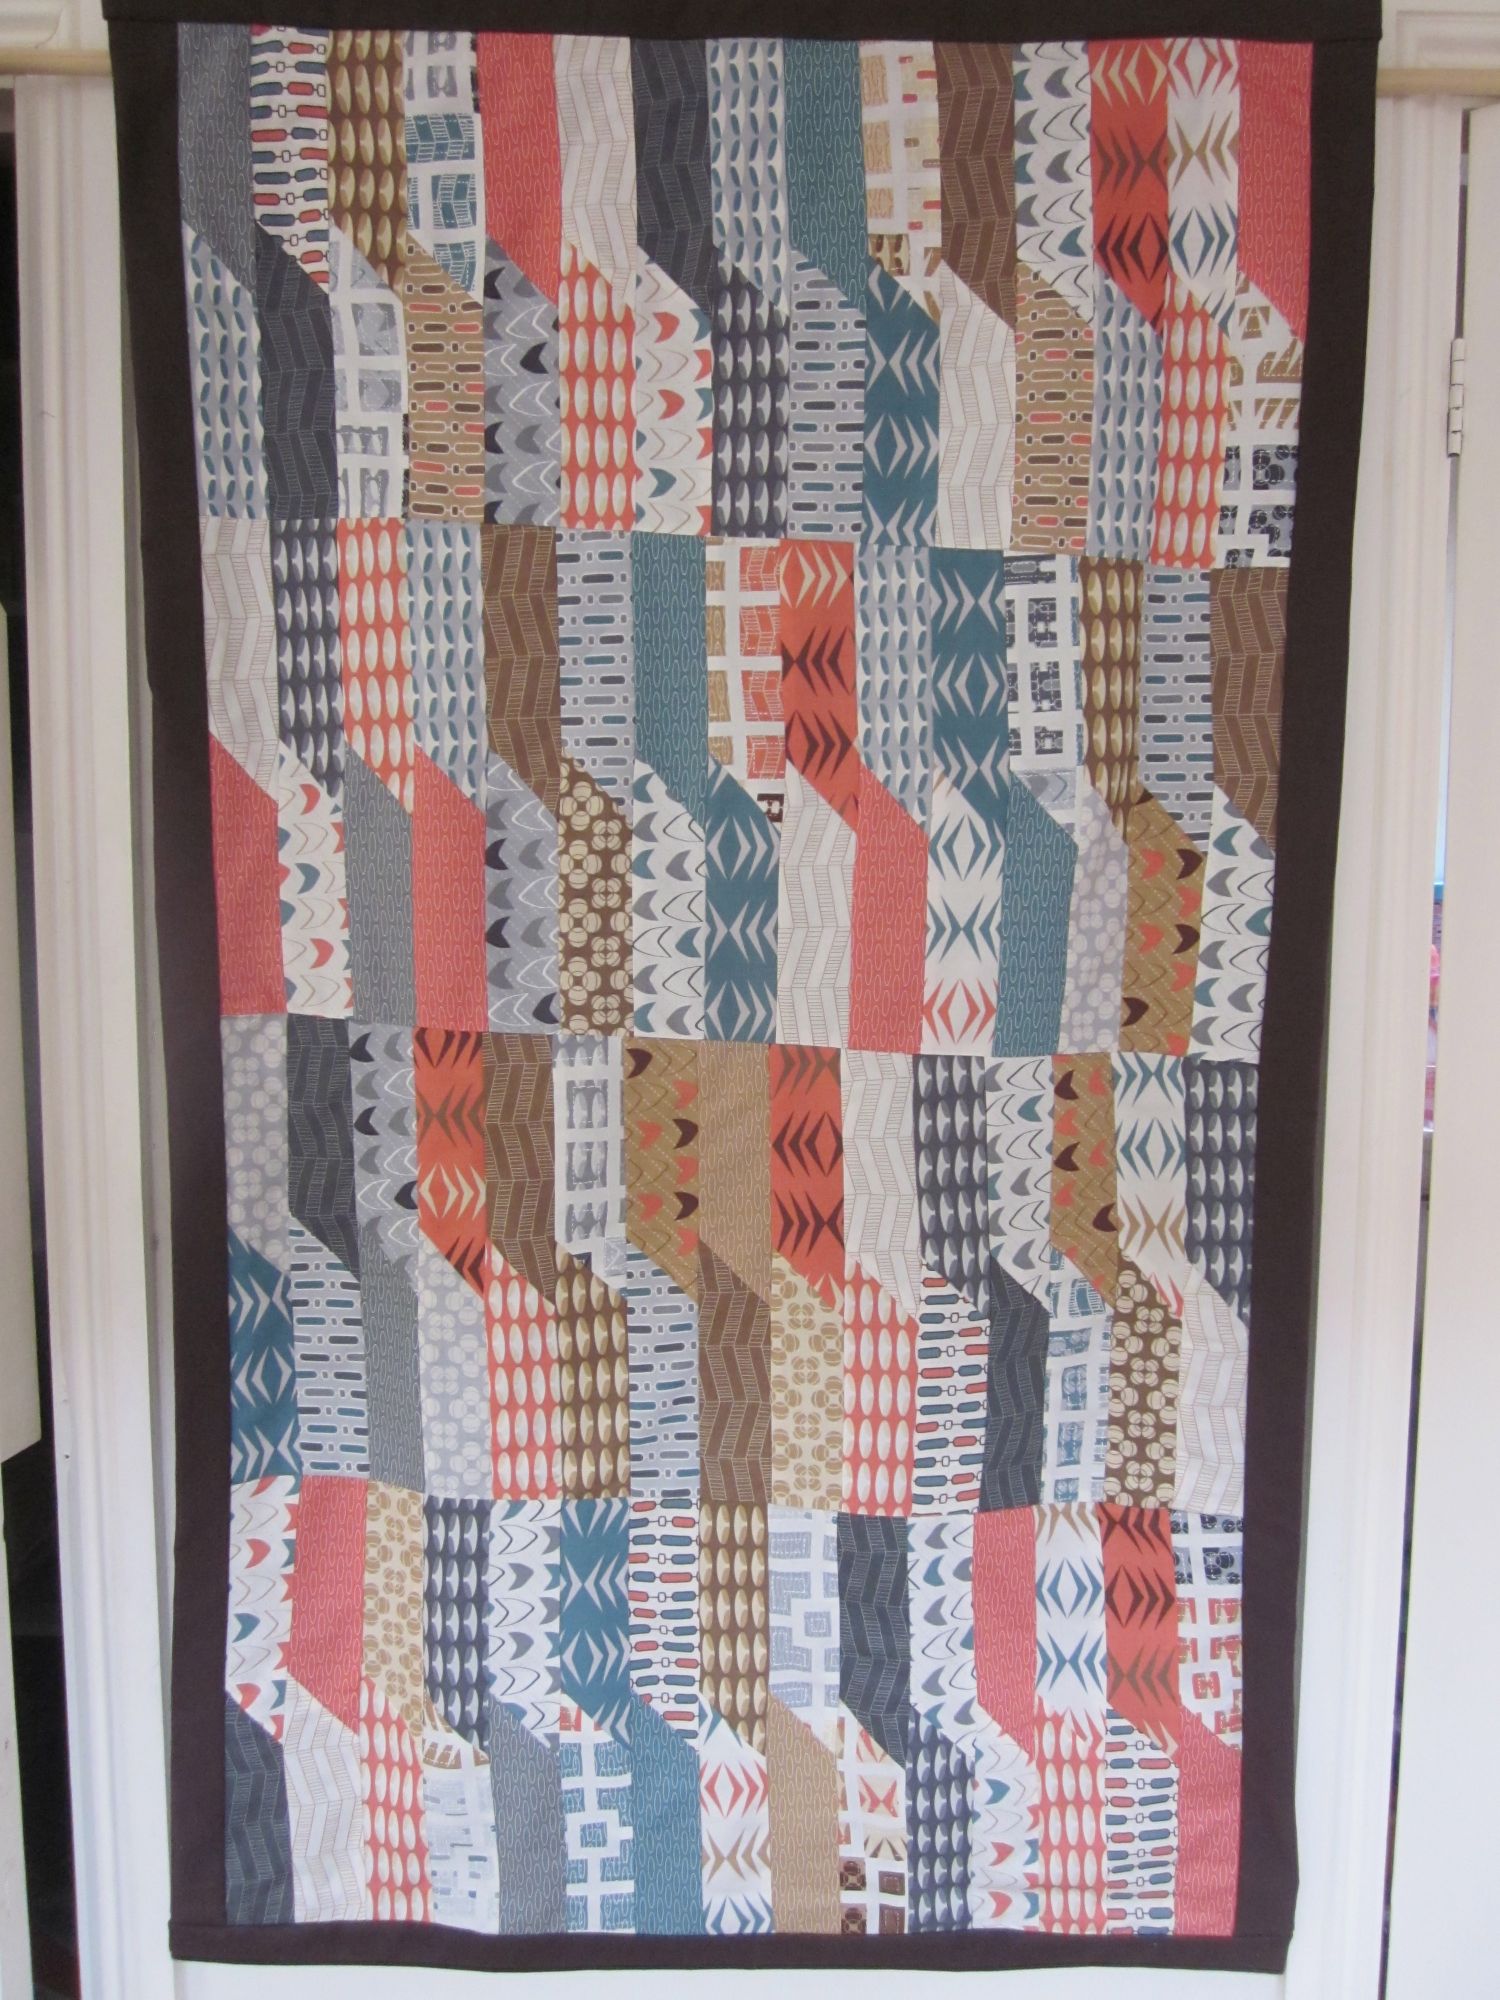
Riley Blake's Dot & Dash fabric seemed like the perfect bundle to try out something creative. I used a pattern I came up with ages ago which I used for a wall hanging. At the end of this blog I've included an image of the wall hanging for illustration purposes.
After posting a photo of the Dot and Dash quilt on some quilting sites, several people asked for details about the pattern so I decided I would re-do the quilt top and try to improve it. I haven't quilted the latest piece yet, so I've only done the top so far, as I'm currently eagerly waiting to receive a 1/4" ruler foot so I can try my hand at using some templates and ruler work to quilt the piece.
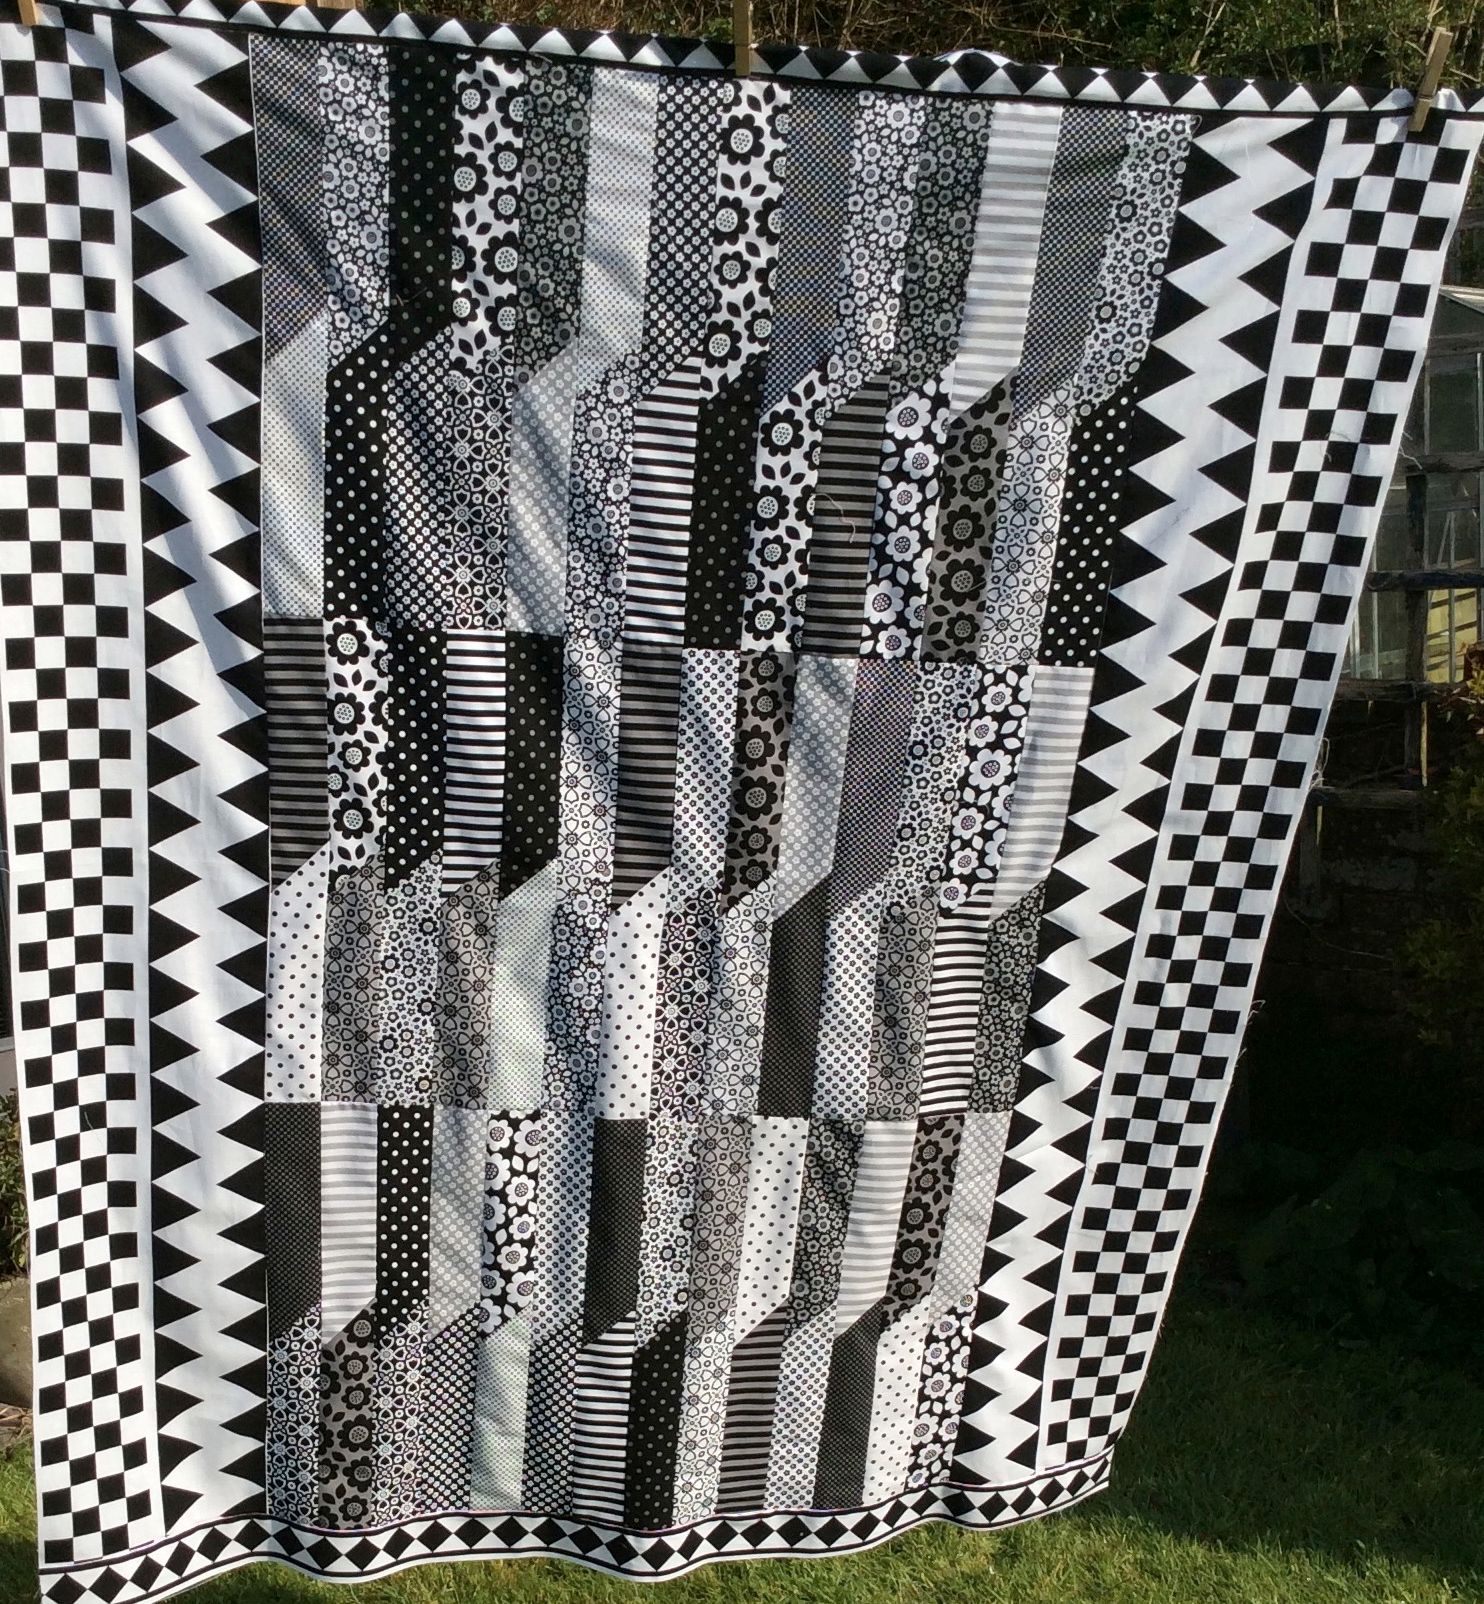
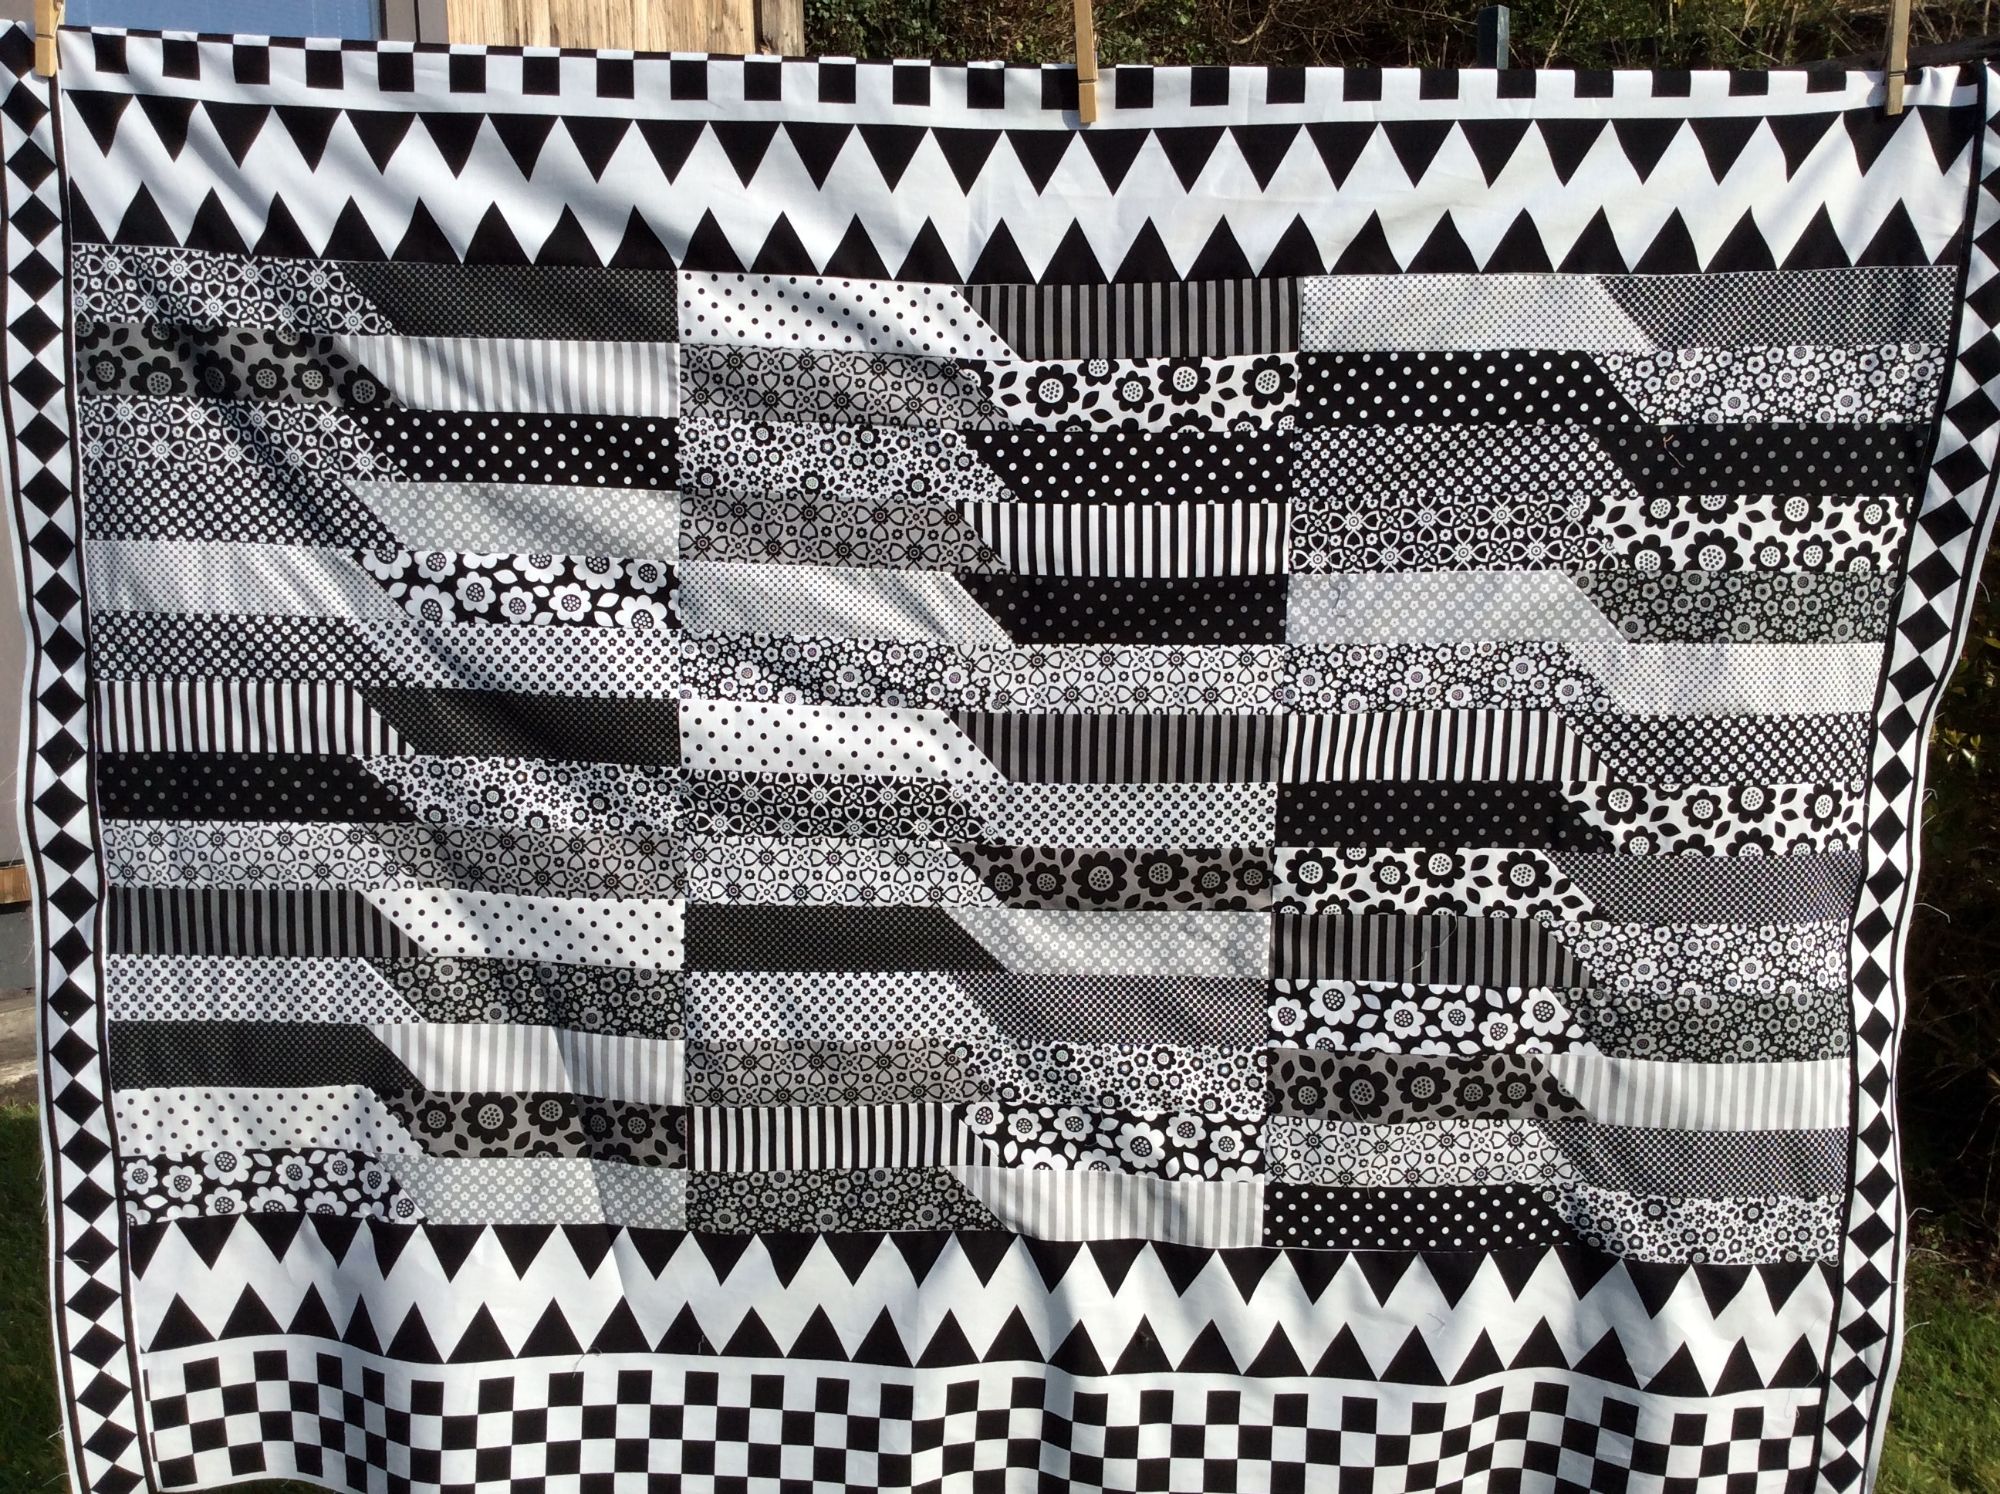
My original quilt measured W36.5" x L55.5" or W92.5 cms x L140.5 cms and the latest version now measures W45" x L56" or W114 cms x L142 cms.
If you are planning to use the Dot and Dash Rollie Pollie, bear in mind that it has only 21 strips so if you want a larger quilt use 2 or more bundles. Alternatively you could use a Dot and Dash 10" Stacker (small layer cake) which has 21 10" squares. This could be sliced into 2.5" strips.
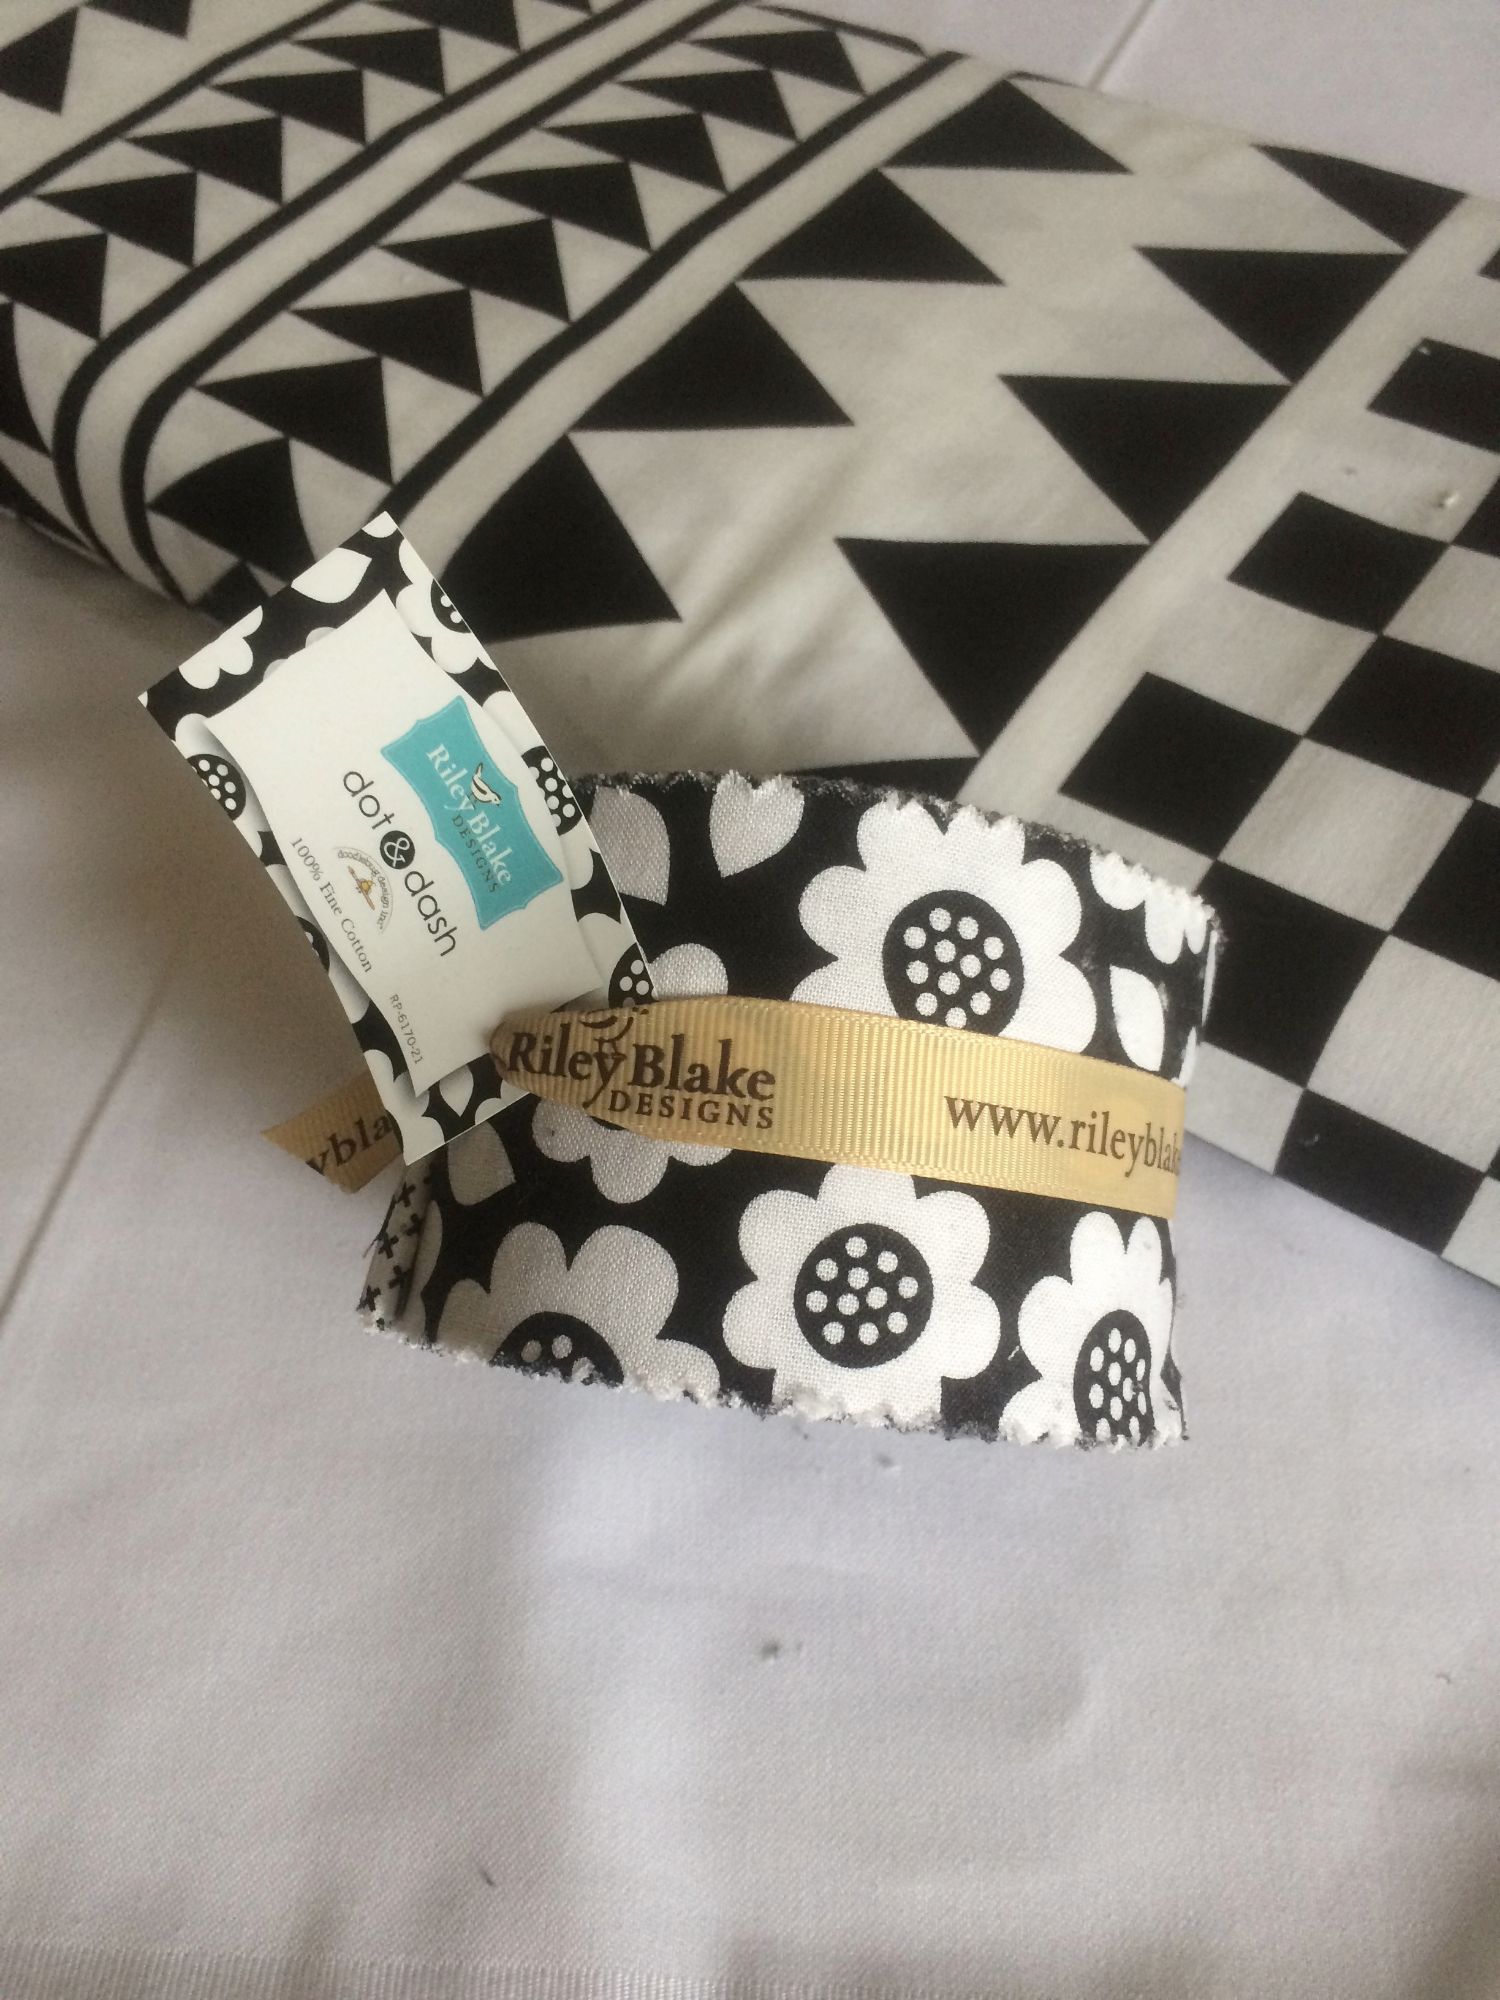
Cut 10" strips out of the 21 pieces - or you could cut 11" pieces at a pinch - if you're feeling brave. You should now have 84 10" pieces. To achieve maximum effect, try to make sure you place the pieces so that you have a dark print against a light one. On the diagonal, you want the colours to blend or 'bleed' into each other.
Those familiar with chain piecing can use this to speed up the process. The method for achieving the diagonal line is exactly the same as for making a binding. Don't worry, I will explain how this is done anyway.
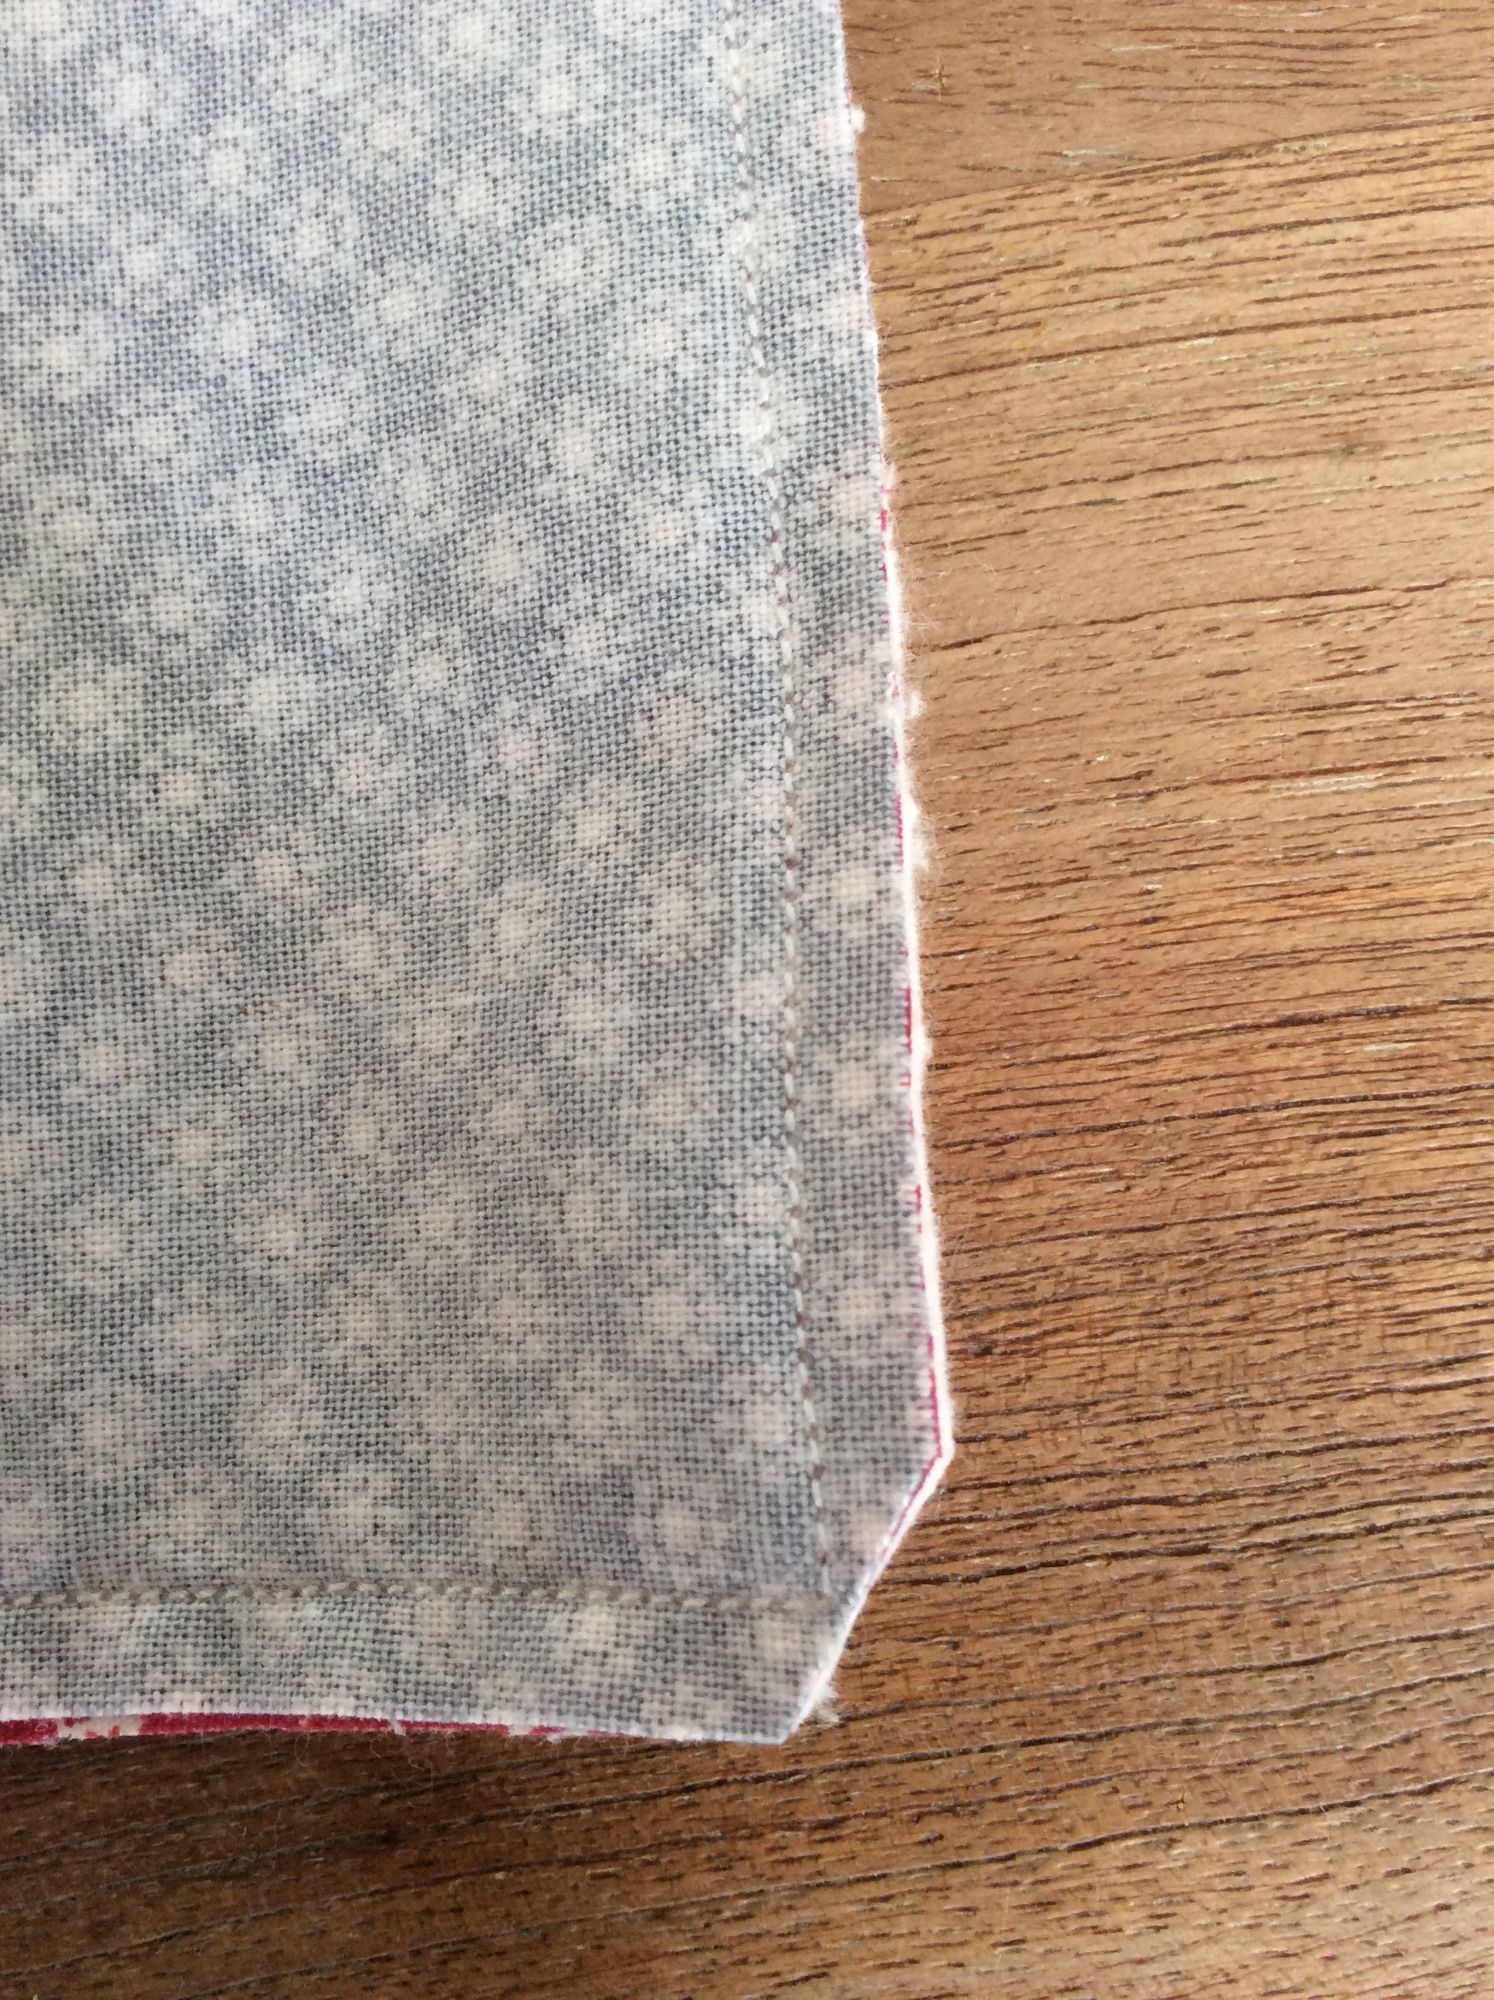
Divide your 84 pieces into two piles - one dark and the other light - and, starting with the dark fabric, place it with right side facing up in a horizontal position. Next, place a piece of the light fabric facing down vertically. You can press a crease line, mark a line or, as I did, 'eye ball' the line and then sew a diagonal as illustrated in the image below. If you have a binding tool, which I don't (at the moment at any rate) you can use that instead.
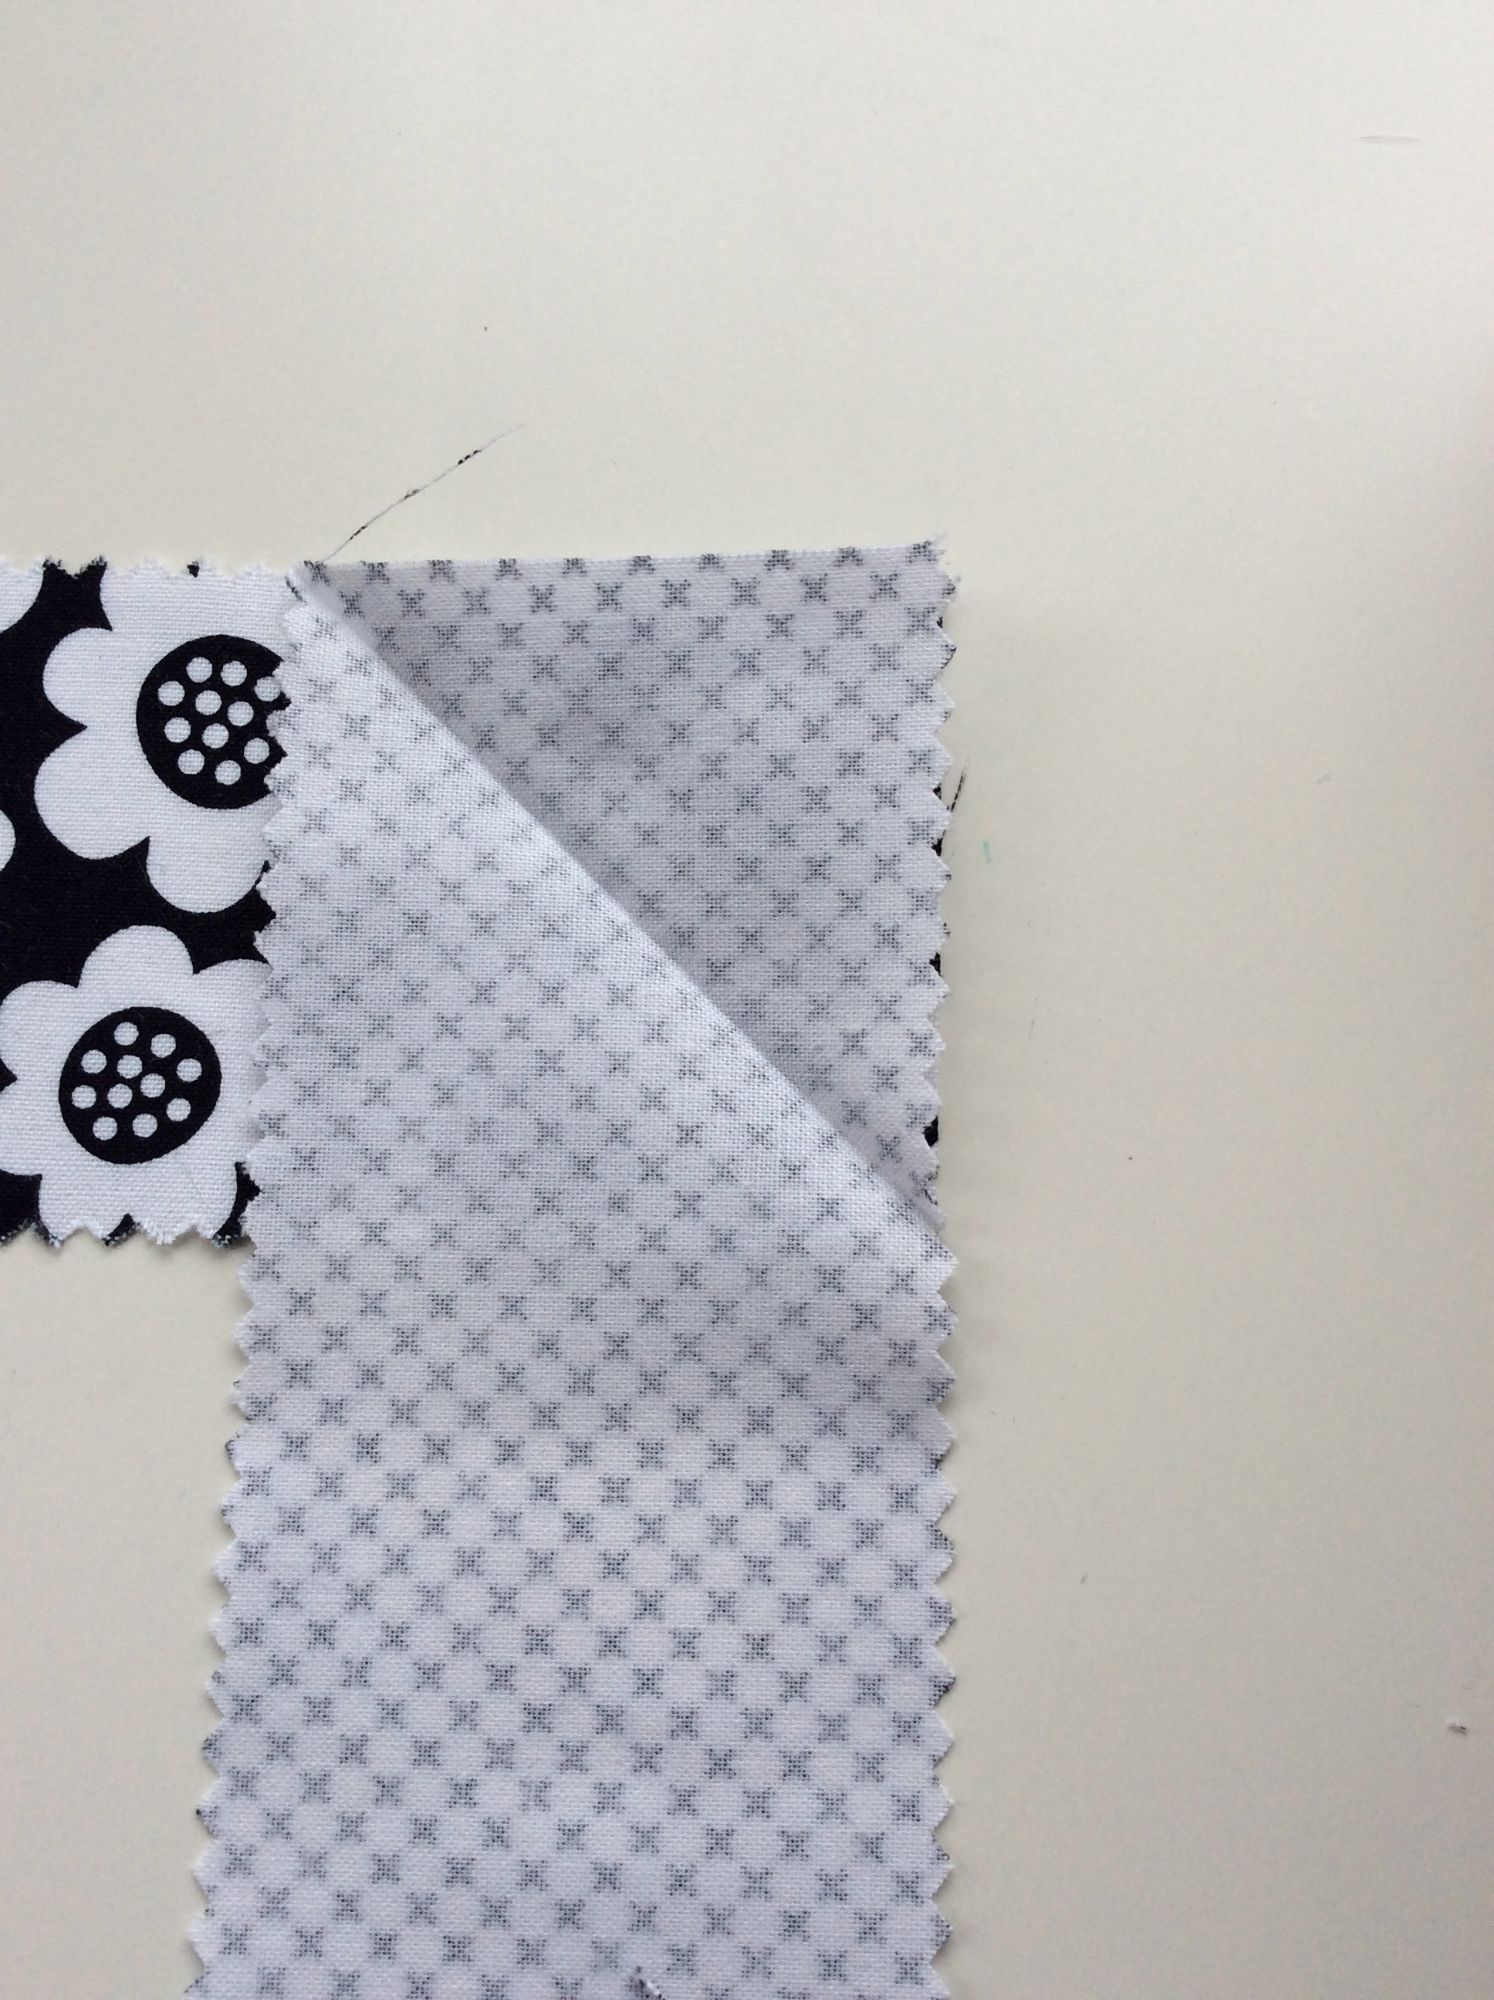
Repeat this until you have 21 strips with the dark fabric on the left and the light side on the right. Now repeat the process with the remaining pieces, this time with the light fabric on the left and the dark fabric on the right. This is precautionary for anyone using fabric that isn't interchangeable - in other words if the pattern needs to be a certain way up. Once all 42 pairs (21 dark/light and 21 light/dark) are complete, trim off the excess fabric, so that you are left with a 1/4" seam.
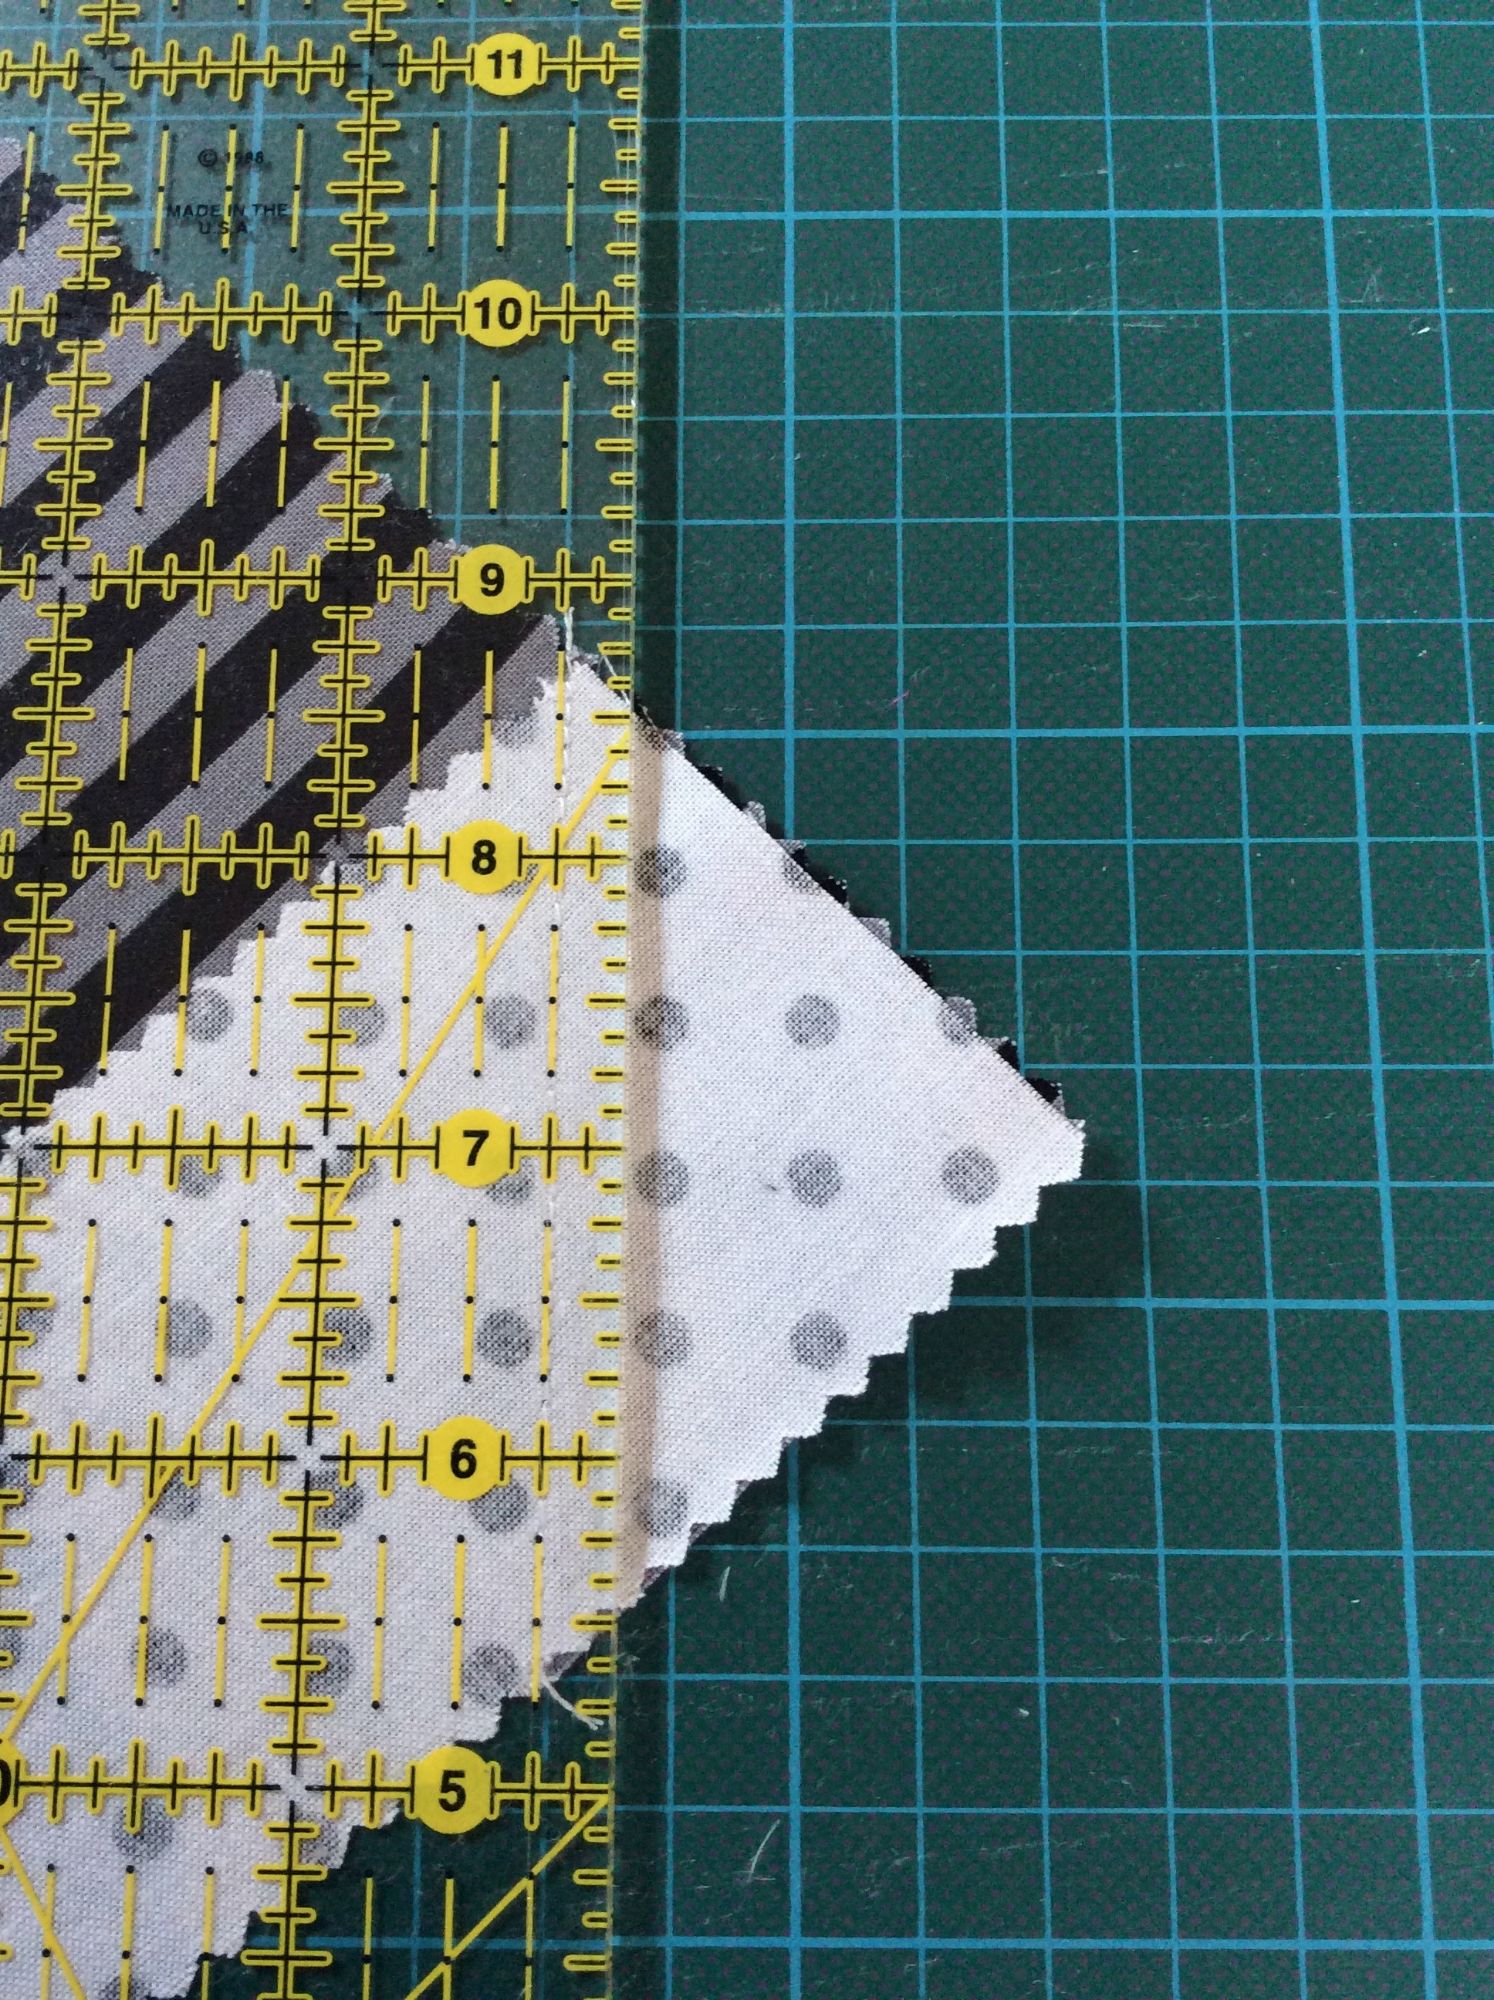
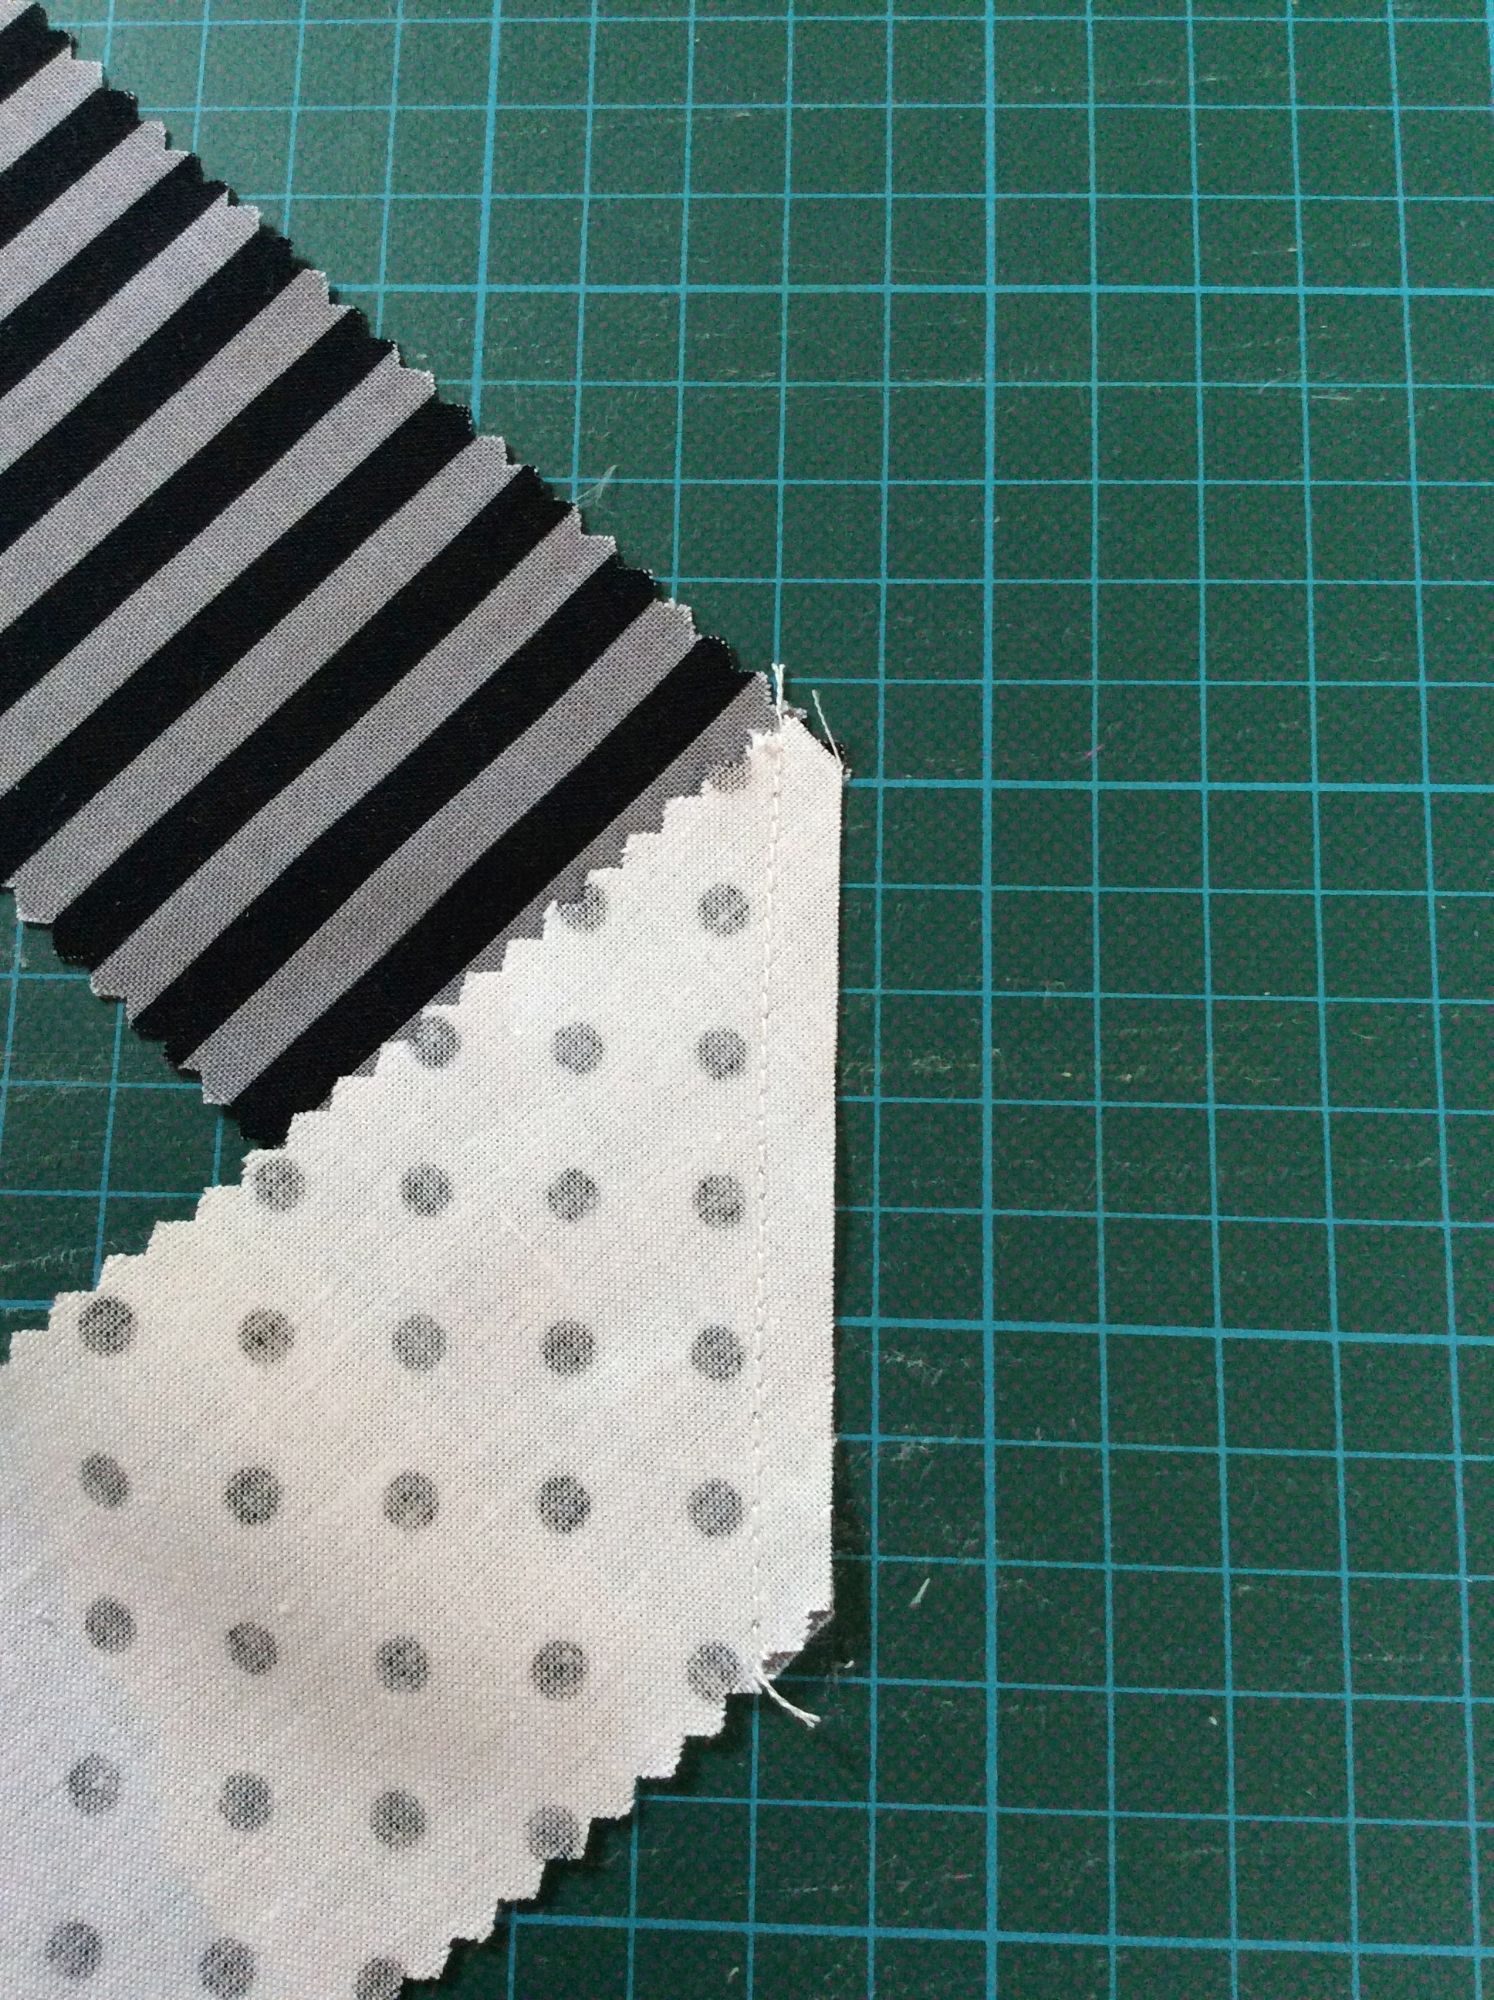 Set and press the seams.
Now lay all the pieces out and try to make sure that there's an even distribution of the patterns. Make three columns (so, 3 pairs placed horizontally) and 14 rows in total if you are using the Dot & Dash Rollie Pollie. If using another jelly roll, you may have to adapt the number of columns and rows. This is a good opportunity to chain piece. I like to sew two at a time to make four rows etc., and when these are complete, set, press and repeat the process until you end up with an equal number of rows in each column which you then sew together.
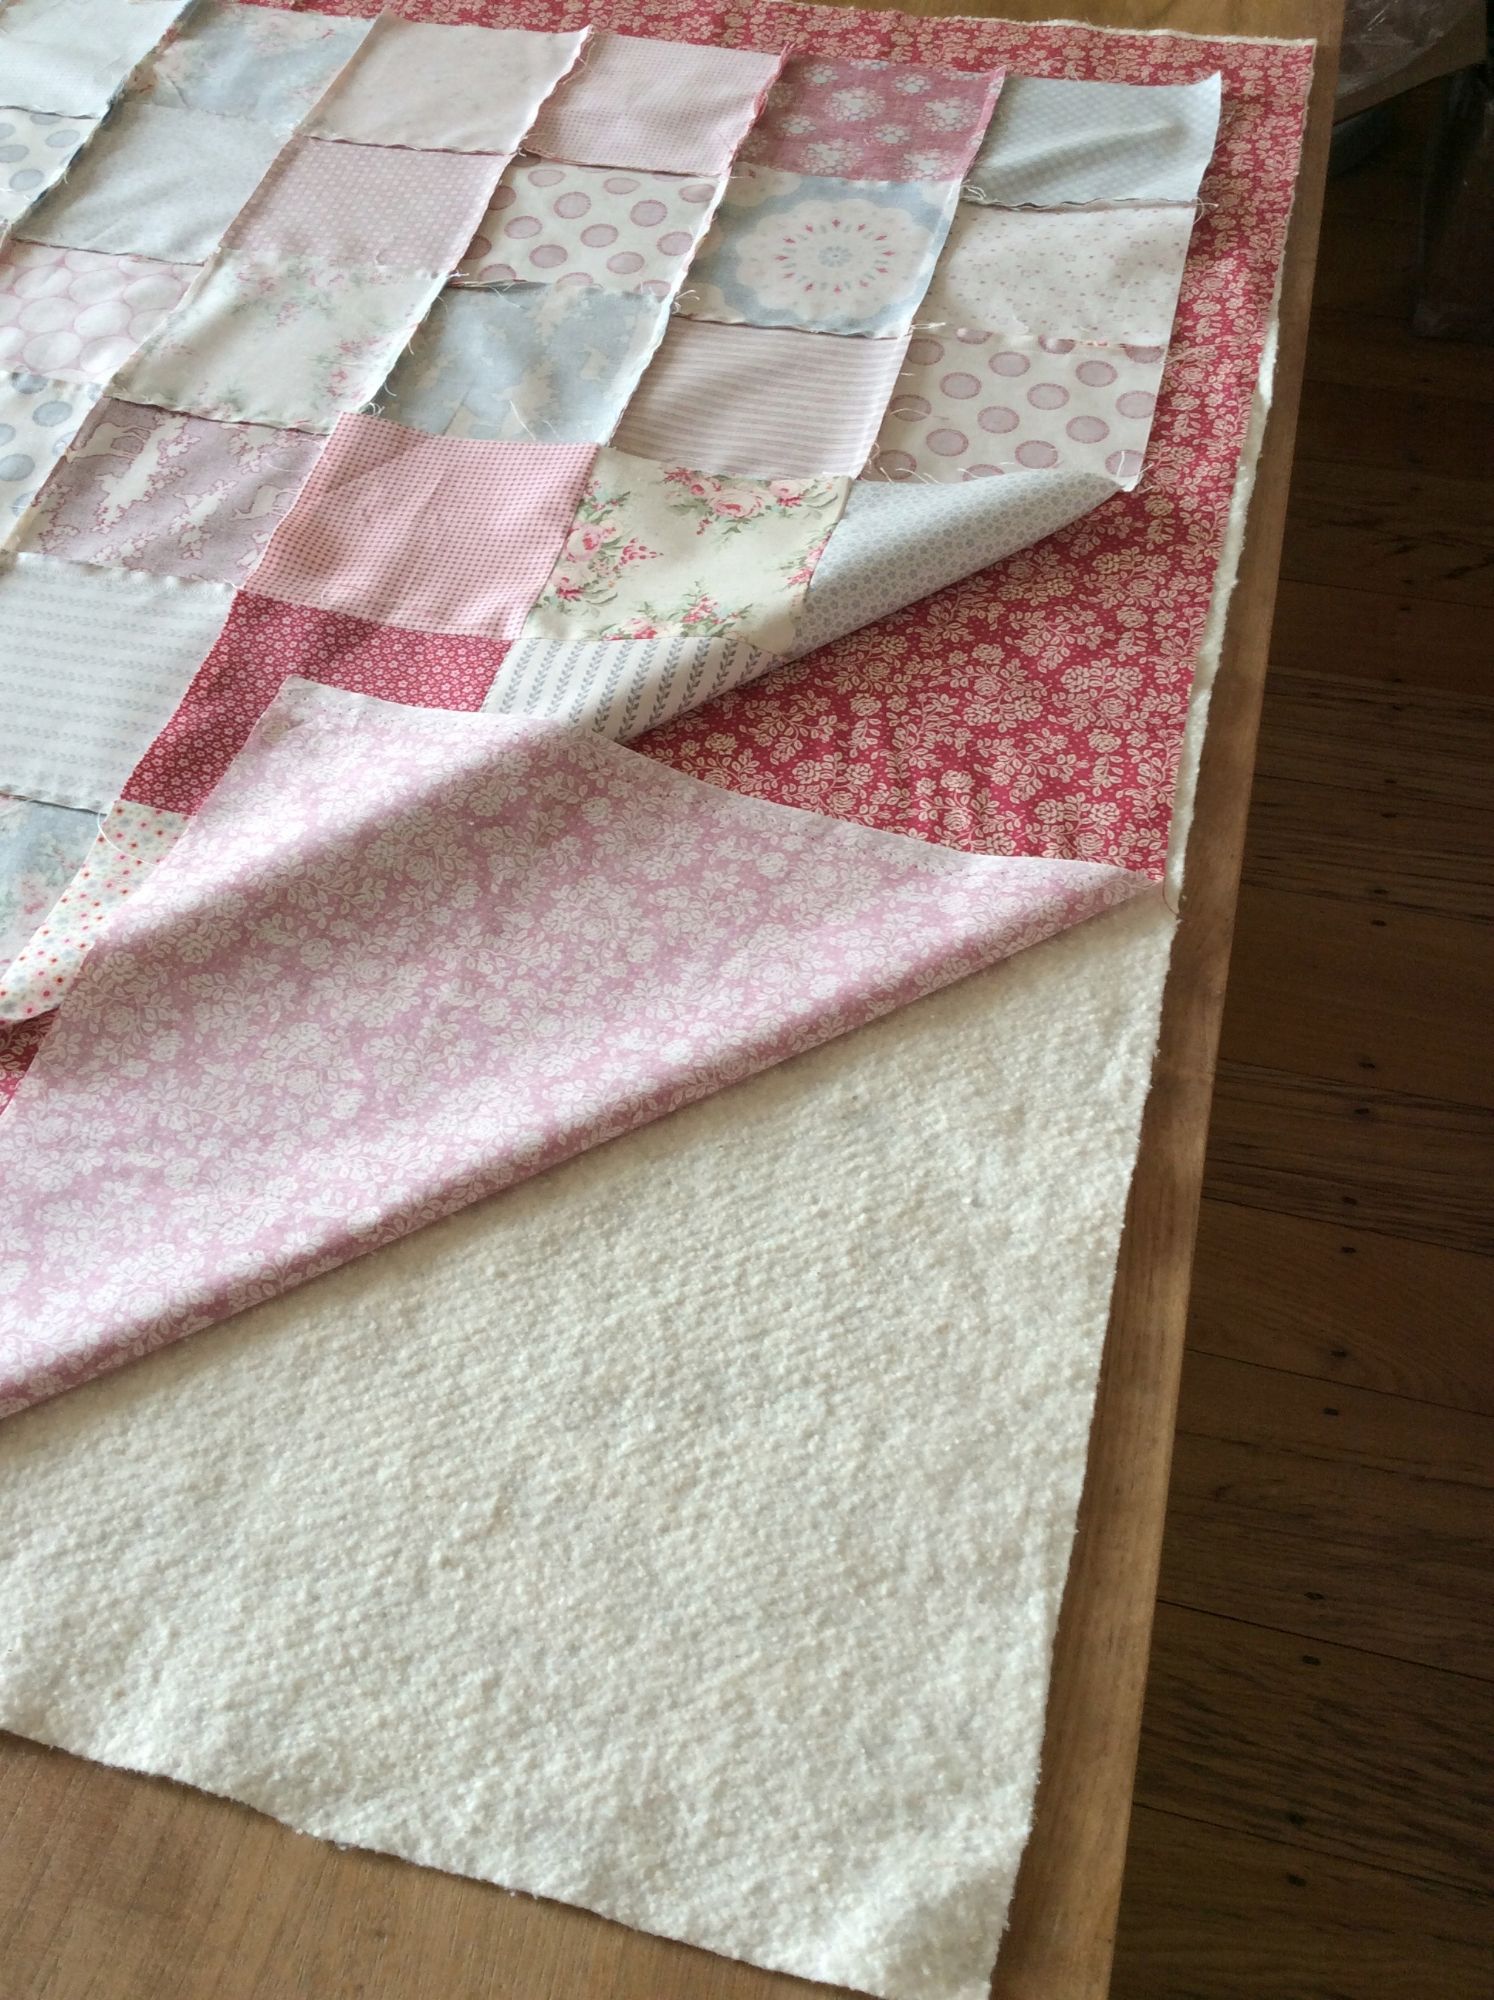
For the original Dot & Dash quilt I made, I have to confess that it ended up smaller than I intended and I had to trim it down, to correct a mistake I'd made, so for this latest one I've made it larger. I used Riley Blake's Sashing Stash for the border, and, as you will see from the image below, the design of the Sashing Stash is really versatile. You can simply use one or more sections, whatever appeals to you, and make the quilt as wide or long as you like. You could add a splash of colour and have two borders. I will be using the Sashing Stash for the backing on this quilt, as I did for the original. The measurement for the side borders of the original quilt is 5" (12.5 cms) and, for the end border, 2.5" (6 cms). For the latest version I extended the side borders to 9" on each side (23 cms).
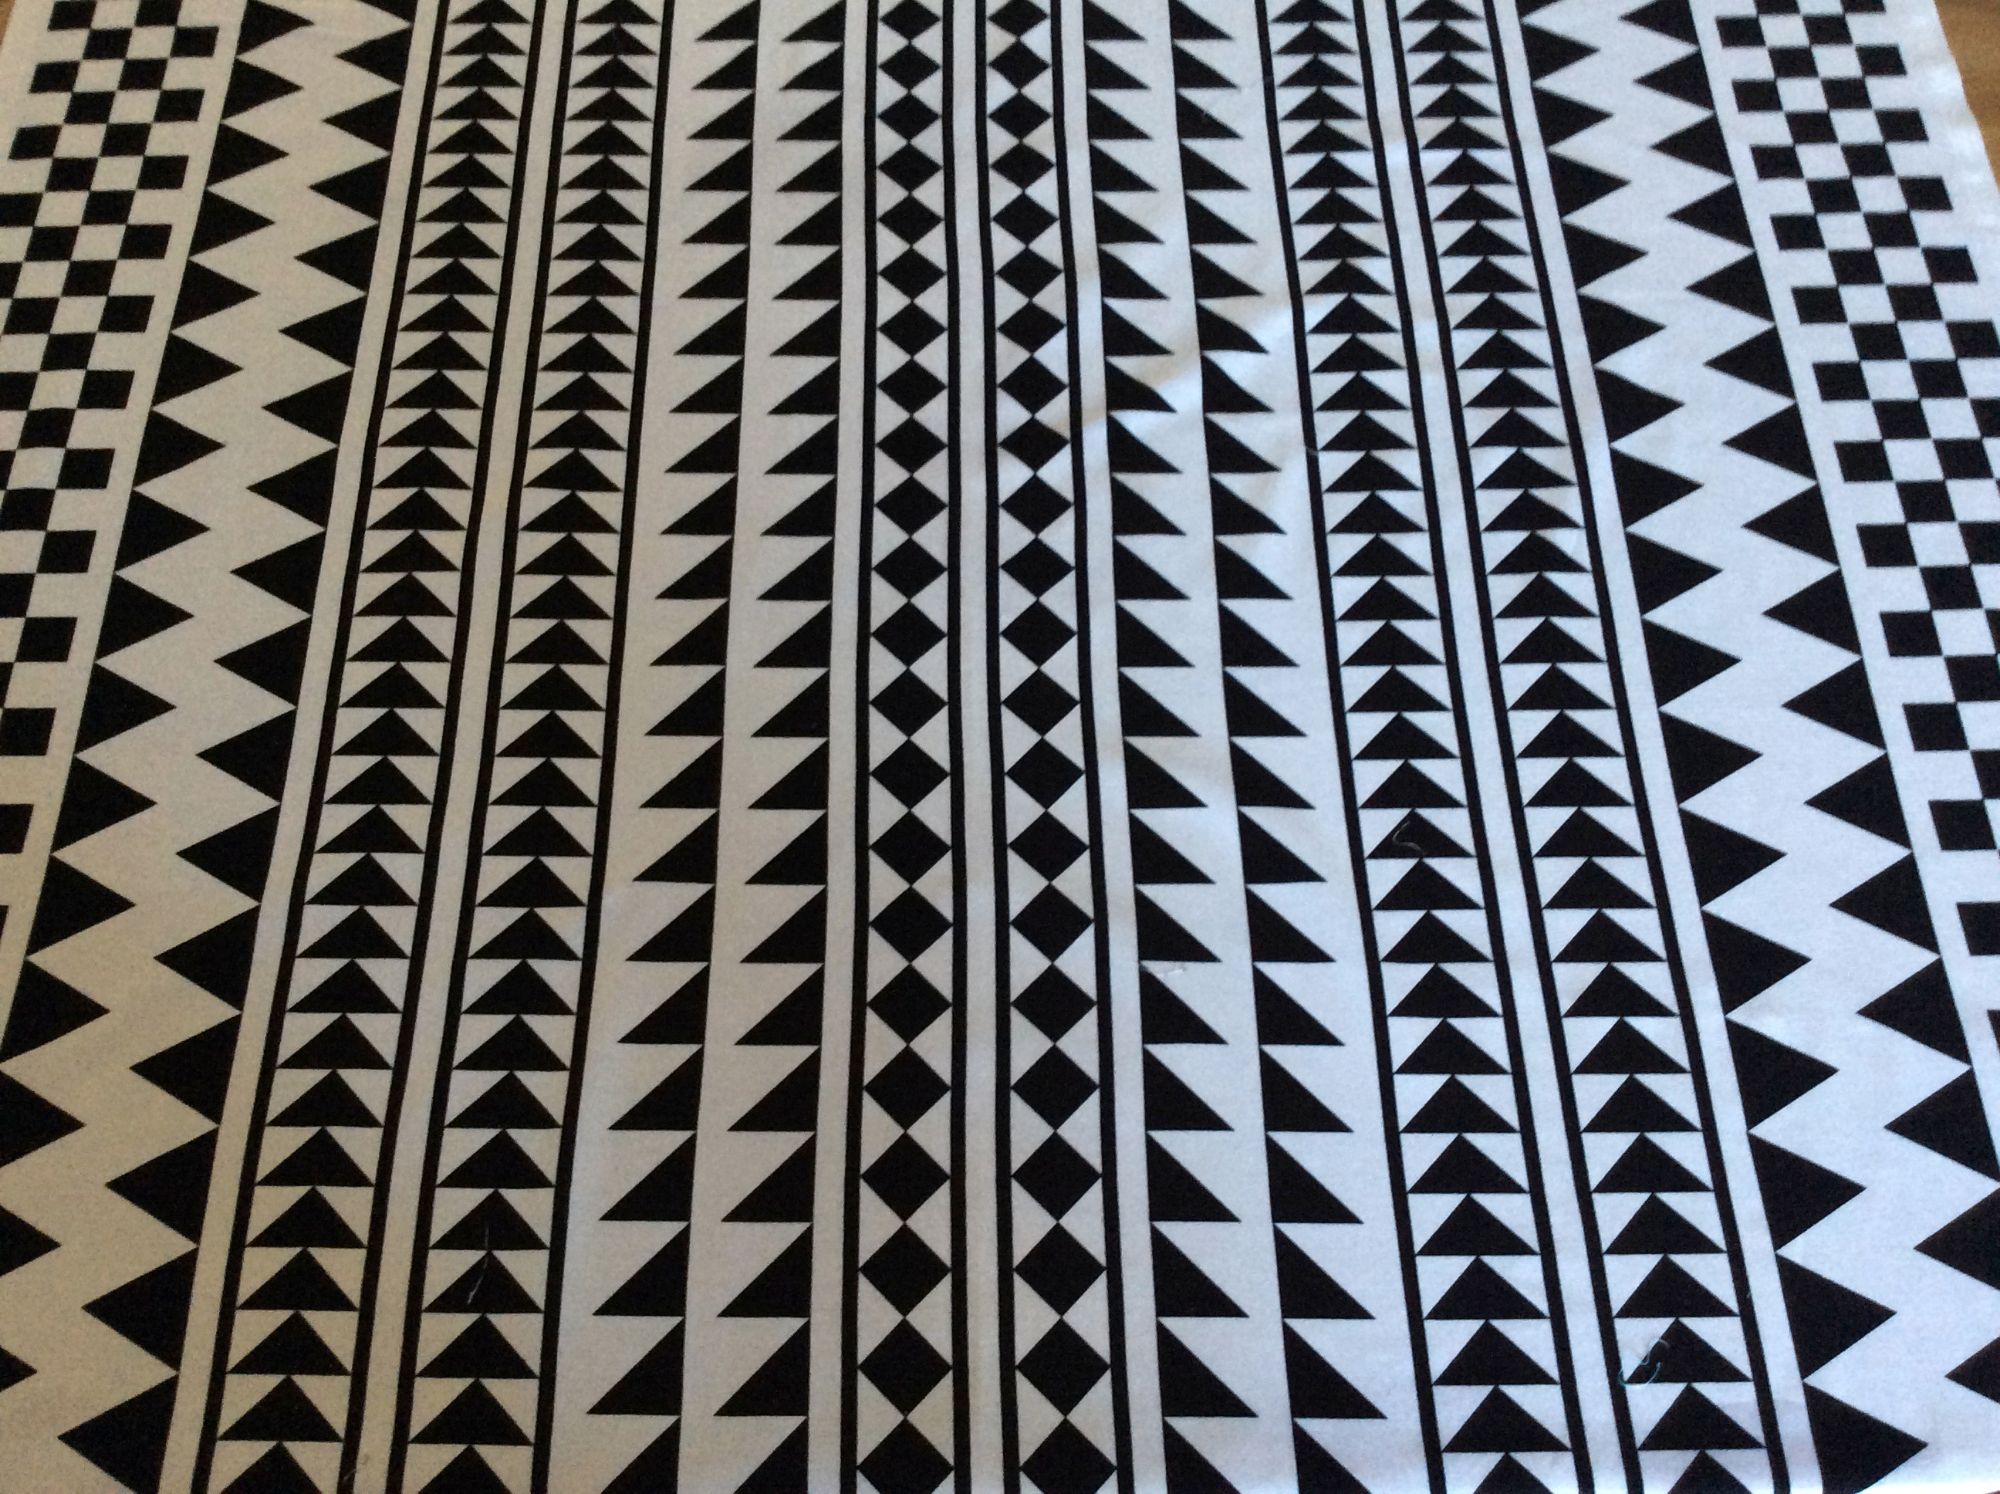
When I made the first quilt I used an egg-yolk yellow binding as I wanted the quilt to 'pop'. I tried various options but, for me, the yellow worked best of all. I'm undecided about what colour to use for the latest version. I'll quilt it first and then decide.
Below are a couple of images of the quilt top I've just made, one taken vertically and the other horizontally and a couple of images of the wall hanging I mentioned above so that you can see what it looks like when using more colour variations.
If you have any queries about this blog please do contact me and I'll do my best to answer any questions.
In the meantime I hope you've found this helpful, to a degree at least!
Happy sewing.
I would love to see photos of quilts made using this pattern.

