Tips And Tricks For The Beginner - How To Cut Fabric
Posted on
TIPS AND TRICKS FOR THE BEGINNER – THE DORSET PATCHWORKS WAY
Before I share my first tips I should mention that I’m self-taught and my tips are based on trying out different methods and finding one that suits me. I may make a tweak here and a tweak there. There are bound to be other methods for doing the same task and so I recommend that you try a variety and find the one that works for you.
I generally don’t follow patterns, which has meant that I have been known to make mistakes, but along the way I have developed a talent for adaptation and sometimes I will unexpectedly stumble across a method of doing a task that works!
So on with the first tips. This has to do with cutting fabric. Sounds easy enough - but just a couple of pointers could help you avoid making some basic errors. Only yesterday I made a mistake whilst cutting because I didn’t follow the cardinal rule ‘Measure Twice, Cut Once’.
For this exercise I am going to describe how to trim a Fat Quarter otherwise referred to as FQ (18” x 22”) that has been cut from the bolt. In other words it hasn’t been precision cut by machine but has been cut directly from the bolt by a human (me) with scissors and I’m going to trim the Fat Quarter ready to be cut into smaller pieces.
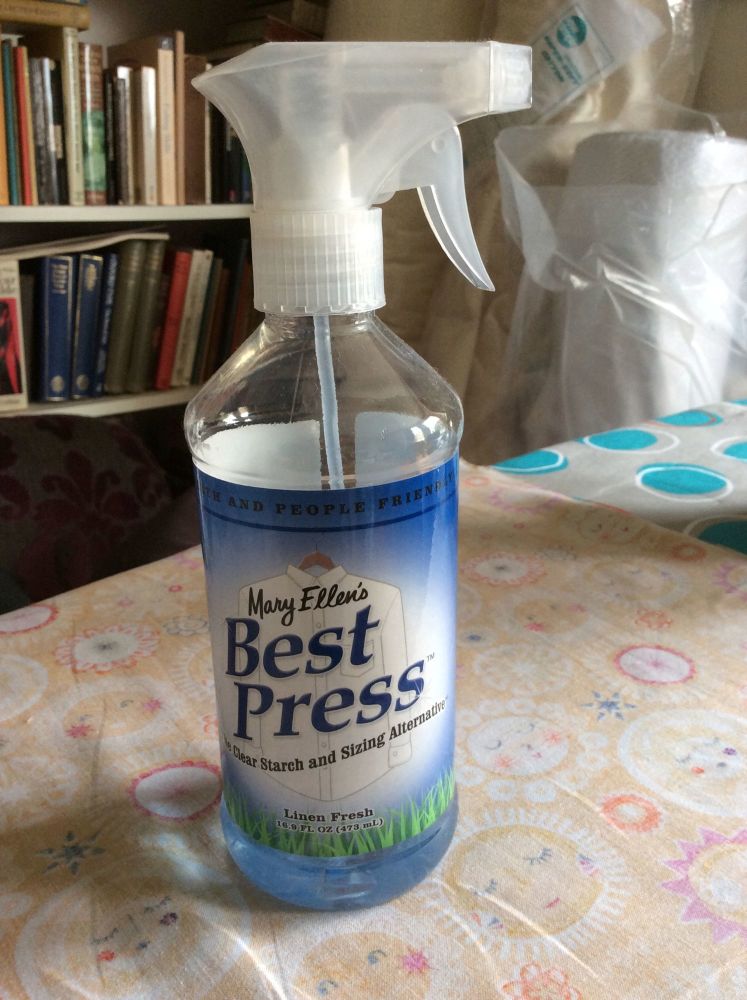
Before I do any cutting I’m going to spray starch the fabric on the ‘wrong’ side and press the fabric on the ‘right’ side. I have found that using spray starch makes the fabric easier to handle. This is personal preference and for a long time I didn’t use starch but once I was introduced to the idea I saw the benefits and am now a convert. You will discover that fabric has a tendency to move and can become distorted and starching the fabric helps to avoid some of that distortion and is also nicer to handle.
When cutting use a self-healing mat, a rotary cutter (with a sharp blade - for safety reasons ALWAYS make sure that the safety catch is on when the rotary cutter is not being used. Also when cutting fabric make sure you cut away from the body not towards you). You will also need a quilter’s ruler. Quilter’s rulers come in different shapes and sizes and are marked in inches. Cutting mats tend to be marked in inches as well and I rely on a combination of the cutting mat and the ruler to help me when cutting fabric.
As my Fat Quarter isn't completely even the edges need to be straightened. Fold the fabric in half and lay the folded edge against the horizontal marked line on the cutting mat making sure that you can see the inch marks. 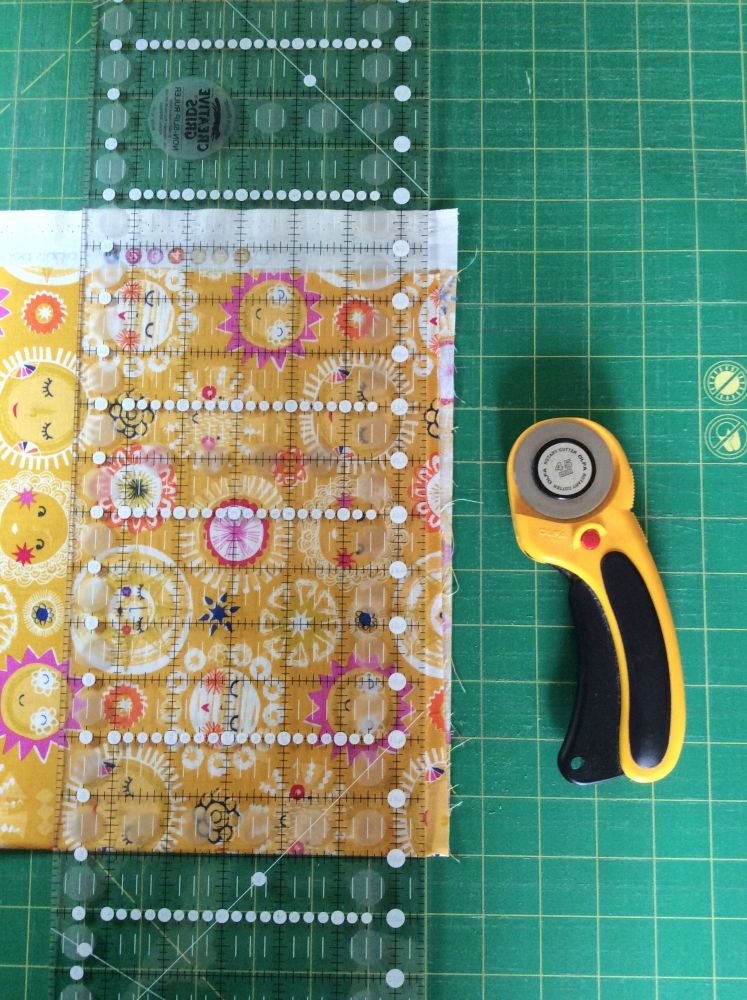 You’ll notice from the photograph that the folded edge is straight and the right-hand edge is uneven. Place your ruler to the right hand side and make sure that the bottom edge of the fabric is at right angles with the ruler. There are markings on the ruler and these need to correspond with the markings on the cutting mat. Slight adjustments may be needed to get the ruler lined up. Have a look at the photo and you’ll see that the inch mark is exactly in line with the folded edge of the fabric, which in turn is lined up with the marking on the cutting board.
So the right-hand edge of the ruler is in line with the inch mark on the ruler and that is my cutting line. (My ruler happens to be the wrong way up, which was not intentional. However the markings on the ruler are still visible. This little mishap has reminded me that on the underneath of my ruler are opaque circles which you should be able to see. These circles are slightly rougher to touch and help to make the ruler non-slip, when used the right way up of course! As I mentioned before fabric has a tendency to move and so the non-slip feature on the ruler is really helpful when trying to cut fabric accurately). Release the safety catch on the rotary cutter and cut the fabric moving the cutter away from the body. Put the safety catch back on.
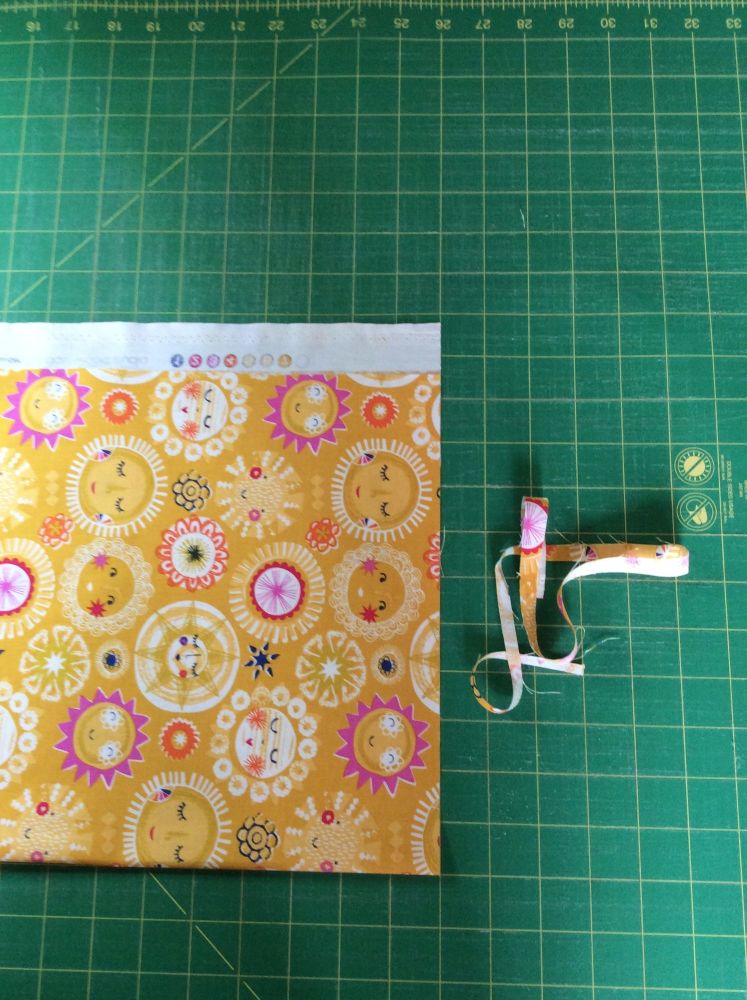 Turn the fabric over, so that the newly trimmed edges are now on the left-hand side but still with the folded edge along the horizontal line on the cutting mat. Line up the ruler as before and trim what is now the right hand side edge.
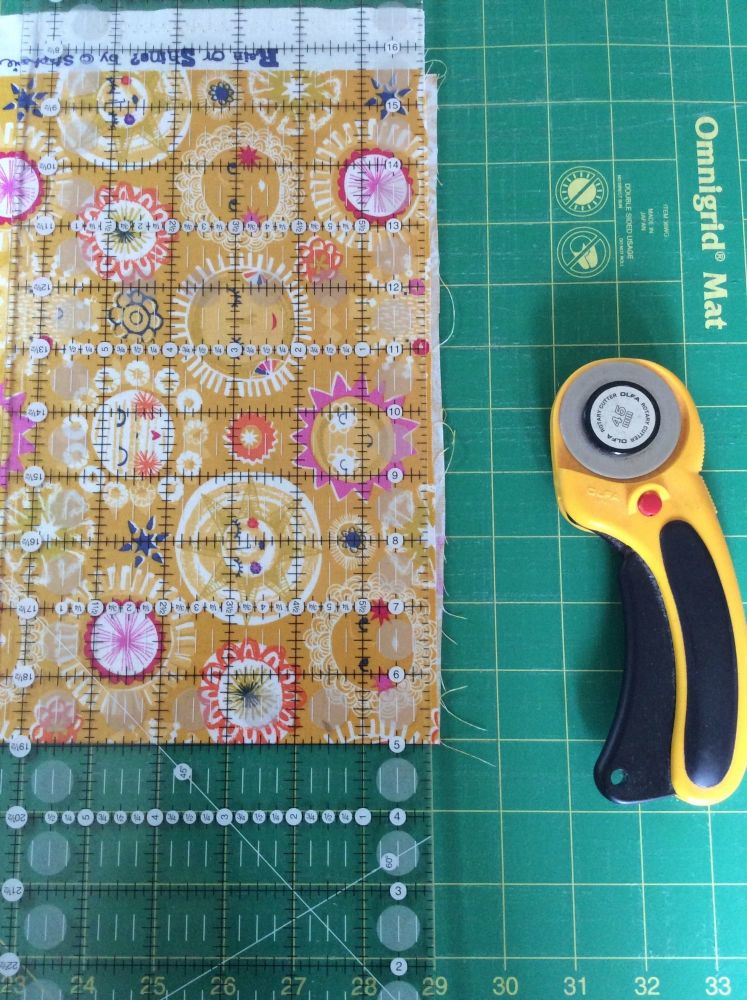 Two sides have now been trimmed. Turn the fabric once more but this time with the folded edge on the left-hand side and line the edge up against one of the vertical lines on the cutting mat. The horizontal edges are of course straight as these have been trimmed. Place the ruler on the right-hand edge and check whether the edge is straight and trim if necessary.
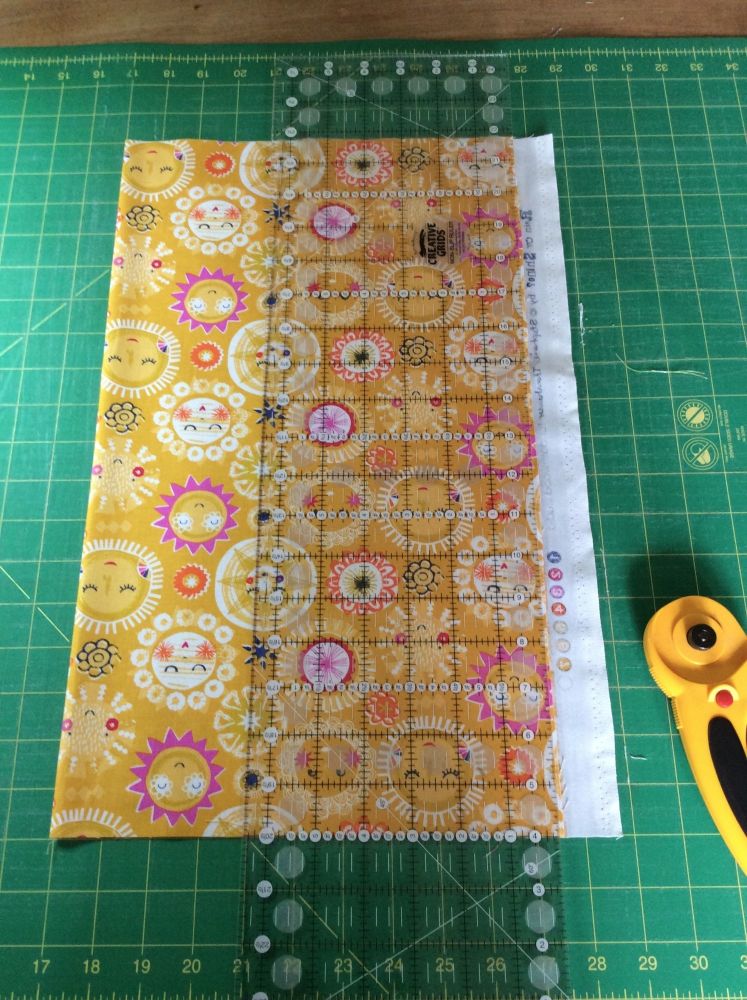
Always check the edges are straight by using the cutting mat and ruler.
The FQ is now ready to cut into smaller pieces.
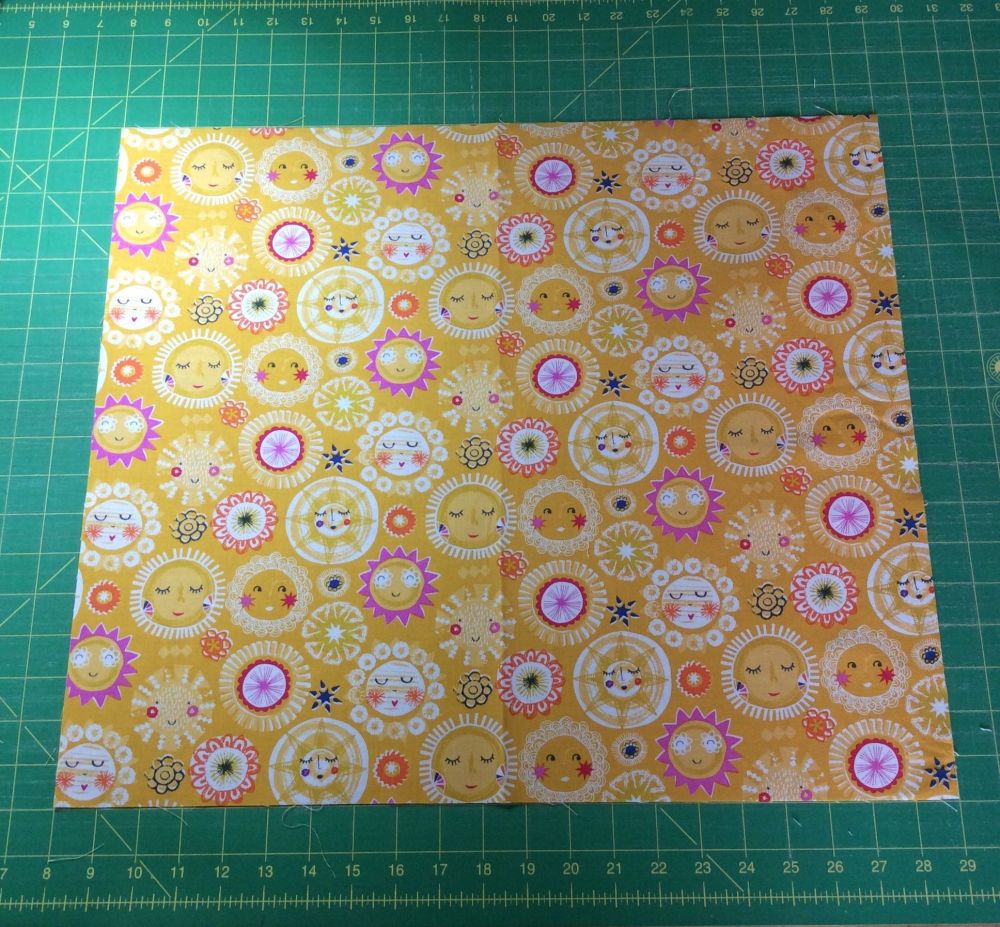
As you gain in confidence you can cut multiple layers at once to save time. I am happy to cut two or three layers at the same time but no more.
An extra tip: when cutting long strips from a larger piece of fabric periodically check that the right-hand edge is still straight. Sometimes the fabric will shift very slightly and will need to be trimmed before cutting more strips. I generally cut two or three strips and then check to make sure the right-hand edge hasn’t shifted. If it has, trim any excess fabric before cutting any more strips.
I hope you have found these tips helpful.

Add a comment: